Enabling Guide to Diversified Reception Scheme
# Enabling Guide to Diversified Reception Scheme
——Instructions for Quickly Enabling the Related Functions of the Diversified Reception Scheme
Please follow the steps below to test and enable the Diversified Reception Scheme with the assistance of the agent system delivery personnel.
Note: For enterprises that hope to upgrade their Diversified Reception Scheme by using the agent reception mode, visitor, shortcut tab and FAQ functions in the old version of the system, please apply for and enable it according to Upgrade Guide to Diversified Reception Scheme.
# Step 1: Sort out the business and define customer grouping rules
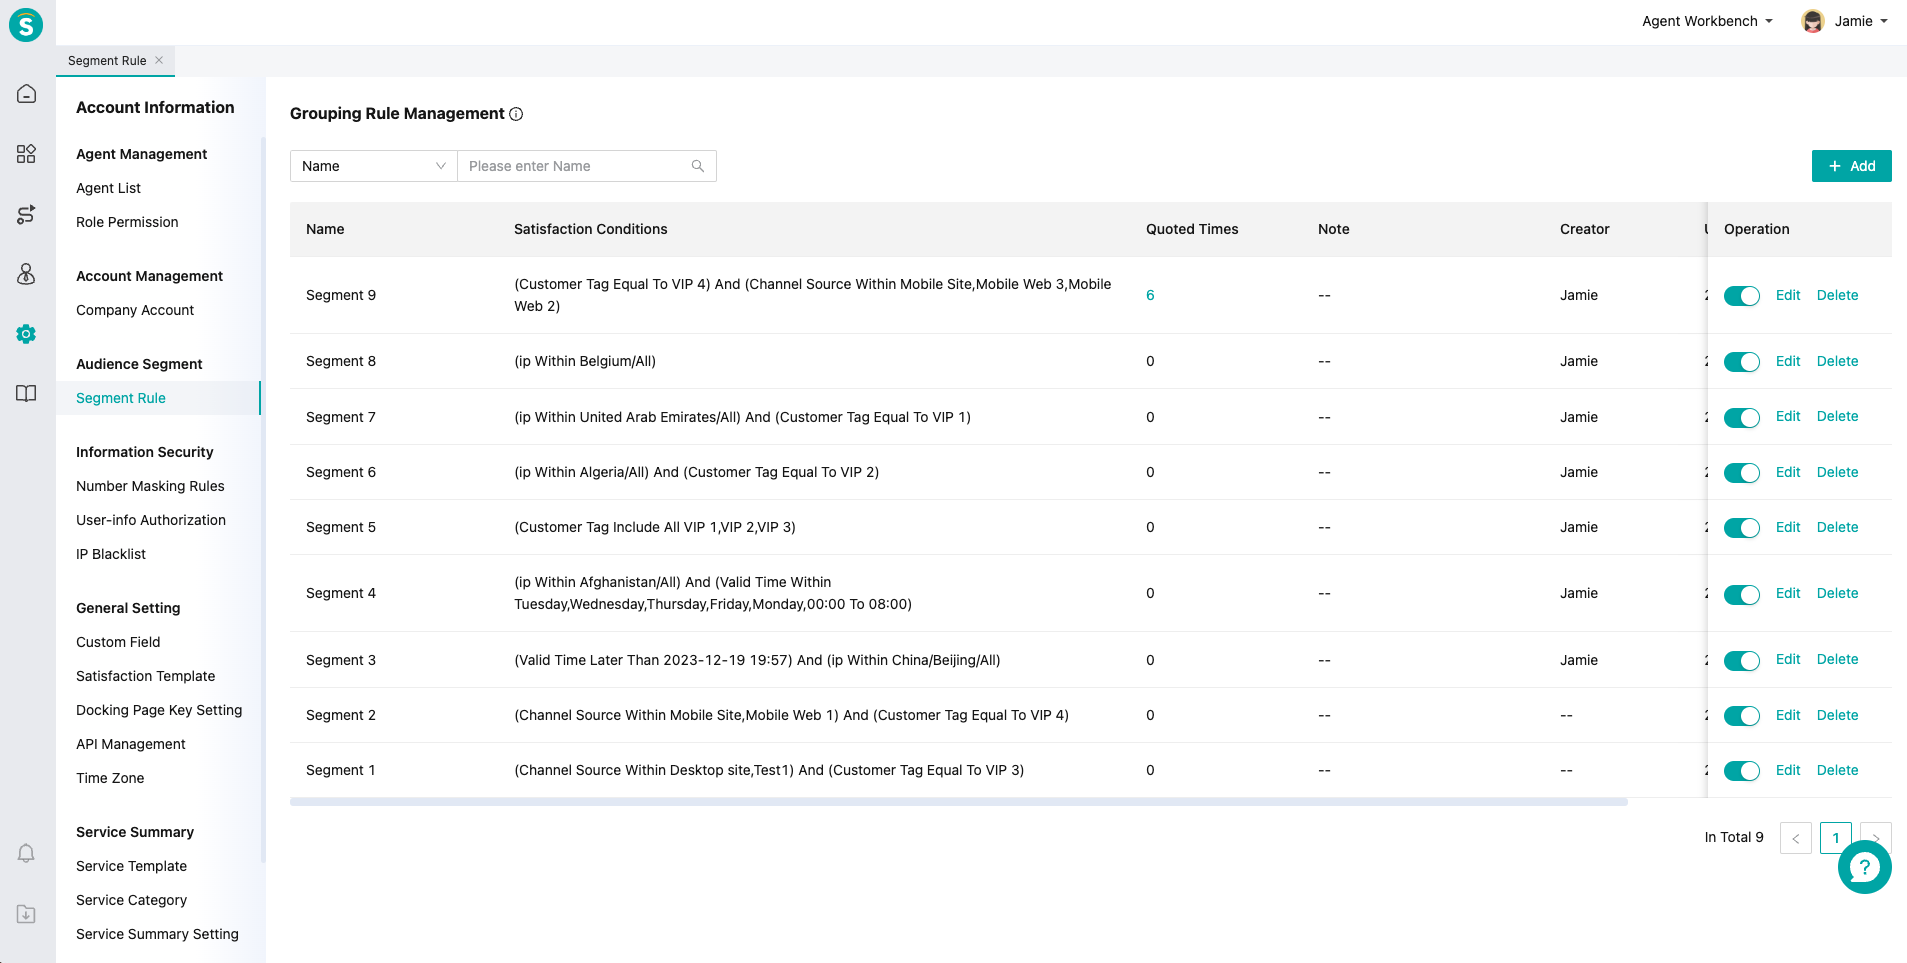
Clarify the customer types of enterprises' live chat agent services, and define different customer identities through the Customer Group: Grouping Rule Management function. The defined customer group will serve as a trigger condition for Bot Smart Response, Visitor, Reception Scheme, FAQ and Shortcut Menu functions.
Menu Path: Admin Console > Admin Center > Customer Group > Grouping Rule Management
See: Customer Group: Grouping Rule Management Guide
# Step 2: Configure Visitor Setting
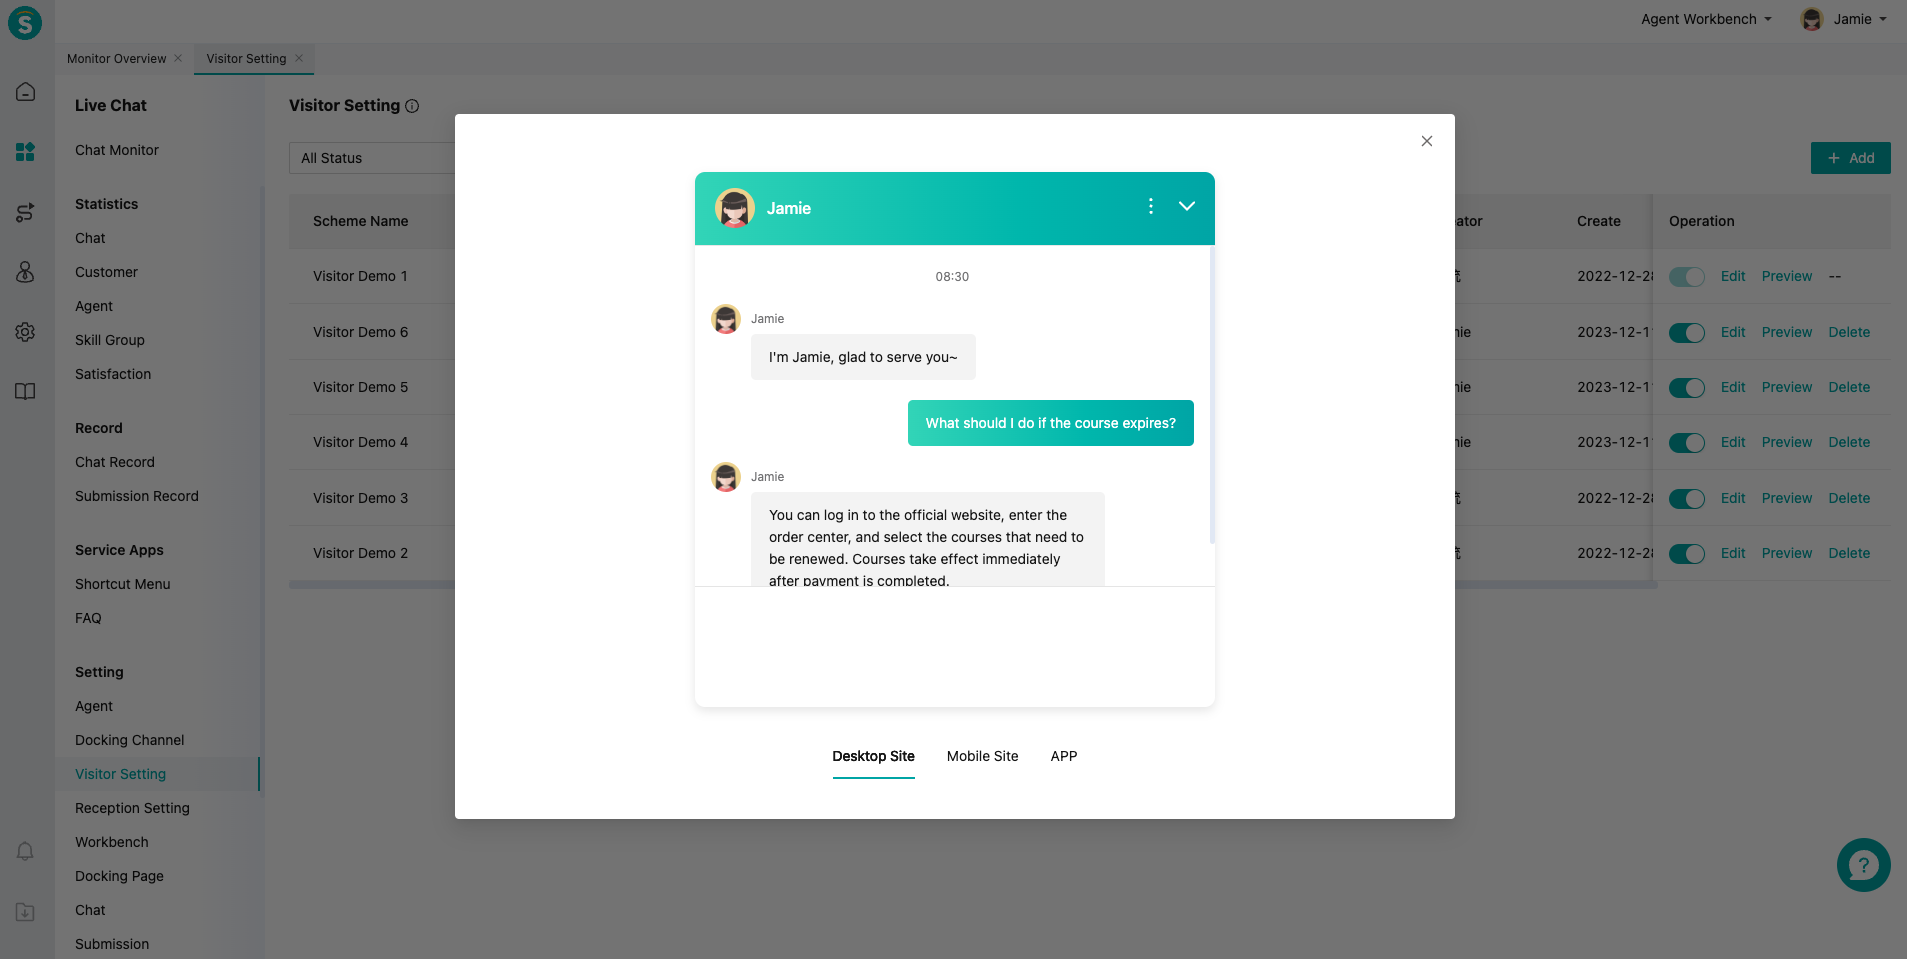
Clarify the patterns and functions that visitors from desktop sites, mobile sites and APP channels need to display to customers. Multiple visitor scheme patterns can be configured.
Menu Path: Admin Console > Live Chat Agent > Setting > Visitor Setting
# Step 3: Configure Reception Scheme Setting
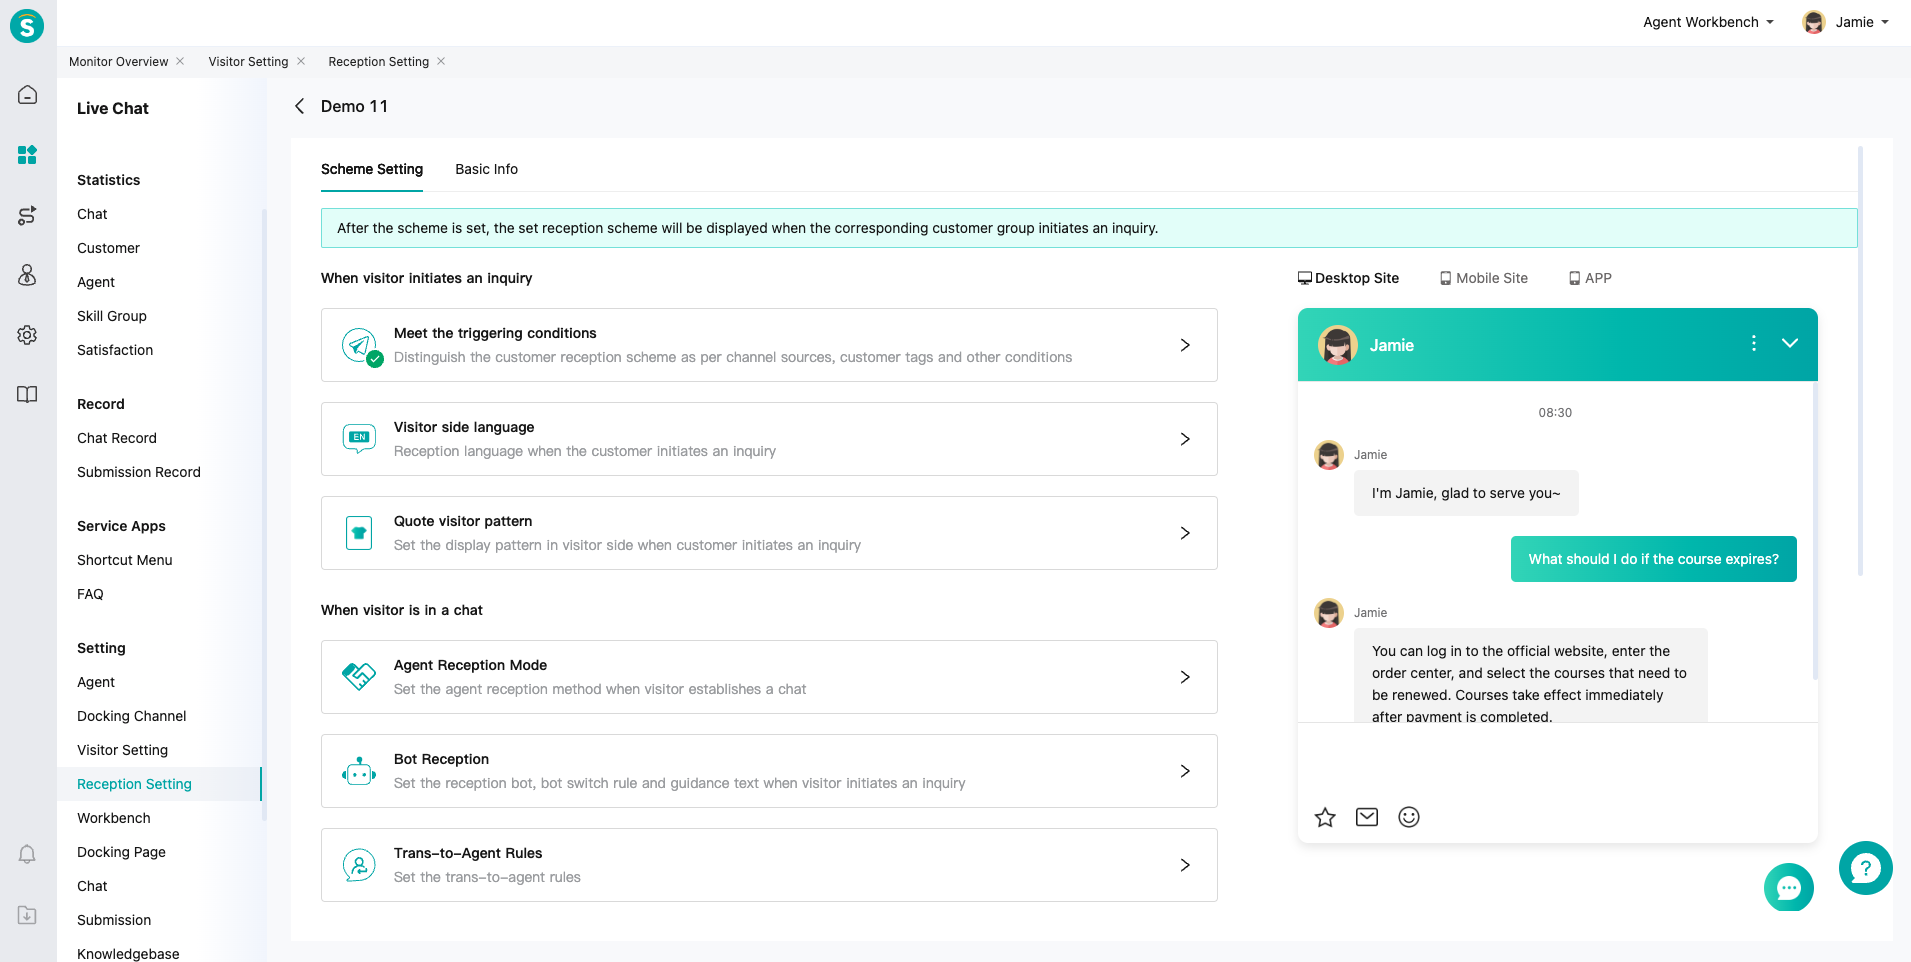
Configure the reception scheme, quote「Customer Group: Grouping Rule Management」as the trigger condition for the visitor scheme, and quote the「Visitor Setting」scheme as the display pattern for the reception scheme.
Menu Path: Admin Console > Live Chat Agent > Setting > Reception Scheme Setting
See:Reception Scheme Setting Guide
# Step 4: Configure Shortcut Menu according to business needs
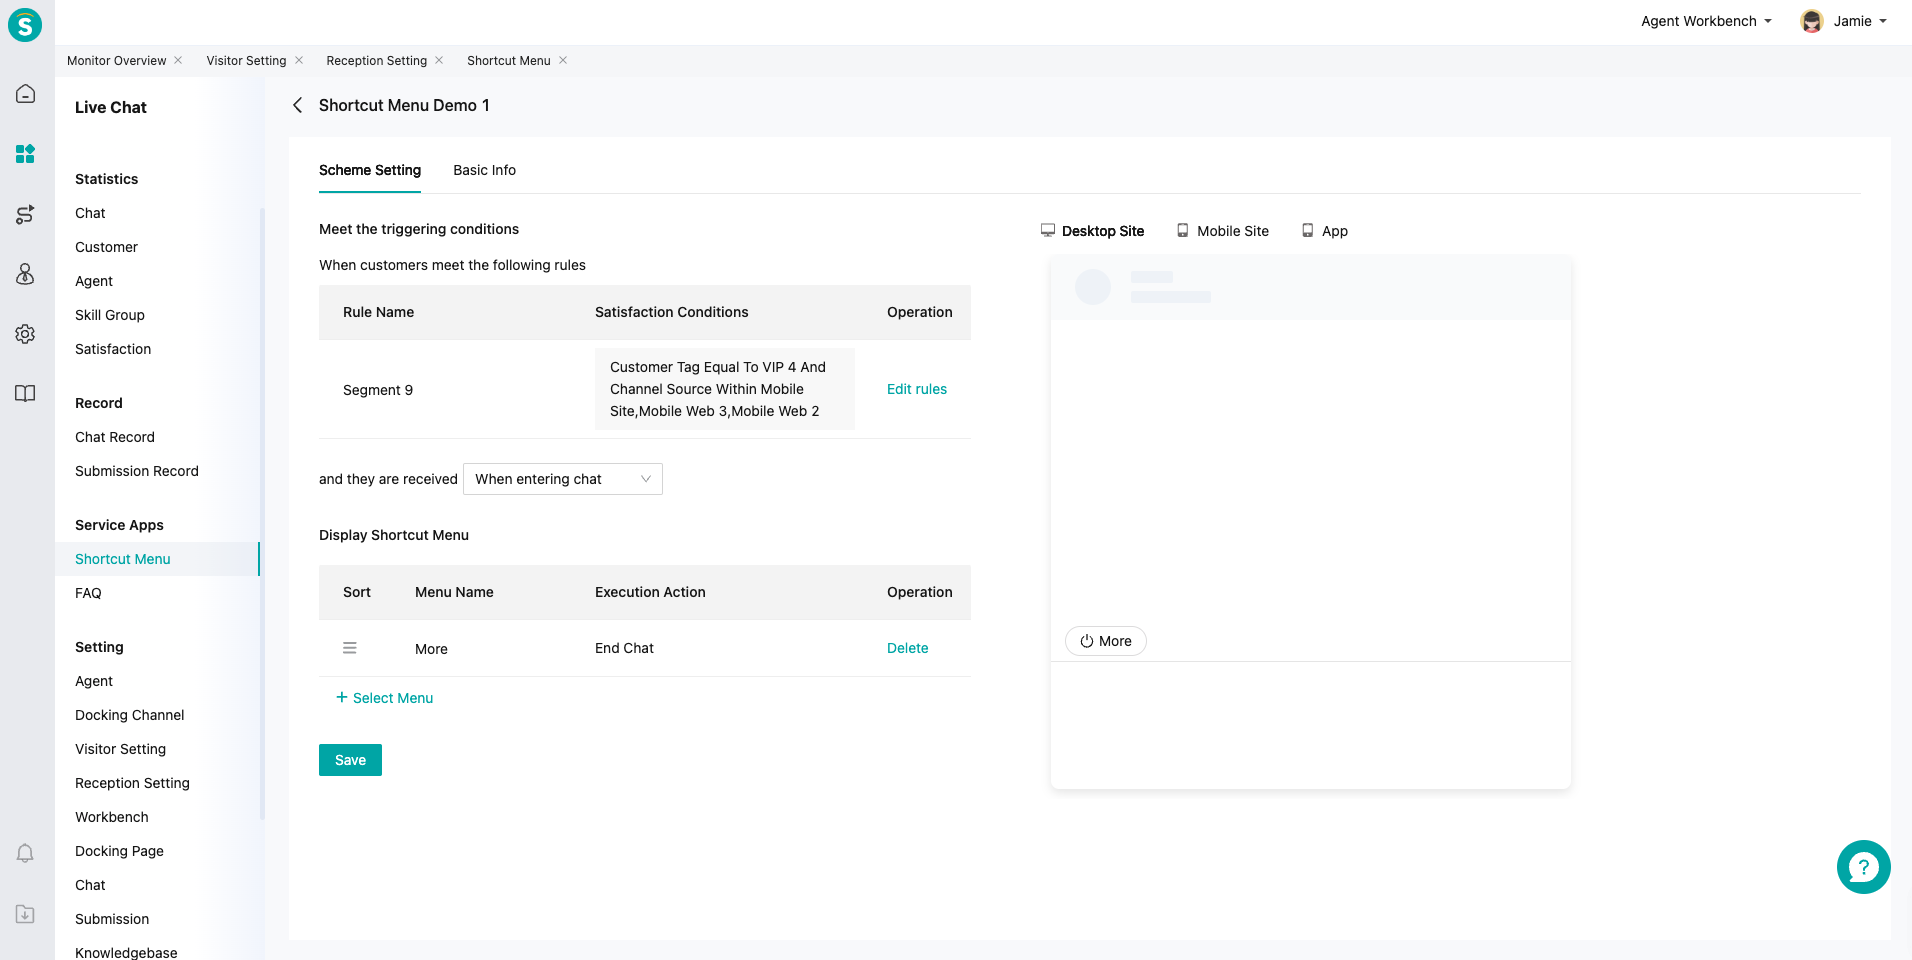
Clarify which customer groups need shortcut menu in what service links, and quote「Customer Group: Grouping Rule Management」and define the timing of shortcut menu display. Currently, the timing is divided into: when entering chat, when entering bot chat, and when entering agent chat.
Menu Path: Admin Console > Live Chat Agent > Service Application > Shortcut Menu
See:Service Application: Shortcut Menu Guide
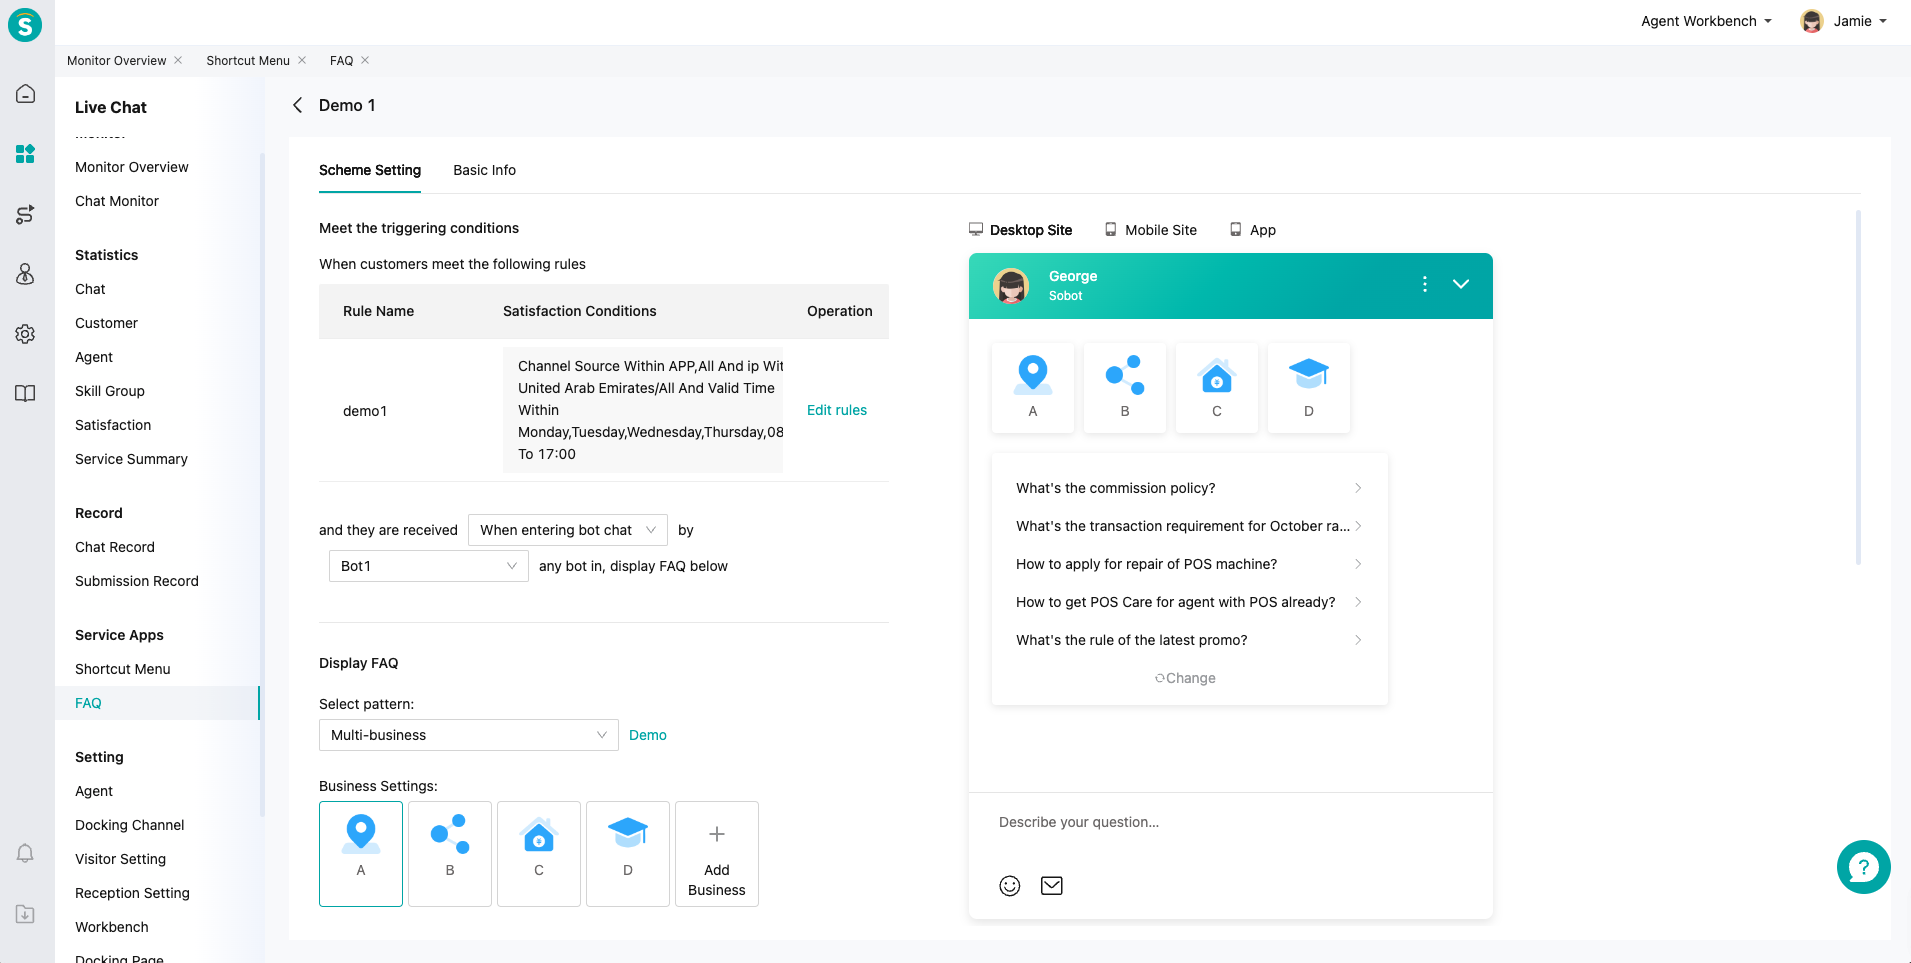
# Step 5: Configure FAQ according to business needs
Clarify which customer groups require FAQ cards at the bot service stage, quote「Customer Group: Grouping Rule Management」and configure FAQ card patterns.
Menu Path: Admin Console > Live Chat Agent > Service Application > FAQ
See:Service Application: FAQ Guide
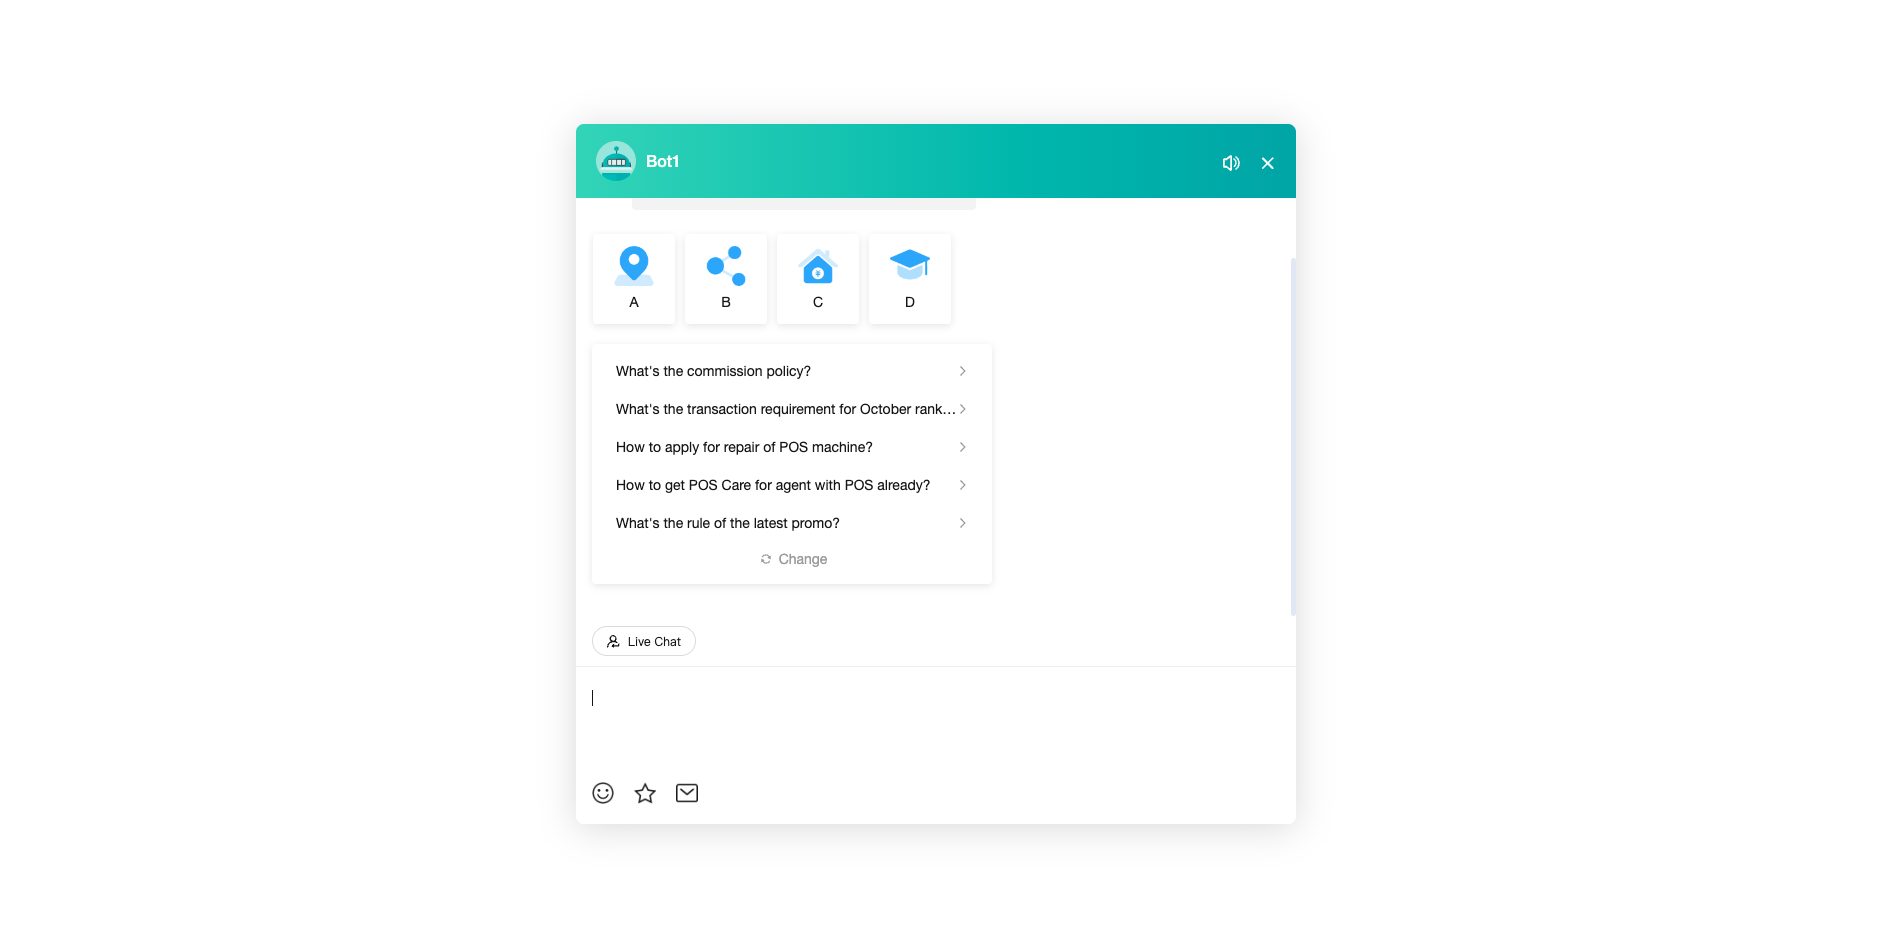
# Step 6: Experience the full workflow through the「Test」function in the Reception Scheme Setting
The reception scheme provides full workflow experience and preview function, which can test the full display effect of the reception scheme, visitor, FAQ, shortcut menu and other functions combined.
Menu Path: Admin Console > Live Chat Agent > Setting > Reception Scheme Setting
# Step 7: Complete channel deployment through the「Docking Channel Settings」function, which is officially valid for customers
See:Docking Channel Settings (opens new window)
