Google Play Integration Instructions
# Google Play Integration Instructions
——Learn the specific steps for integrating Google Play services with the Sobot customer service workstation through this article;
# Preparations
● An account with wisdom teeth system administrator privileges.
● A Google Play developer account, and your app has been successfully published on Google Play.
● You have already purchased the value-added product from the app store (before purchasing, you can only add one app for free).
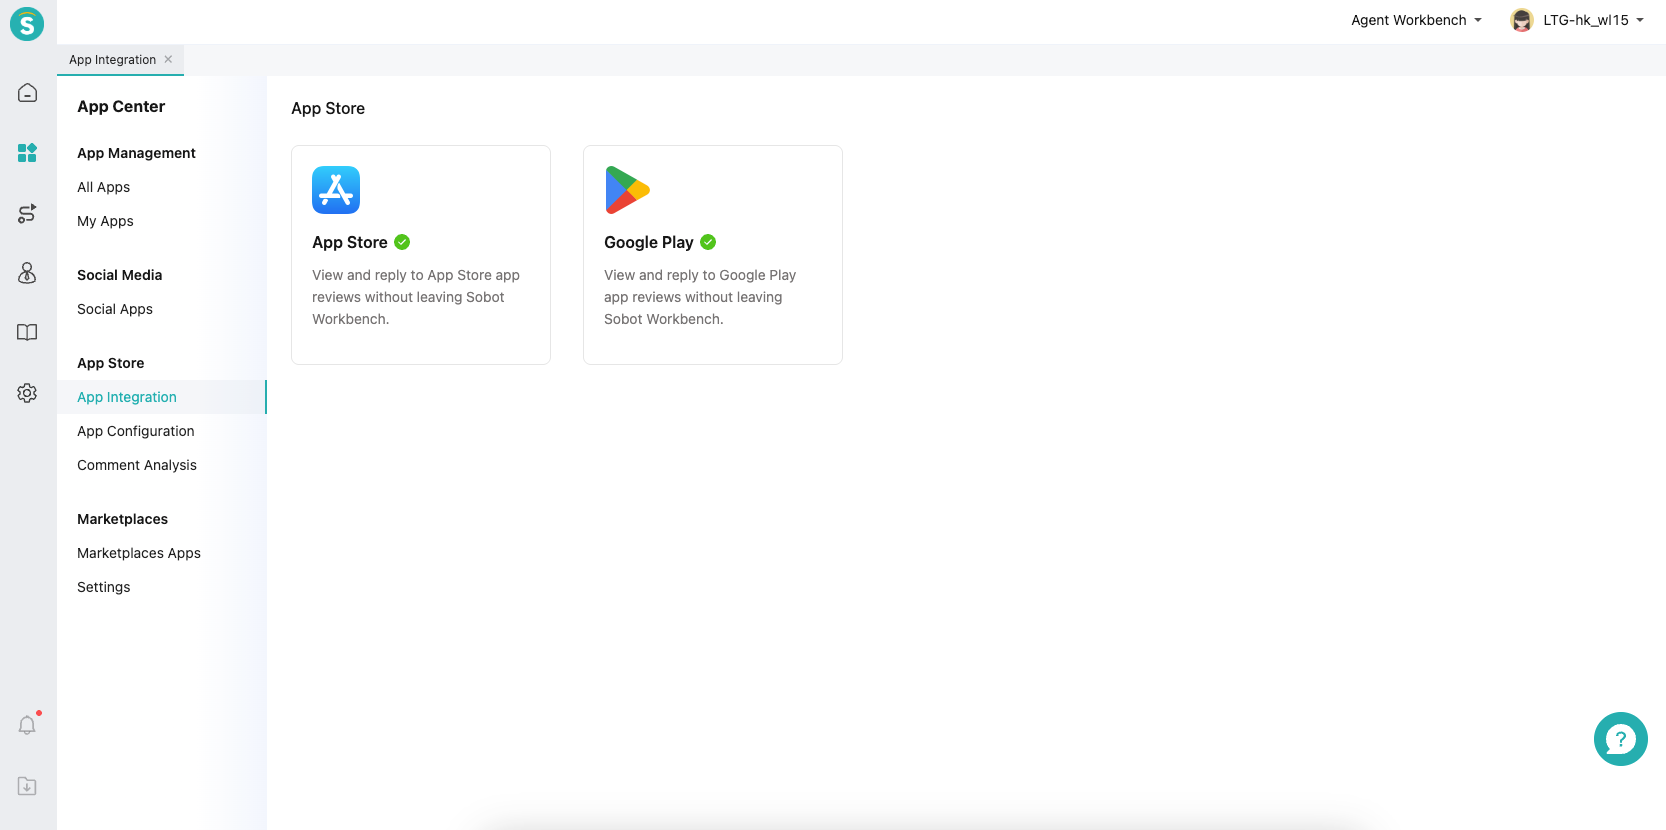
# Authorize Google Play App
# ● Start Integration
In the App Center - App Store - App Integration, find the Google Play app, click Start Integration, and enter the information submission page.
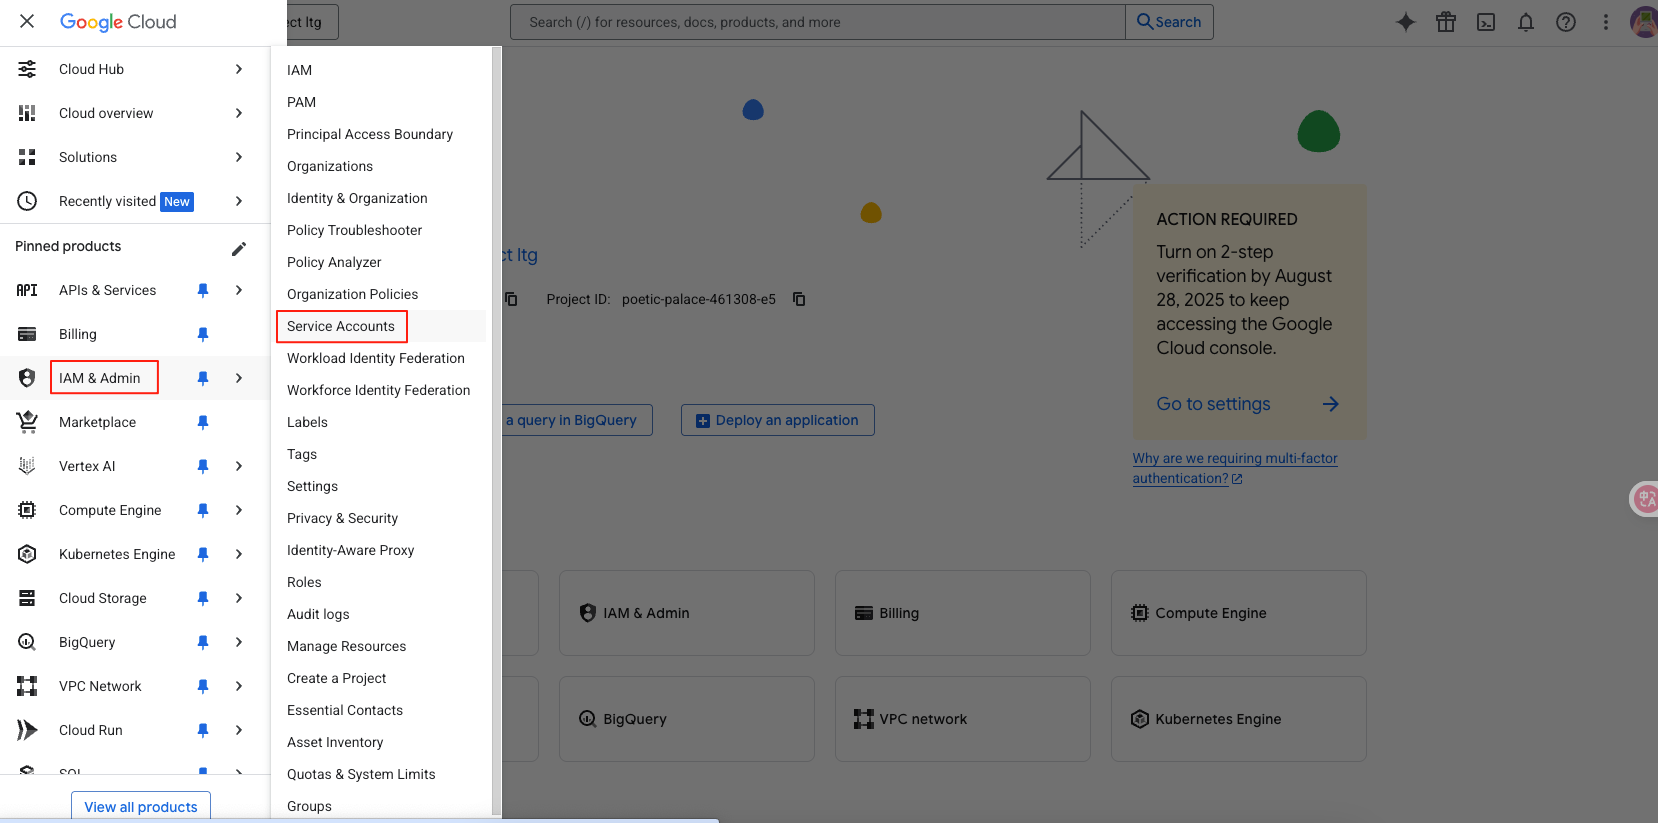
# ● Create a service account
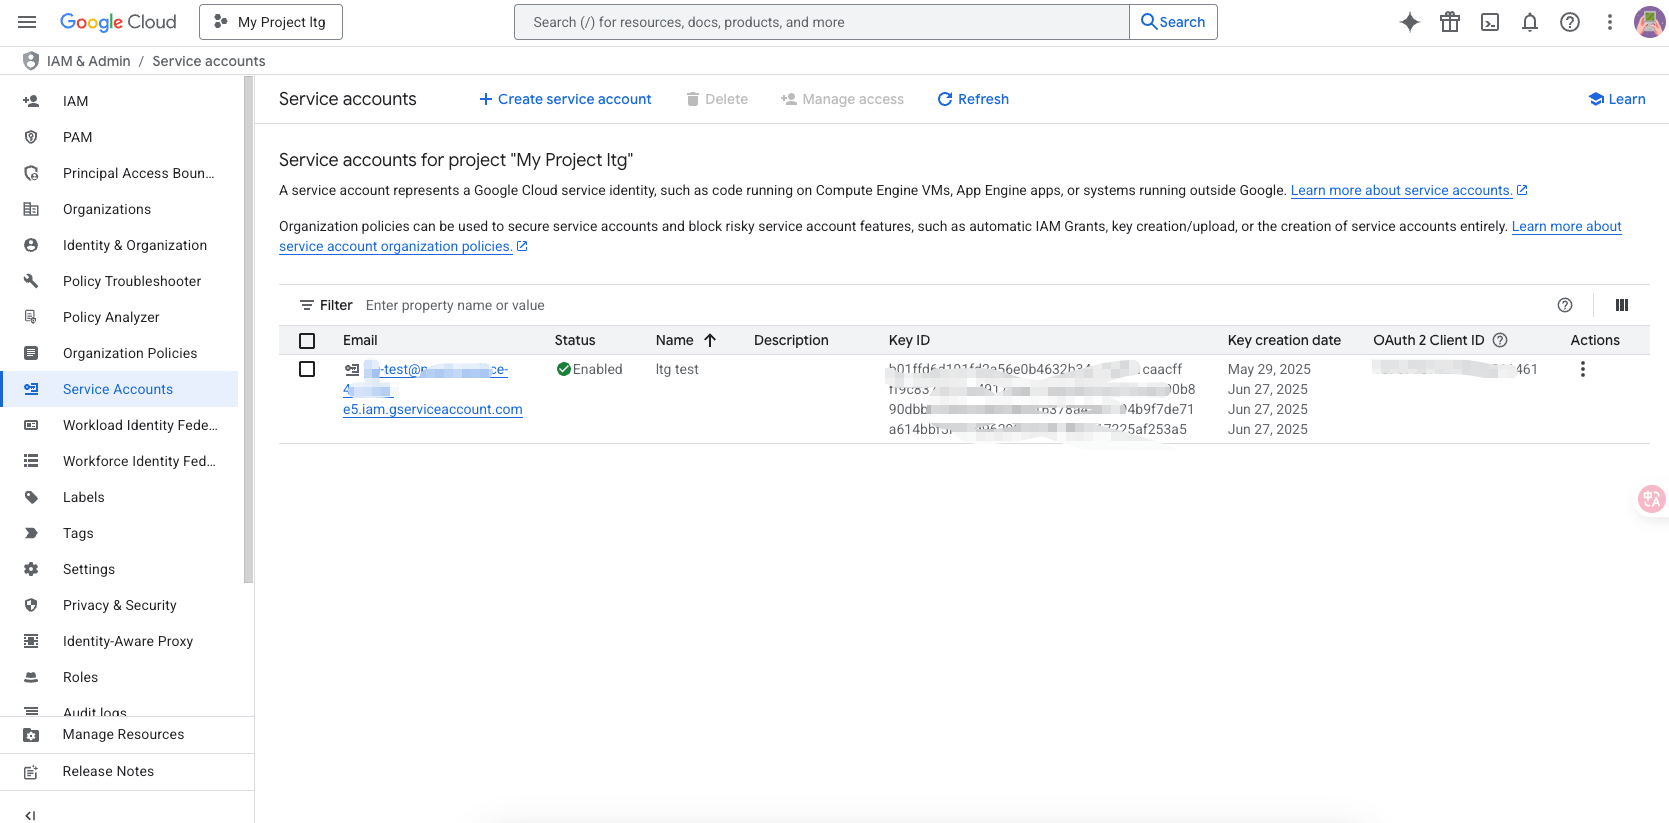
Log in to Google Cloud (opens new window), and find the service account.
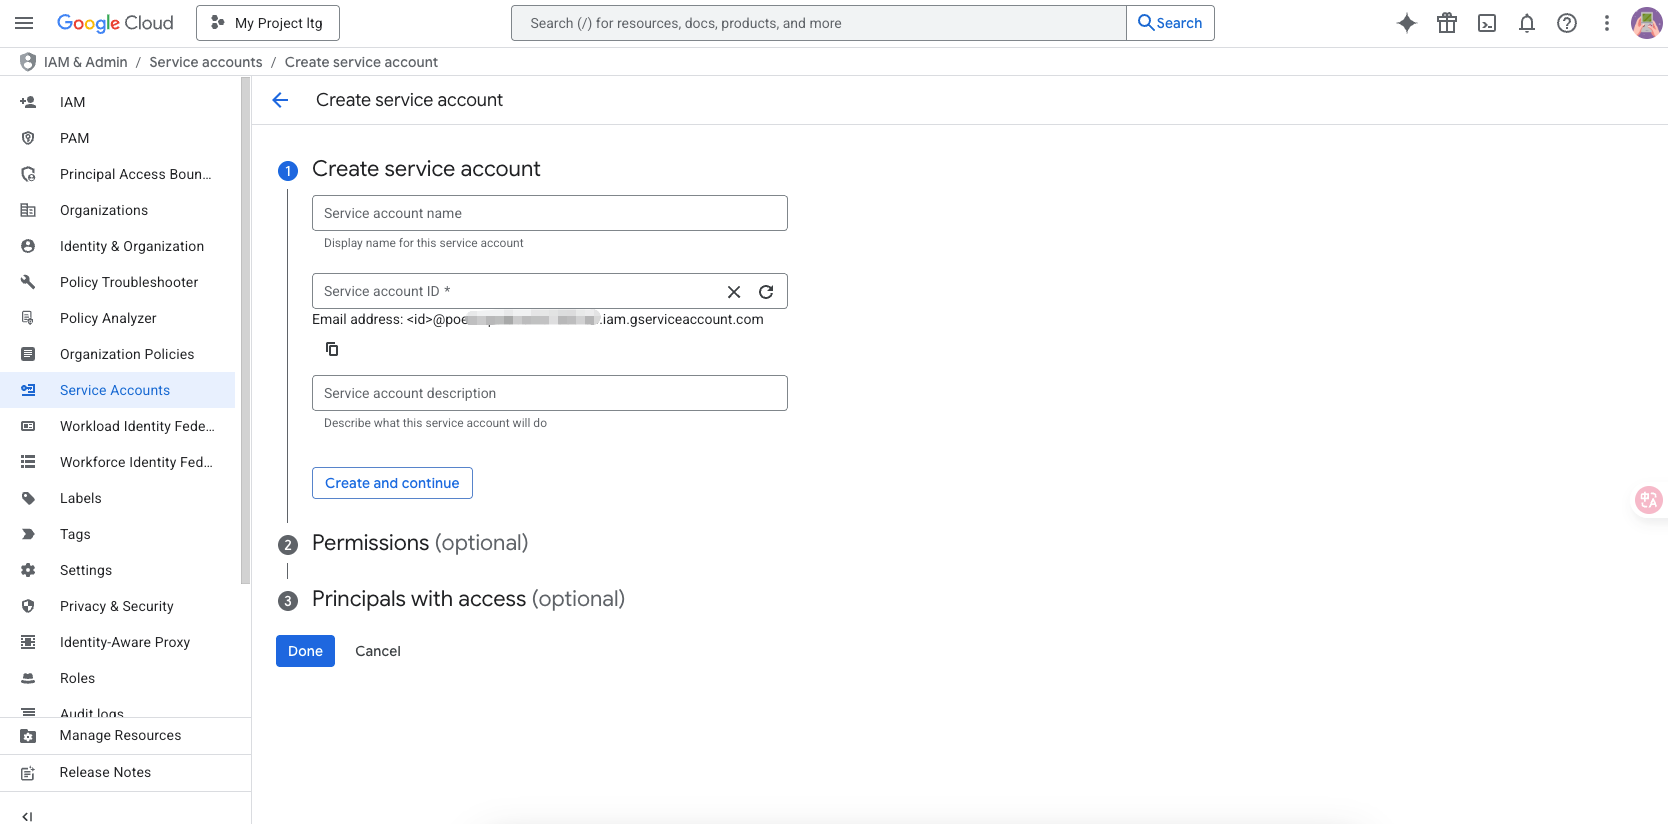
Click "Create Service Account", set the name, purpose, etc., click "Create and Continue" to proceed to the next step.
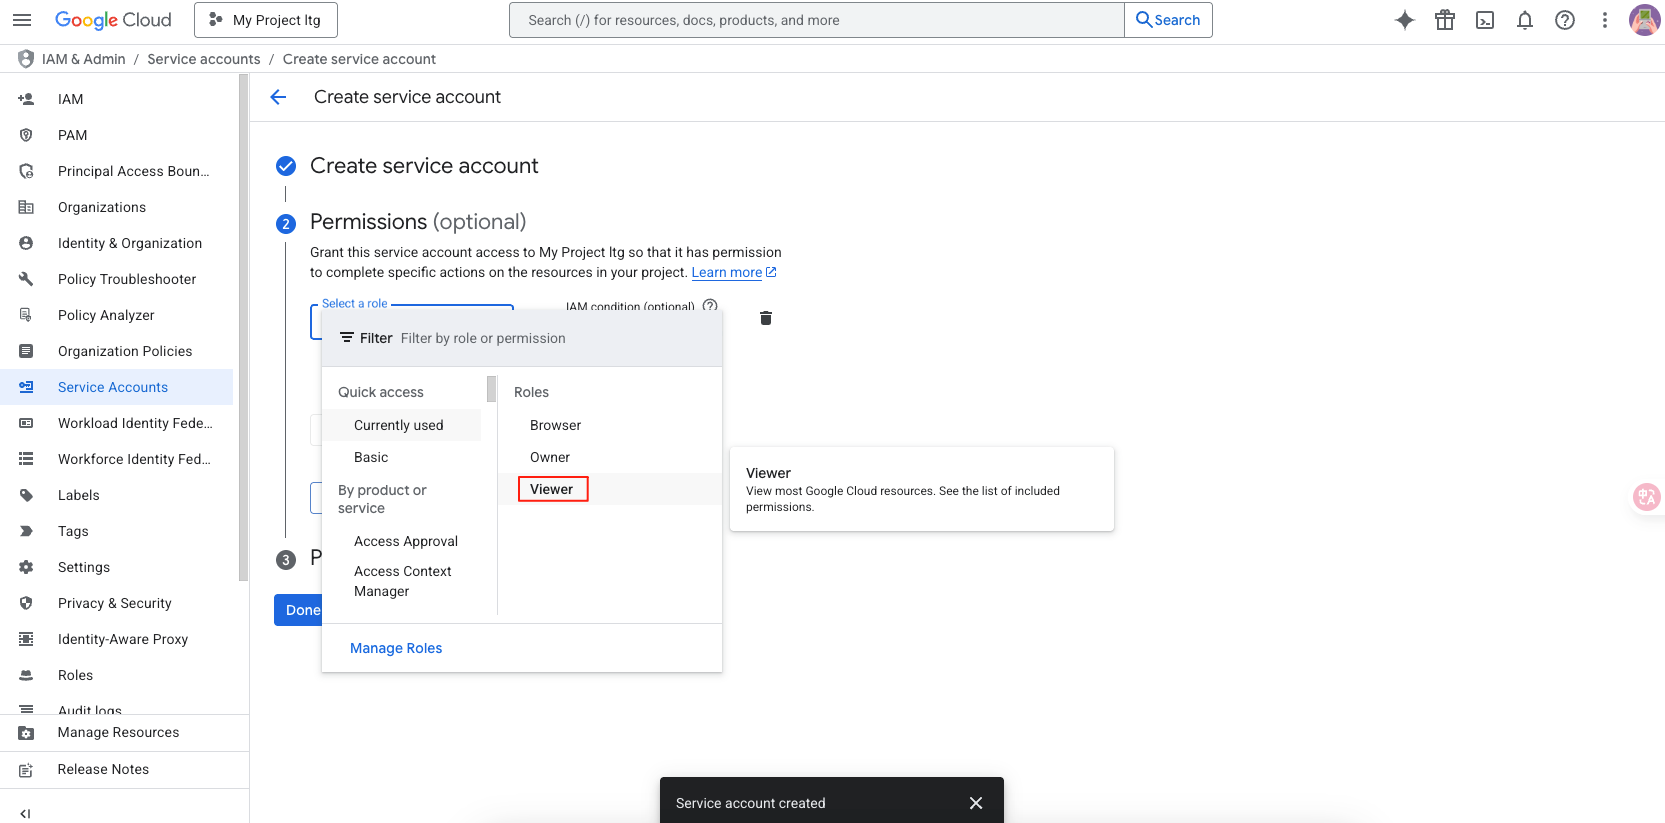
Assign the Viewer role, and click Complete.
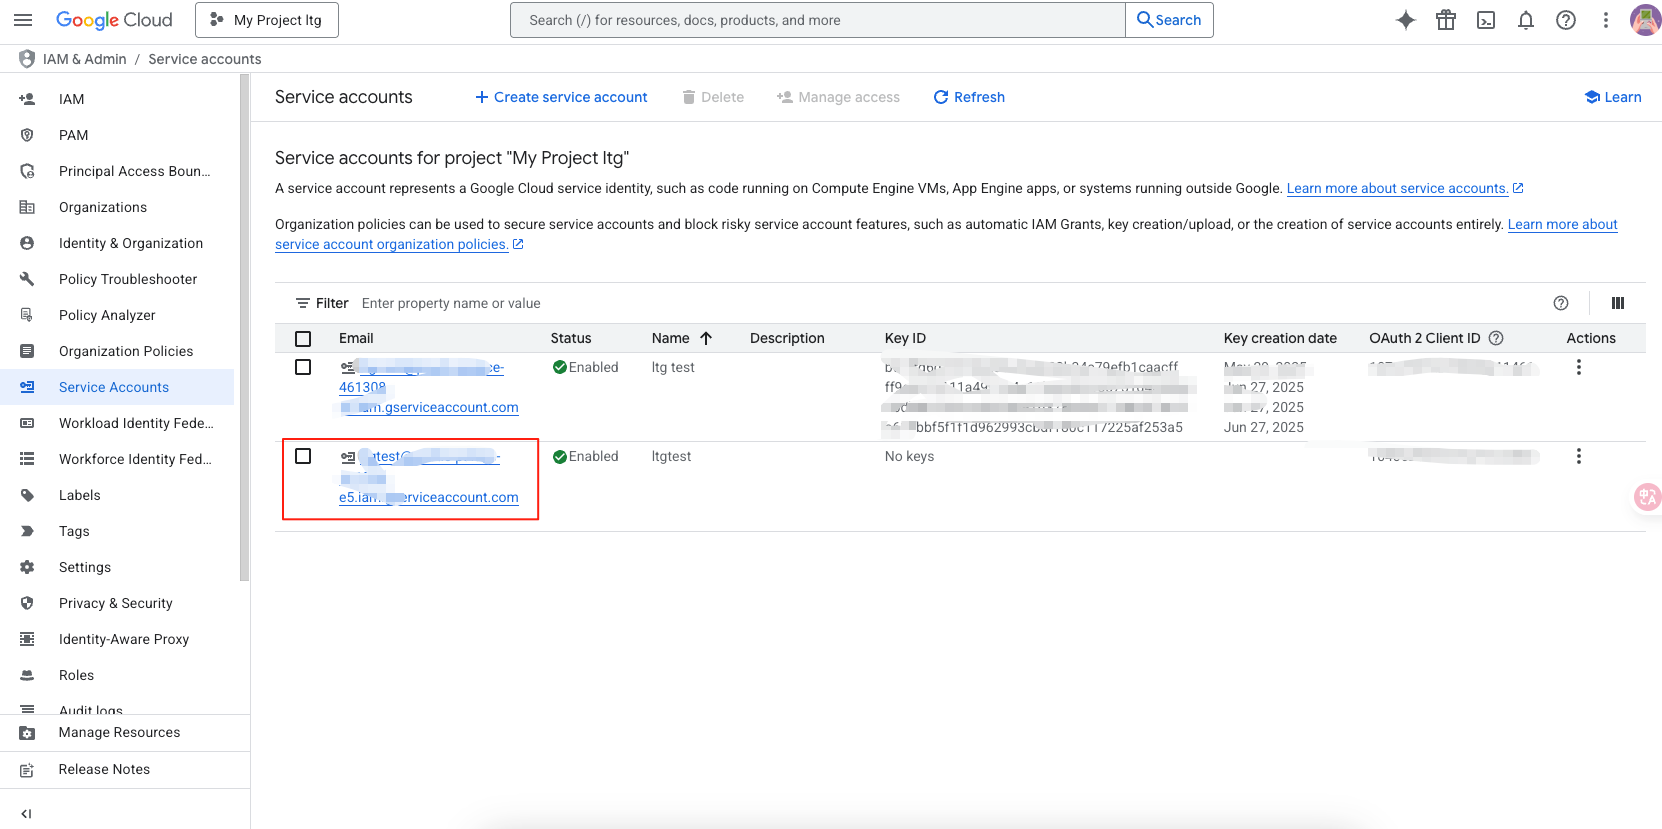
Go into the account you just created.
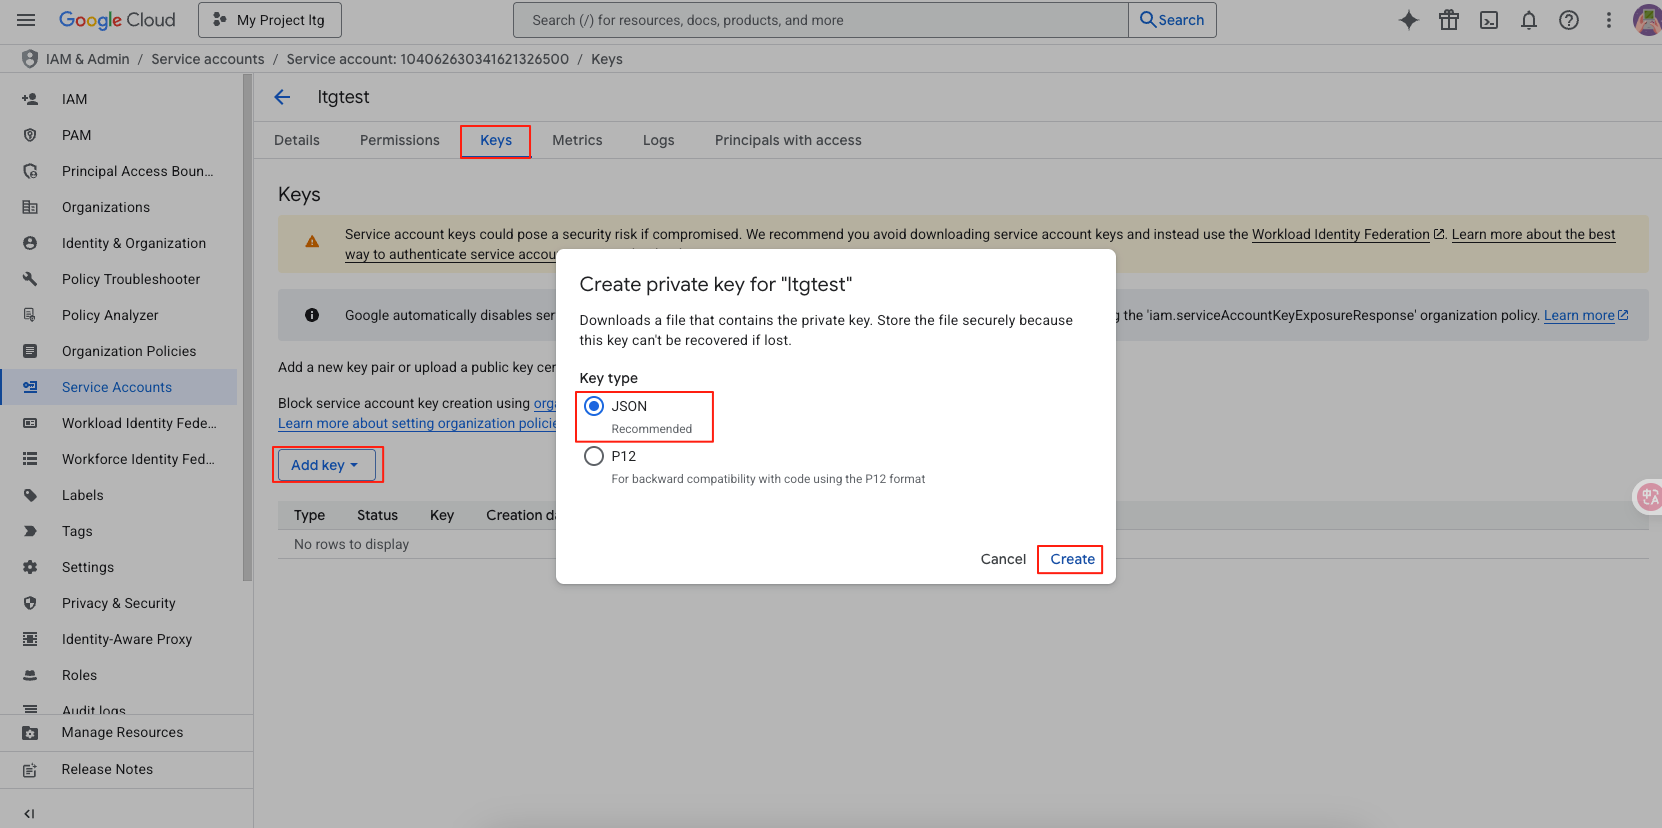
Create a new key and save the key file.
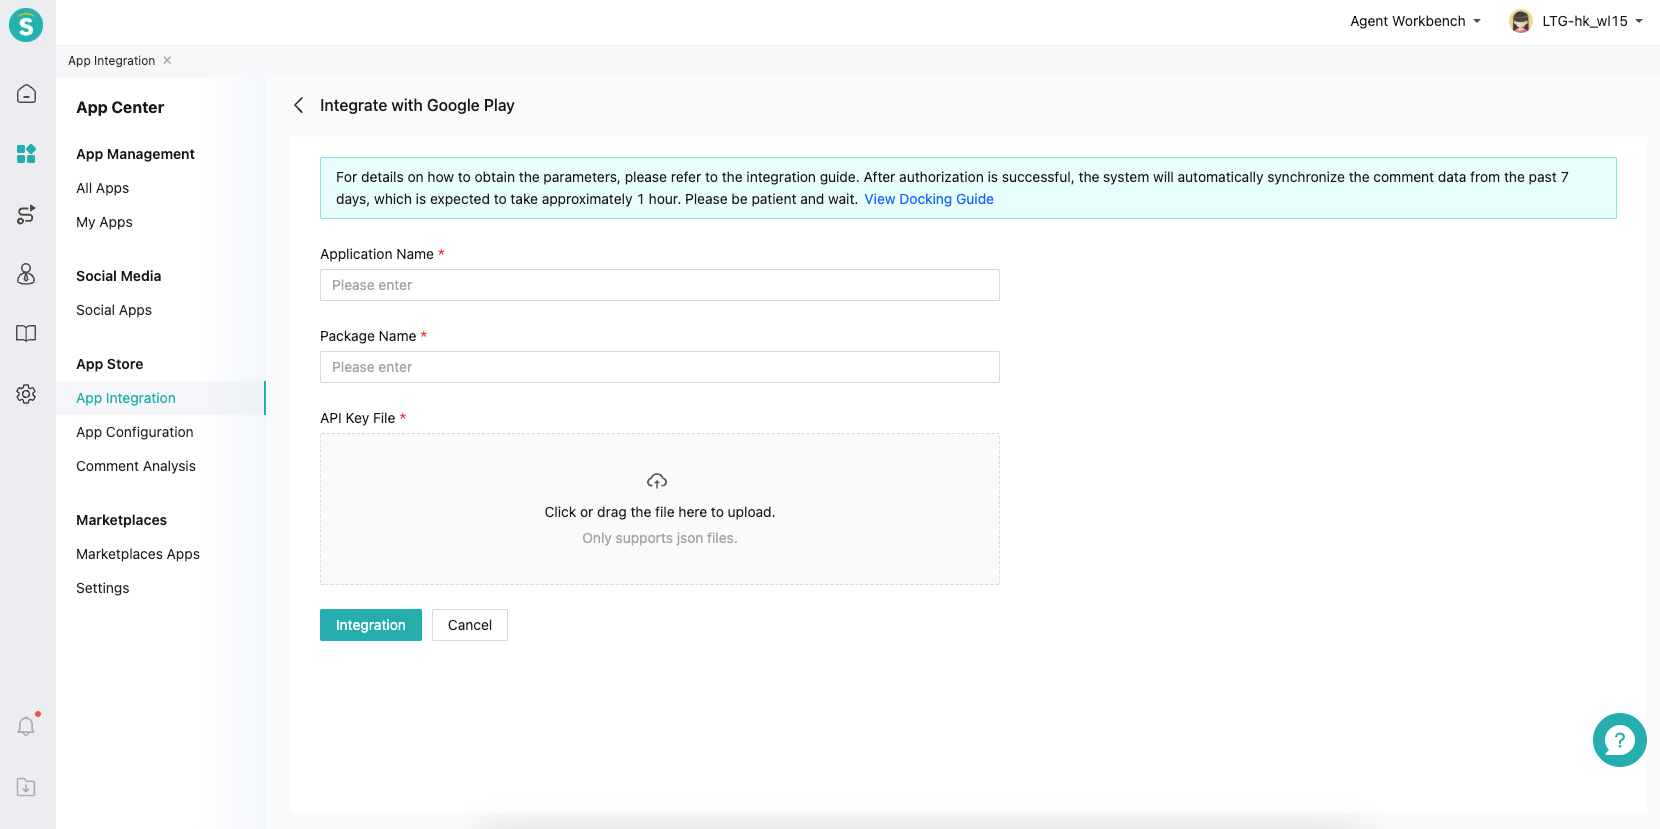
# ● Get Application Information
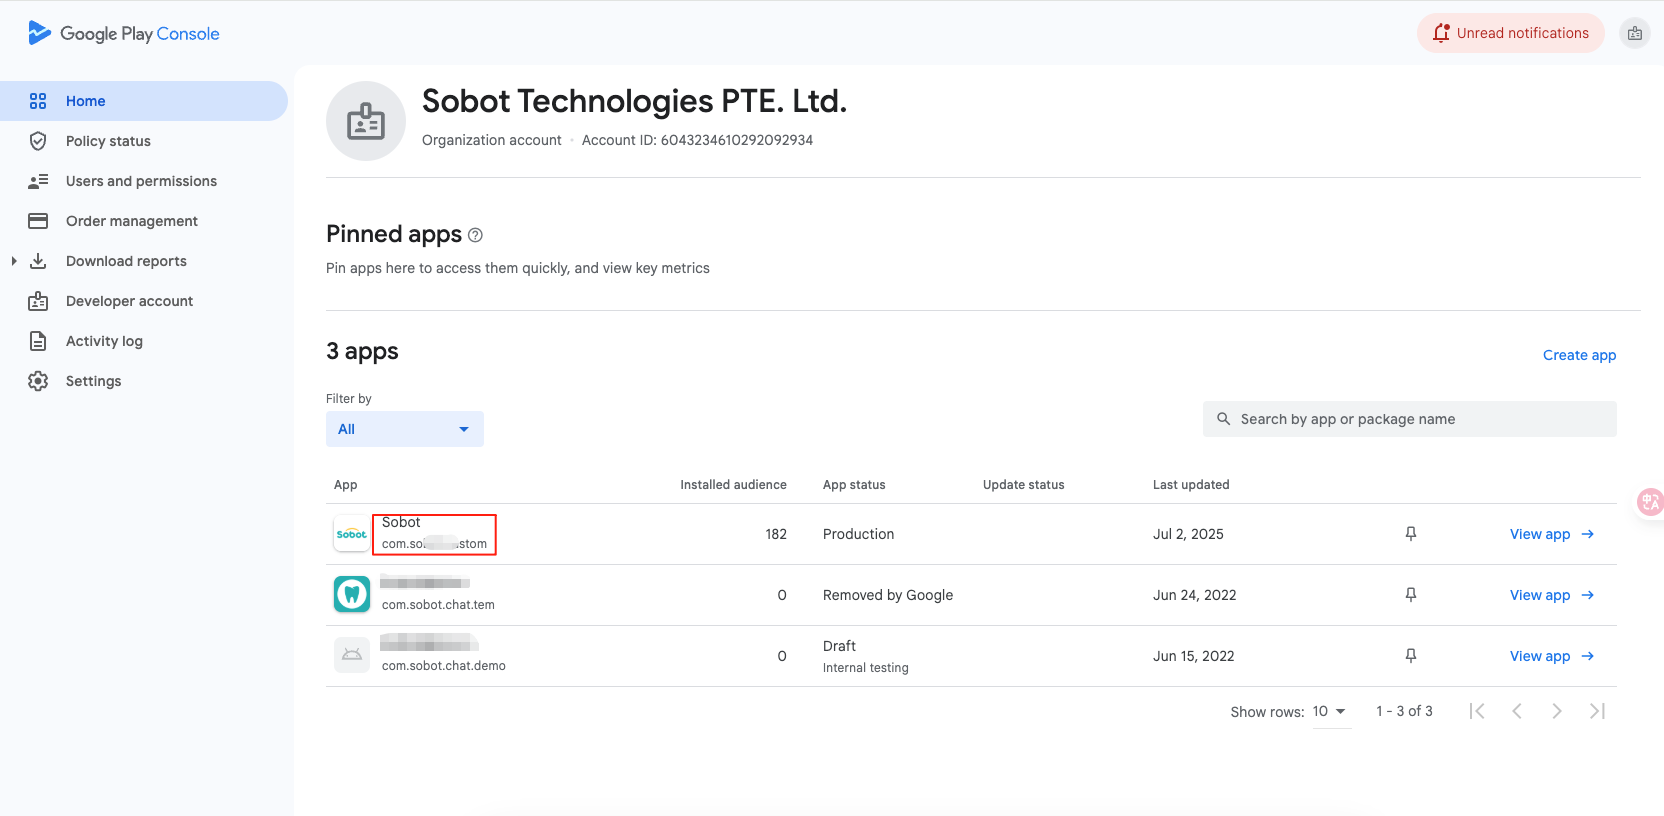
Log in to Google Play Console (opens new window), go to the home page, select the APP you want to connect, find the app name and app package name, and enter them into the system.
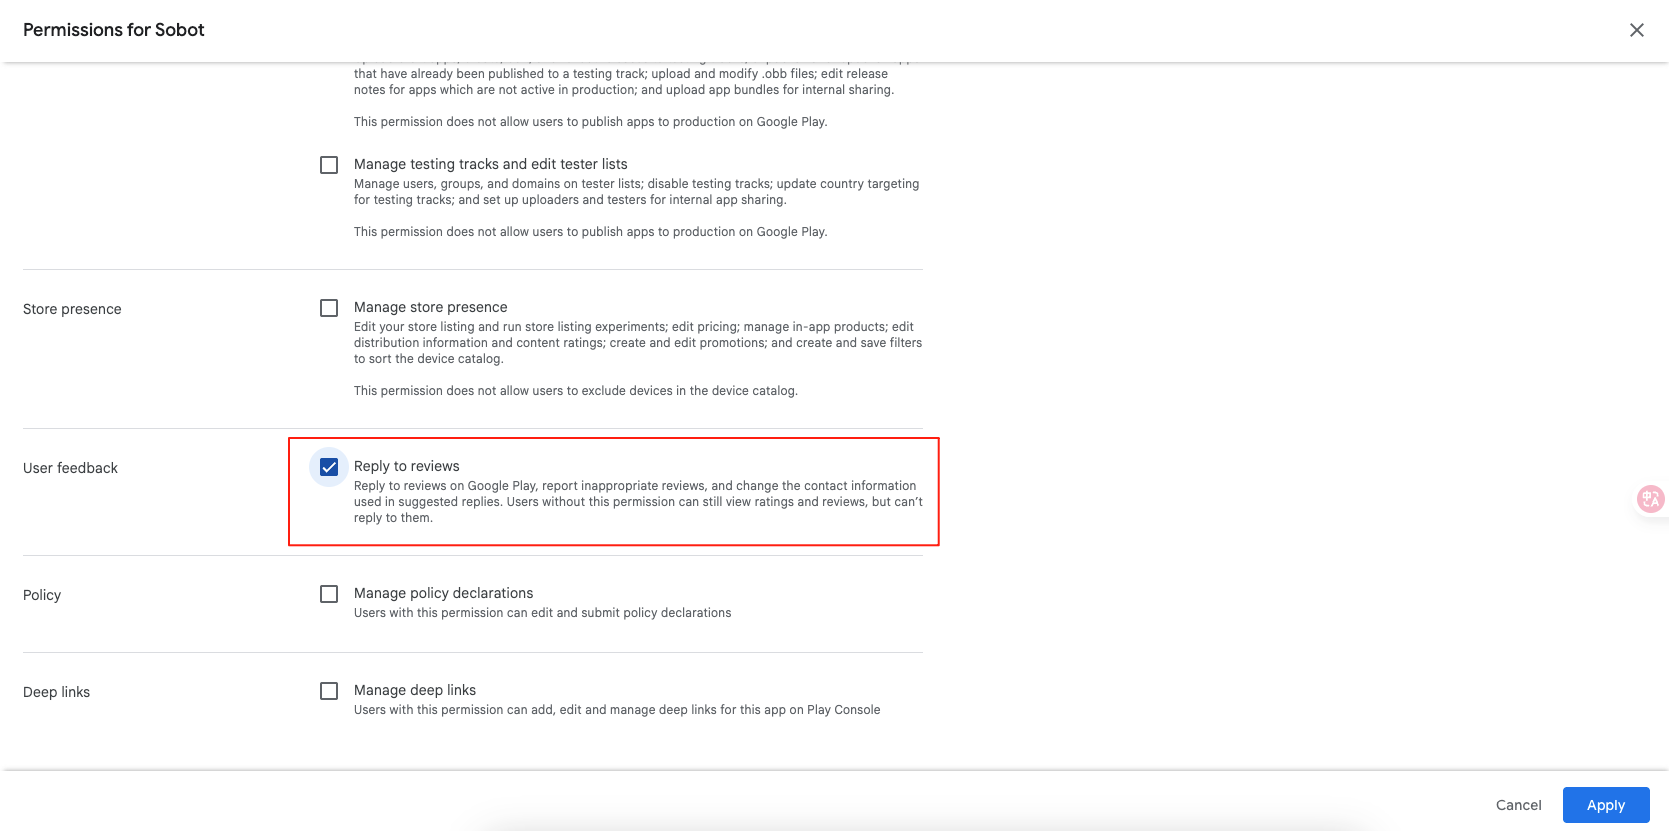
# ● Invite Users
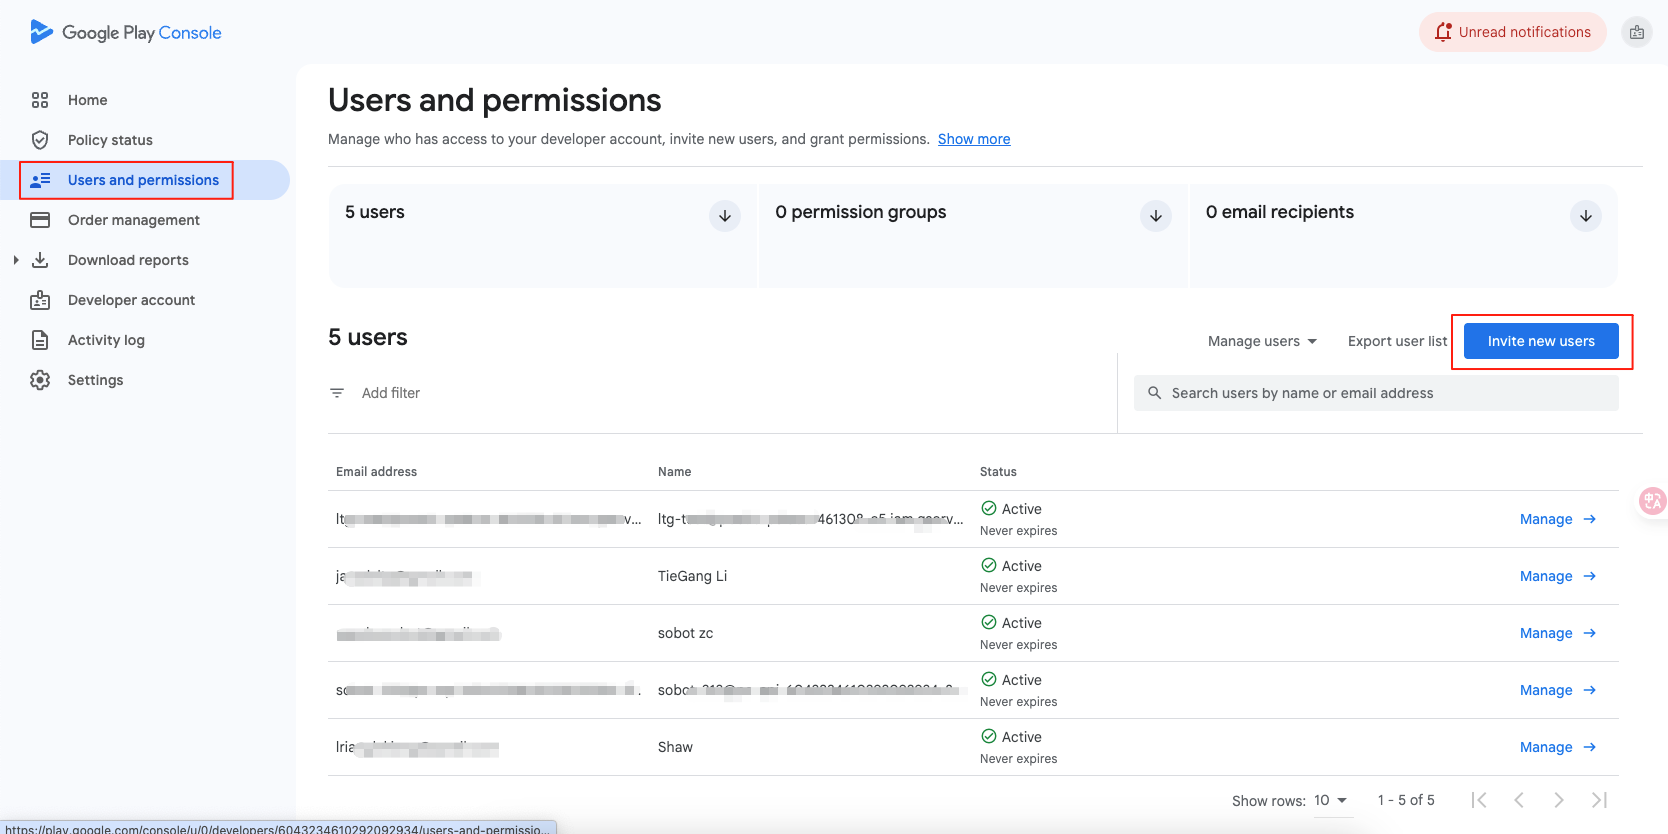
At the service account, copy the email address that was just generated.

Log in to Google Play Console (opens new window), find Users and permissions, and invite a new user.
Enter the email address you just copied and link the application you want to authorize.
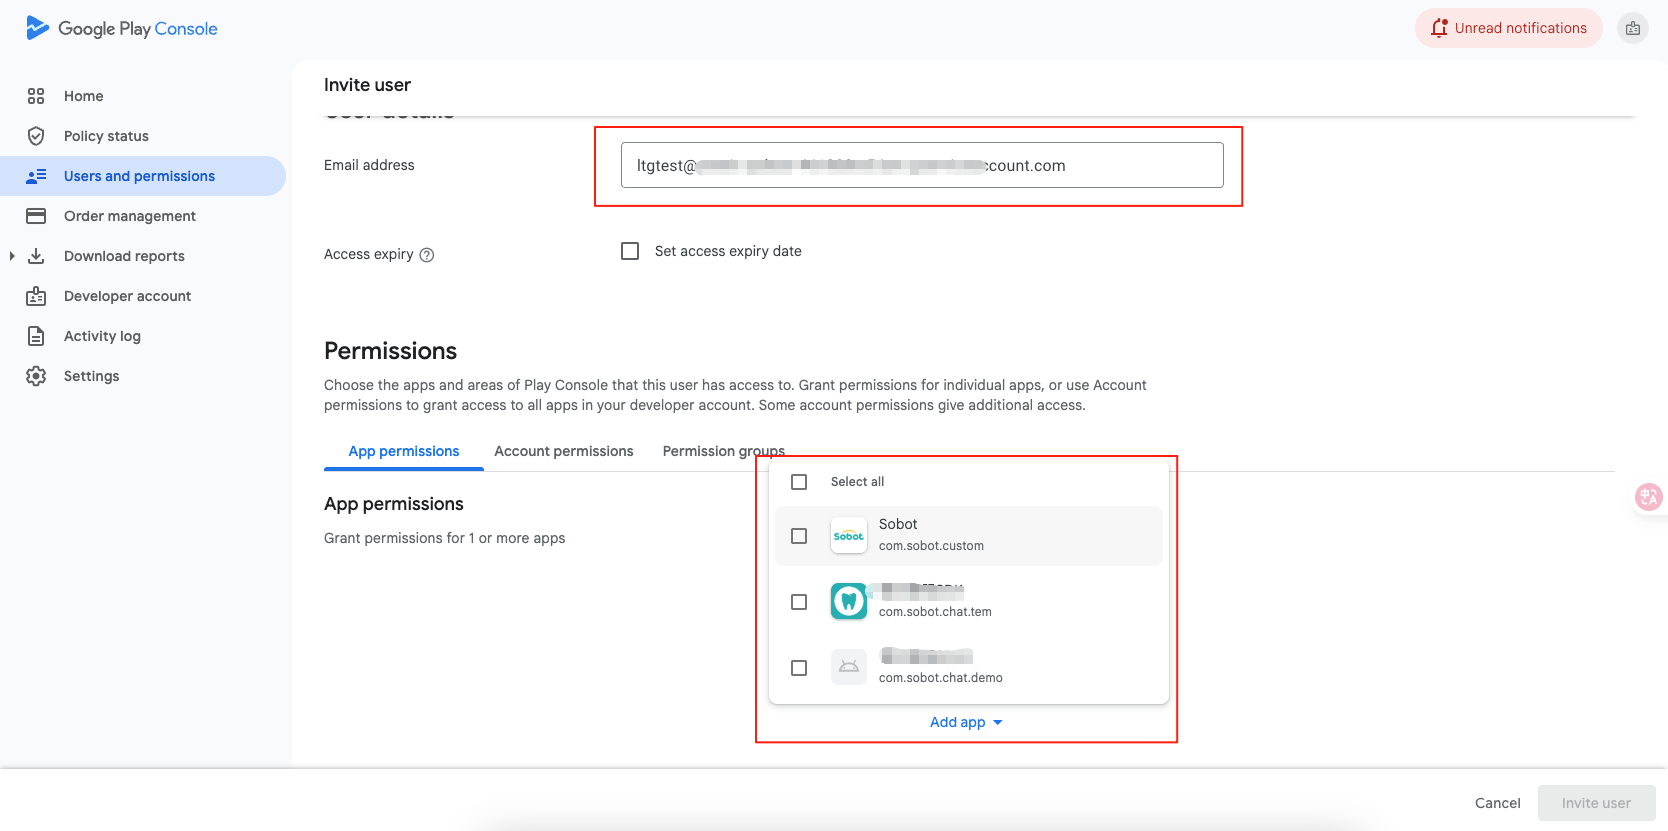
After selecting the app, permissions will pop up automatically. Select to reply to the review.
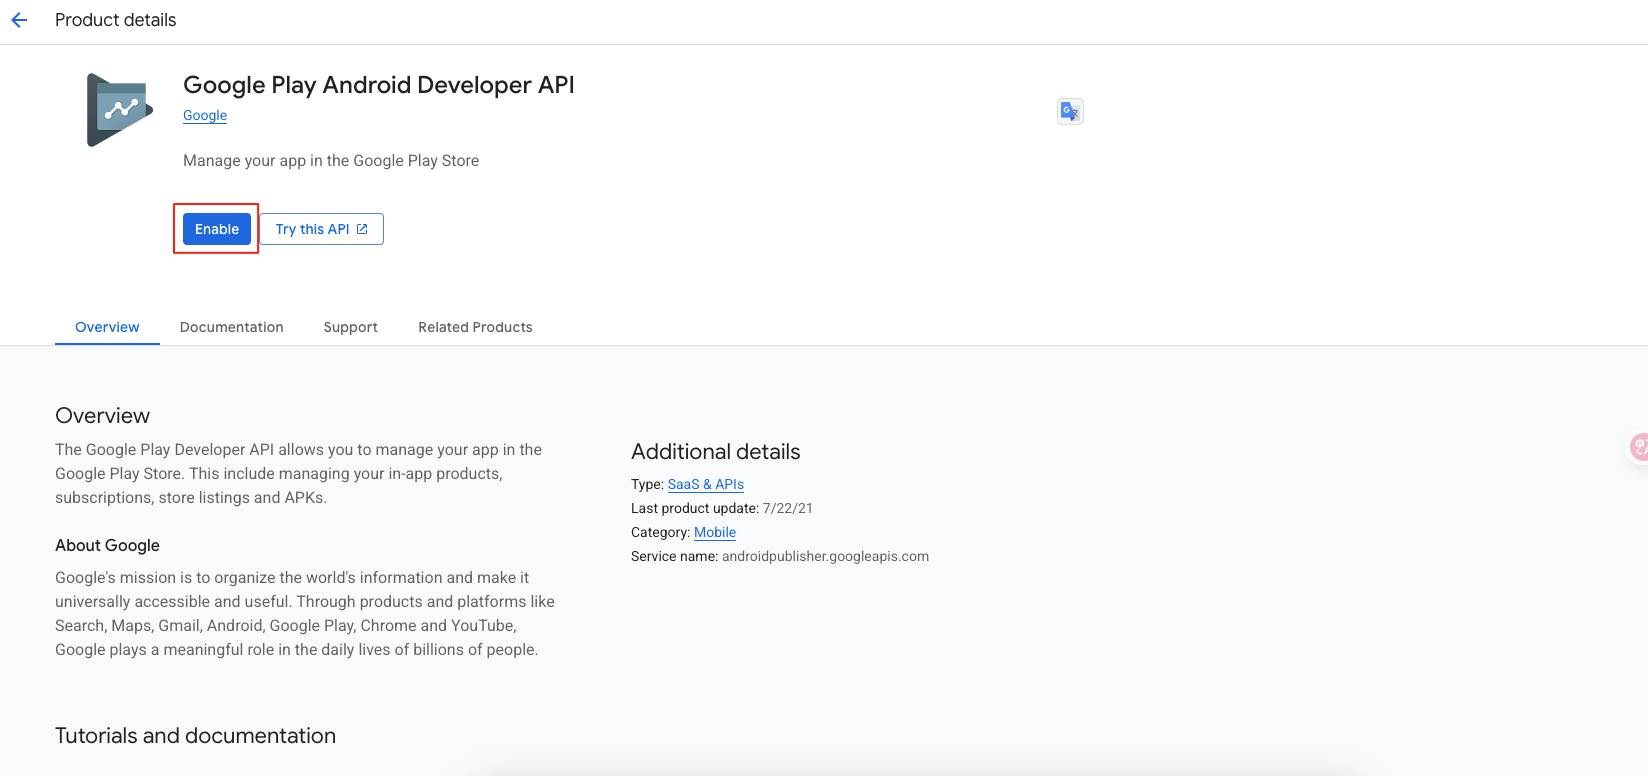
# ● Enable API
Log in to Google Cloud (opens new window) and click Enable APIs and Services.
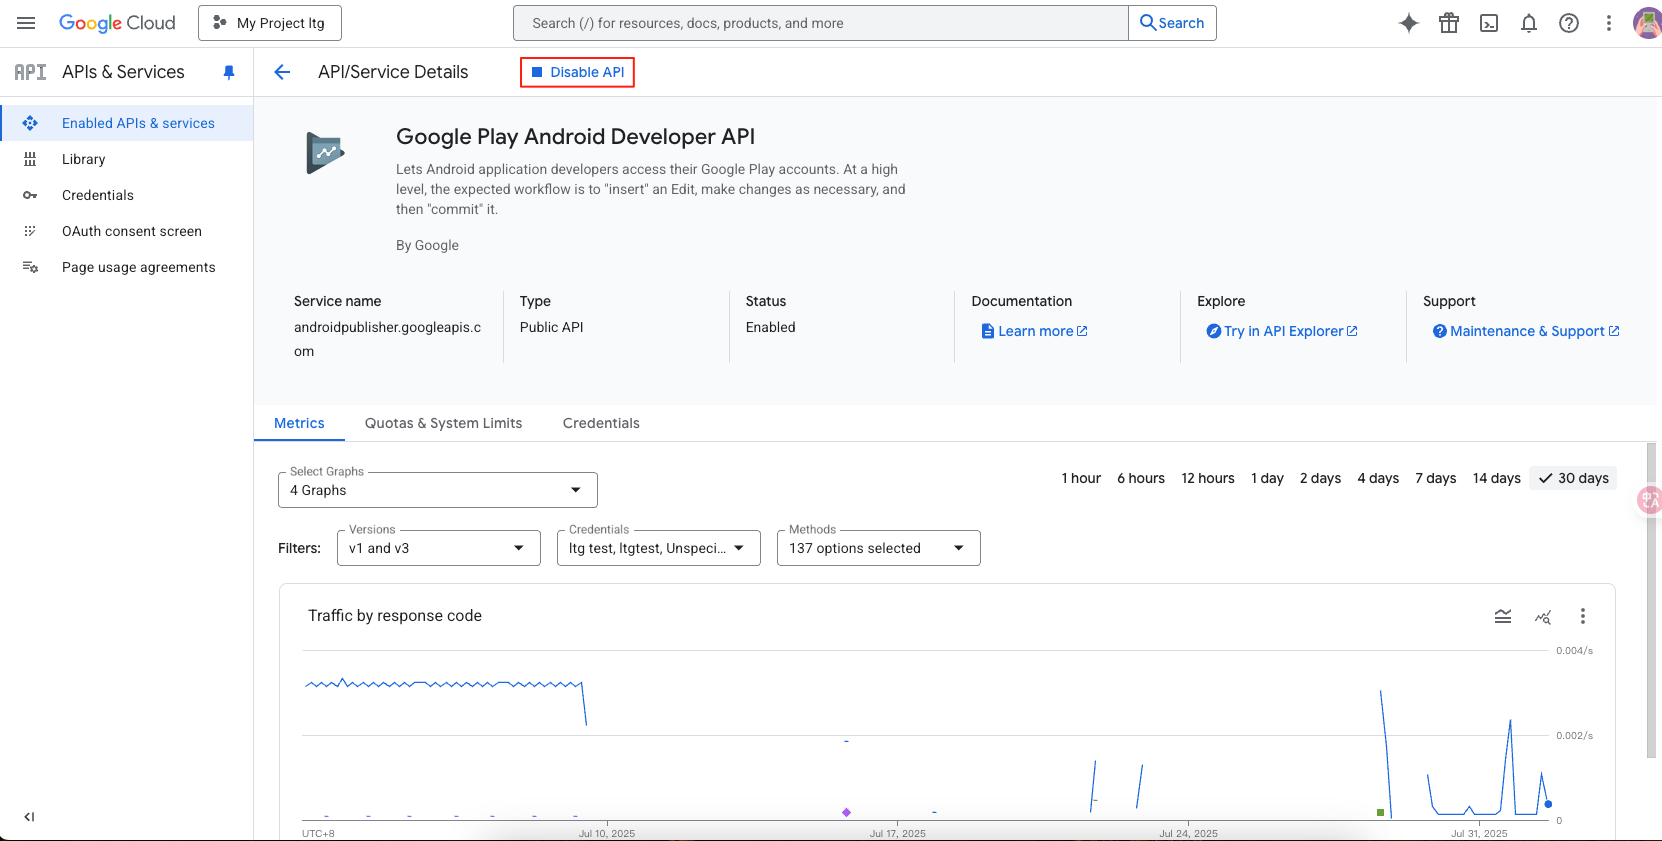
Find Google Play Android Developer API and Google Cloud APIs. If they are not enabled, enable them.
After the authorization is successful, we will immediately pull the review data of the app from the past 7 days. About 10 minutes later, you can view and reply to the app's reviews on the customer service workstation—app store—app review page. For specific handling methods, please check the Application Review Usage Guide
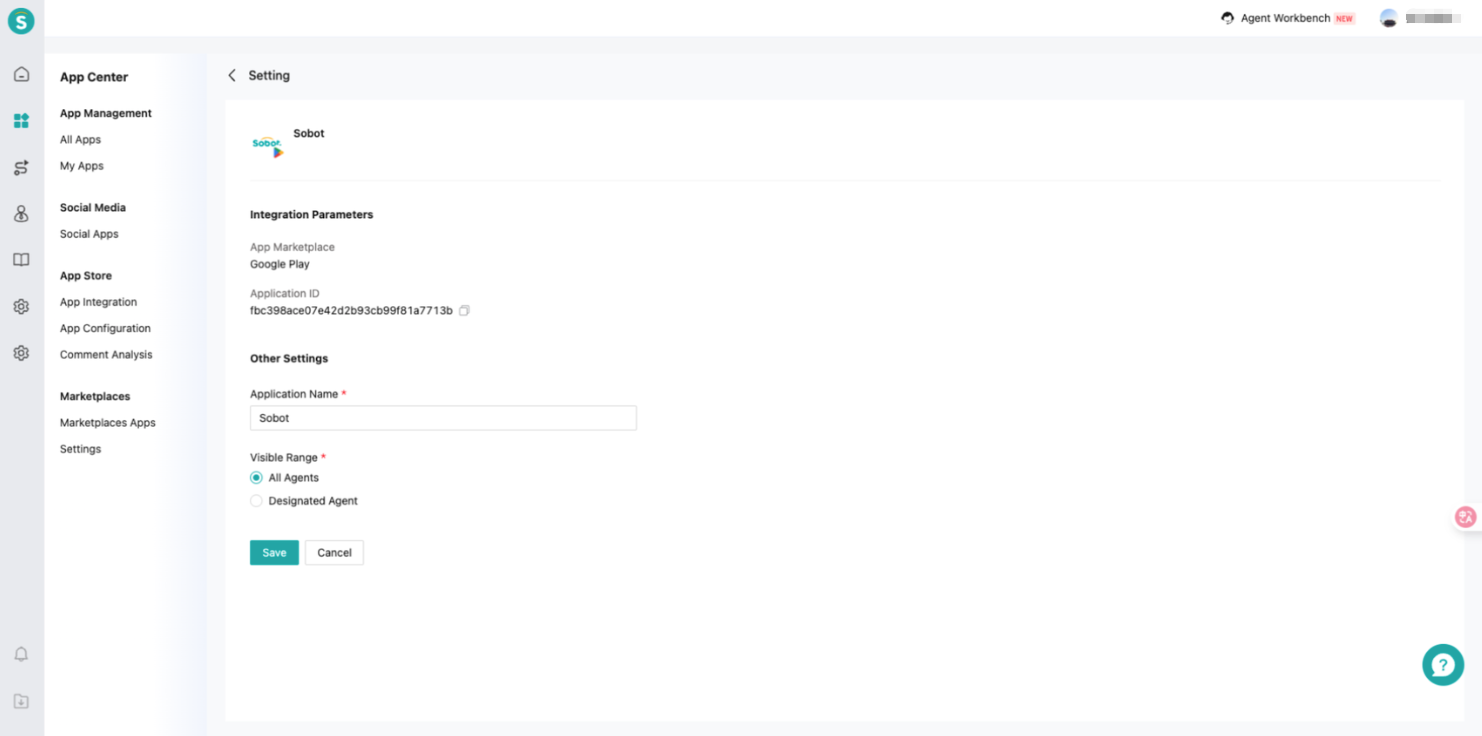
# Set the visibility scope of the application
After successful integration, you can specify which customer service agents or skill groups can see the comments for this app within its settings page.