Amazon Integration Guide
# Amazon Integration Guide
——Learn the specific steps to integrate Amazon services with Sobot Agent Workbench through this article;
# Preparation
● A Sobot system administrator account.
● An Amazon account owner credentials.
# Authorize Amazon Application
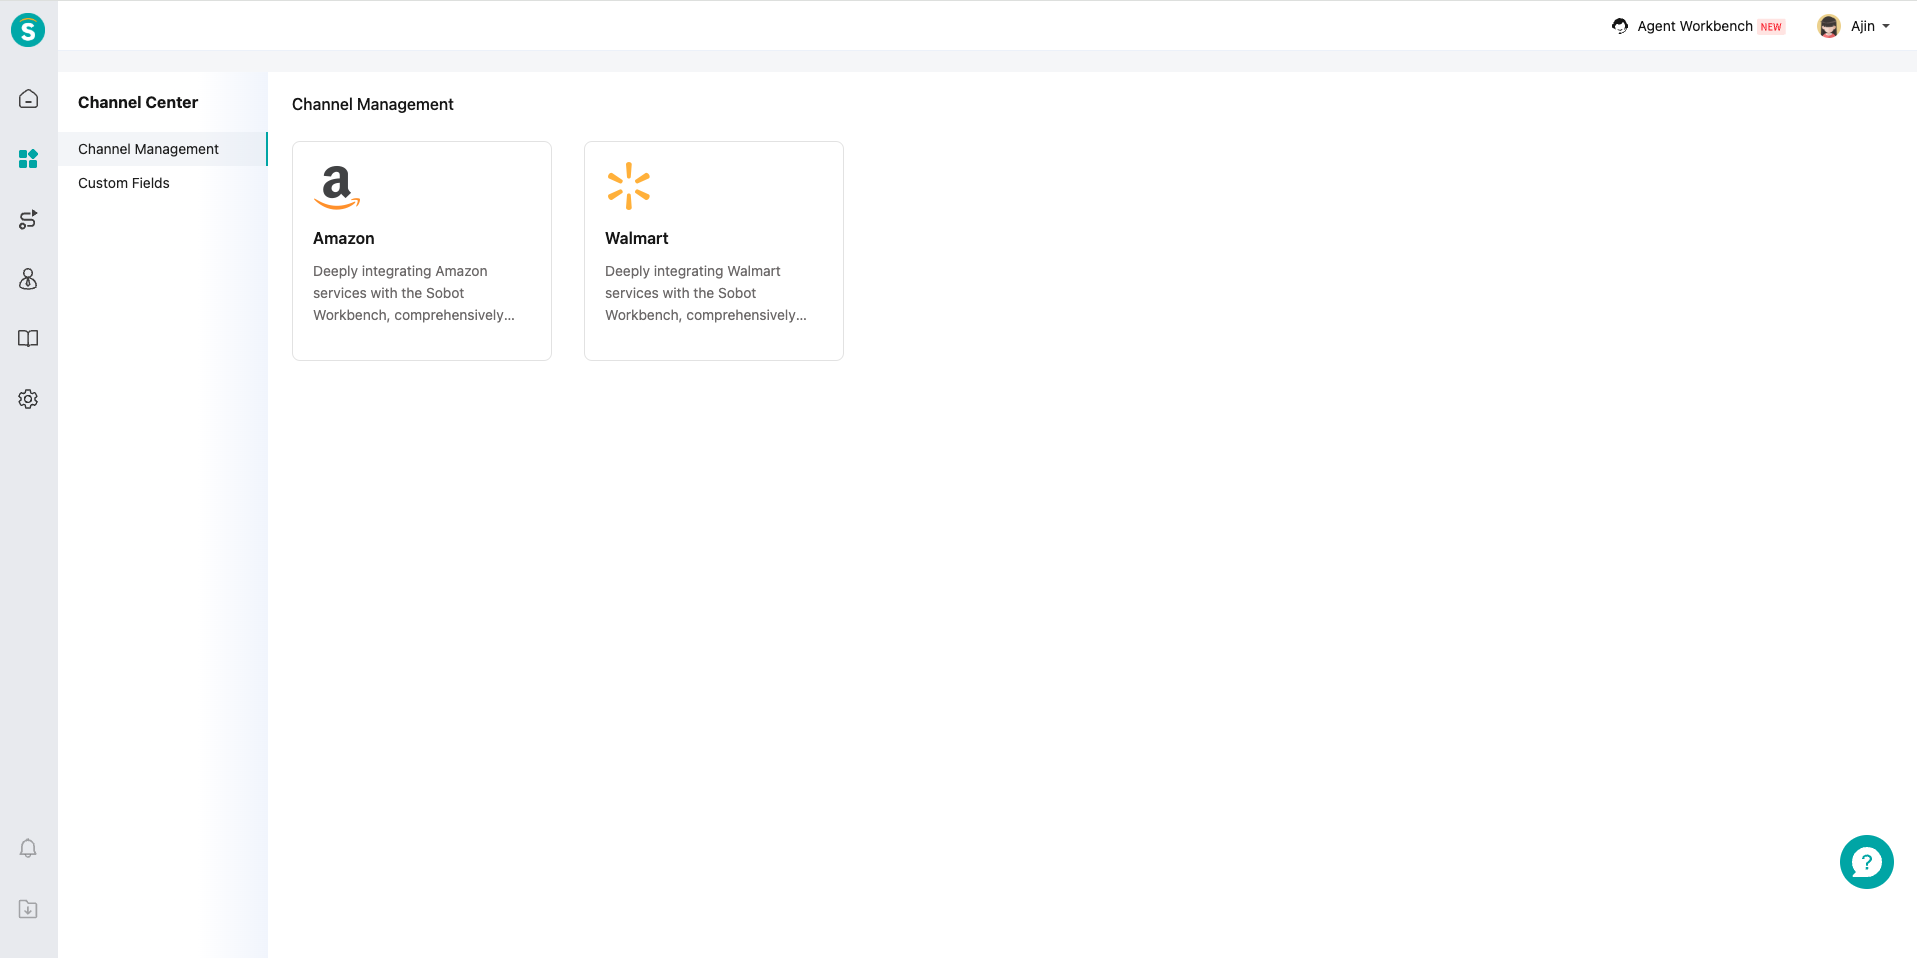
# ● Start Integration
Find the Amazon application in Channel Center——Channel Management, then click "Start Integration".
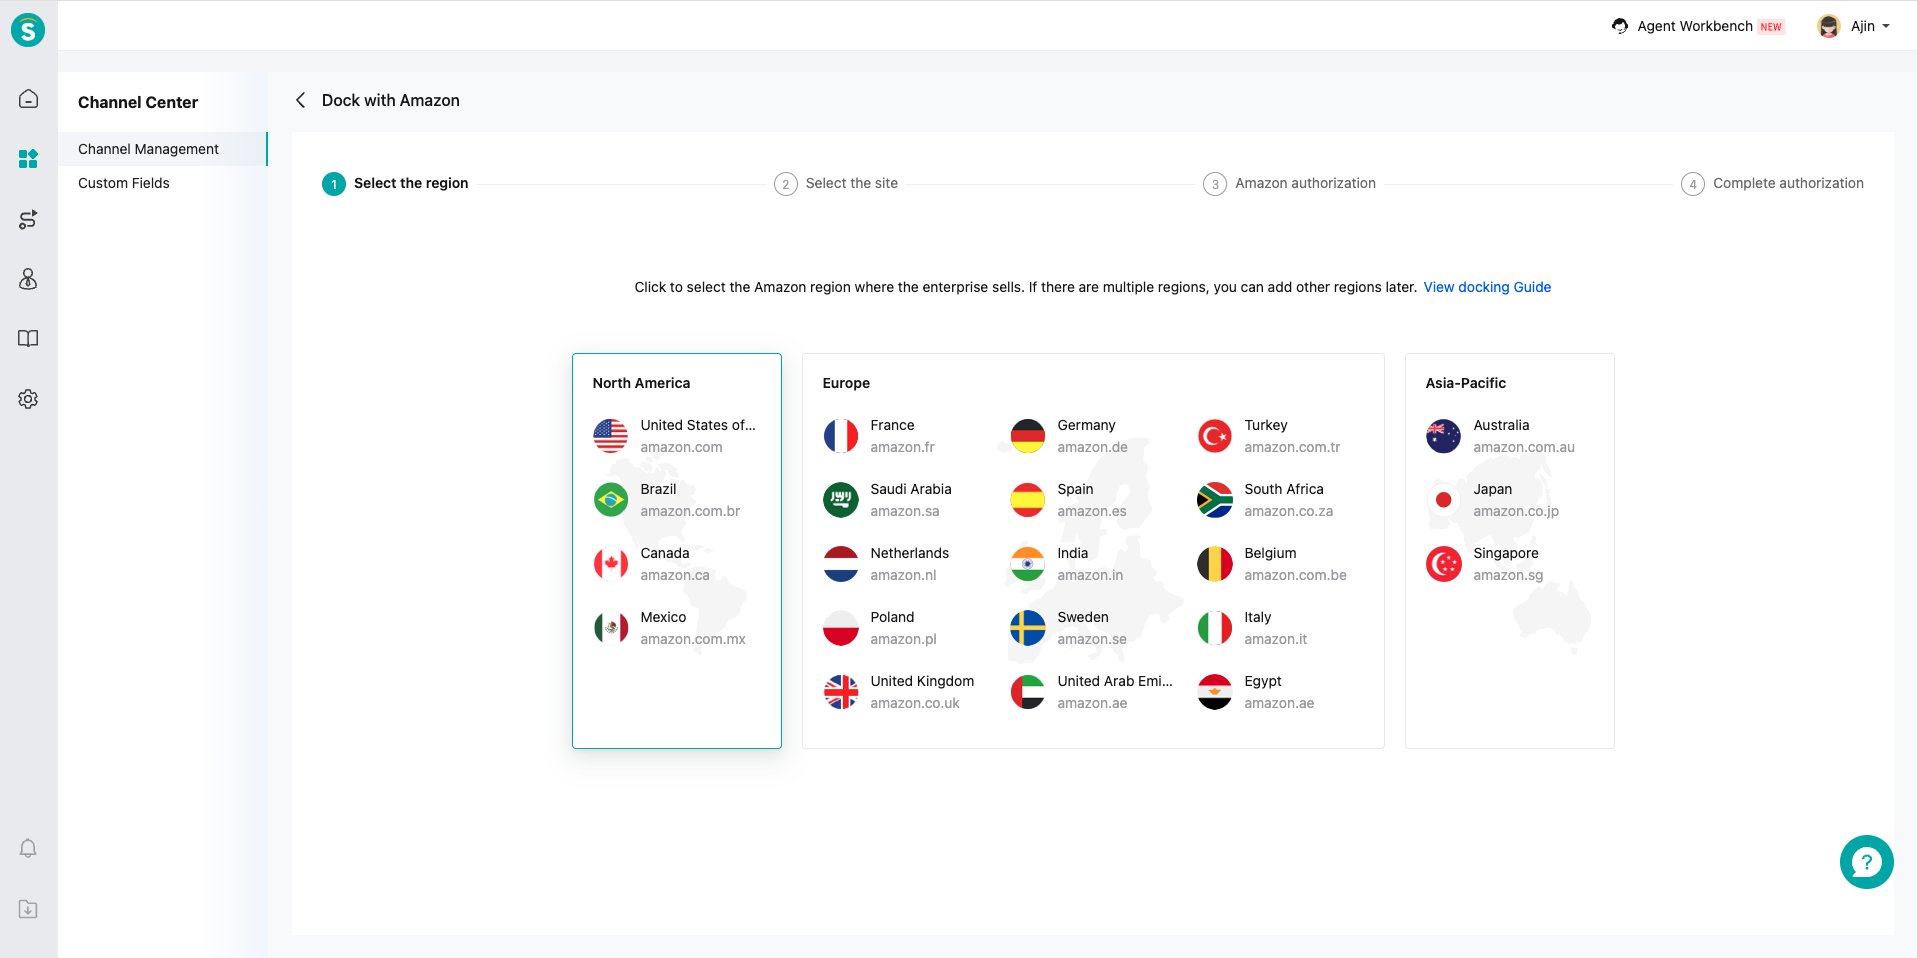
# ● Select Region
Choose the Amazon sales region: North America, Europe, or Asia-Pacific. Select any current sales region. For multiple sales regions, additional regions can be added later.
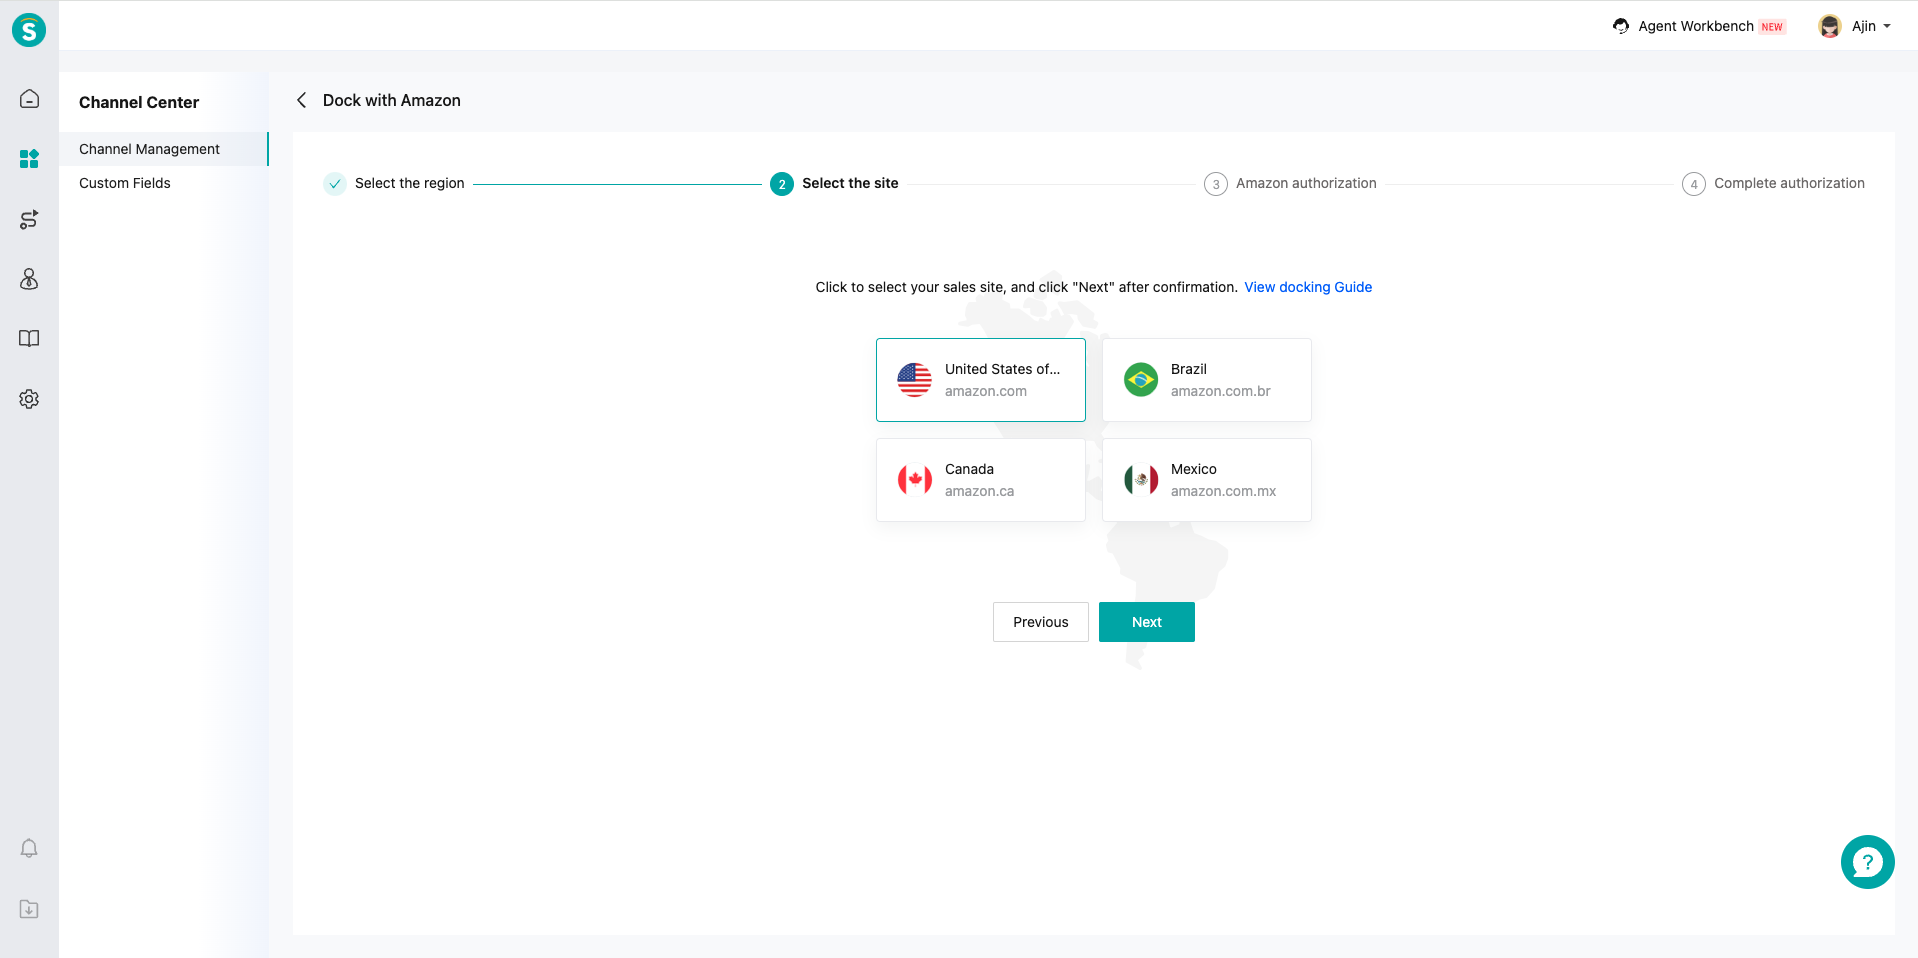
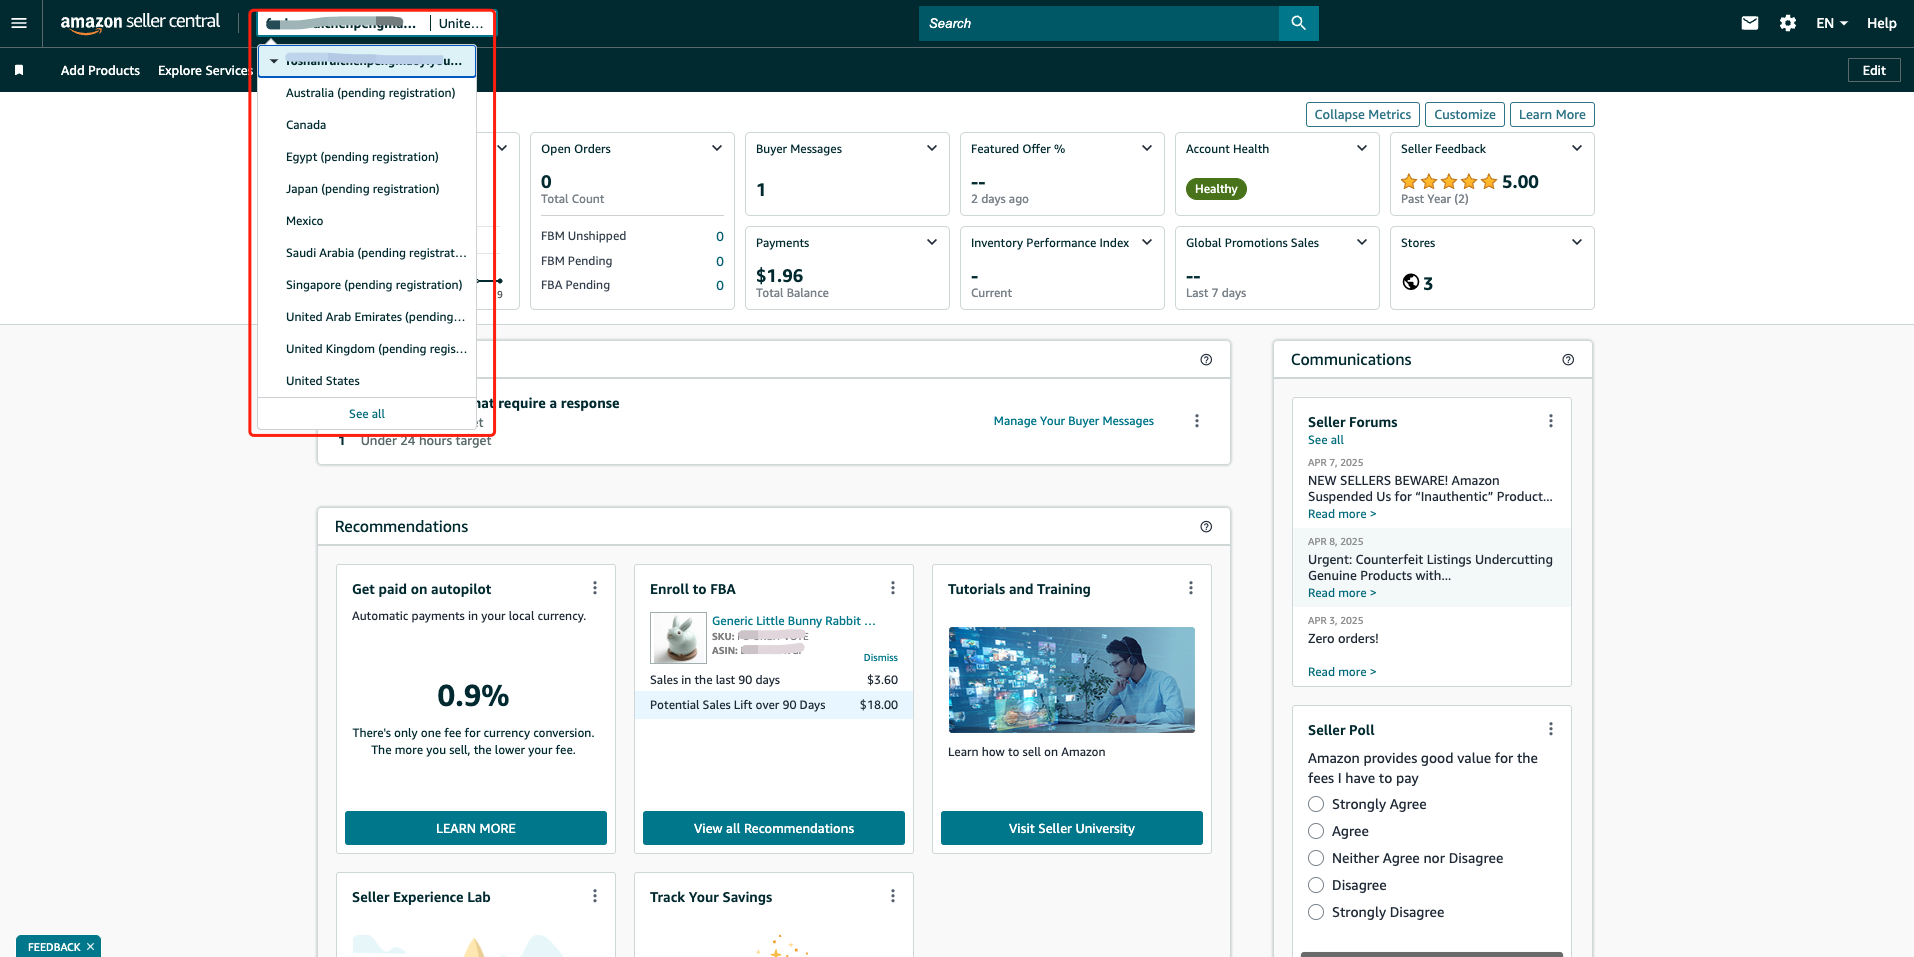
# ● Select Site
Choose your sales site. Sites within the same region only require one authorization. For example, after authorizing the US site in North America, other sites in this region won't need re-authorization.
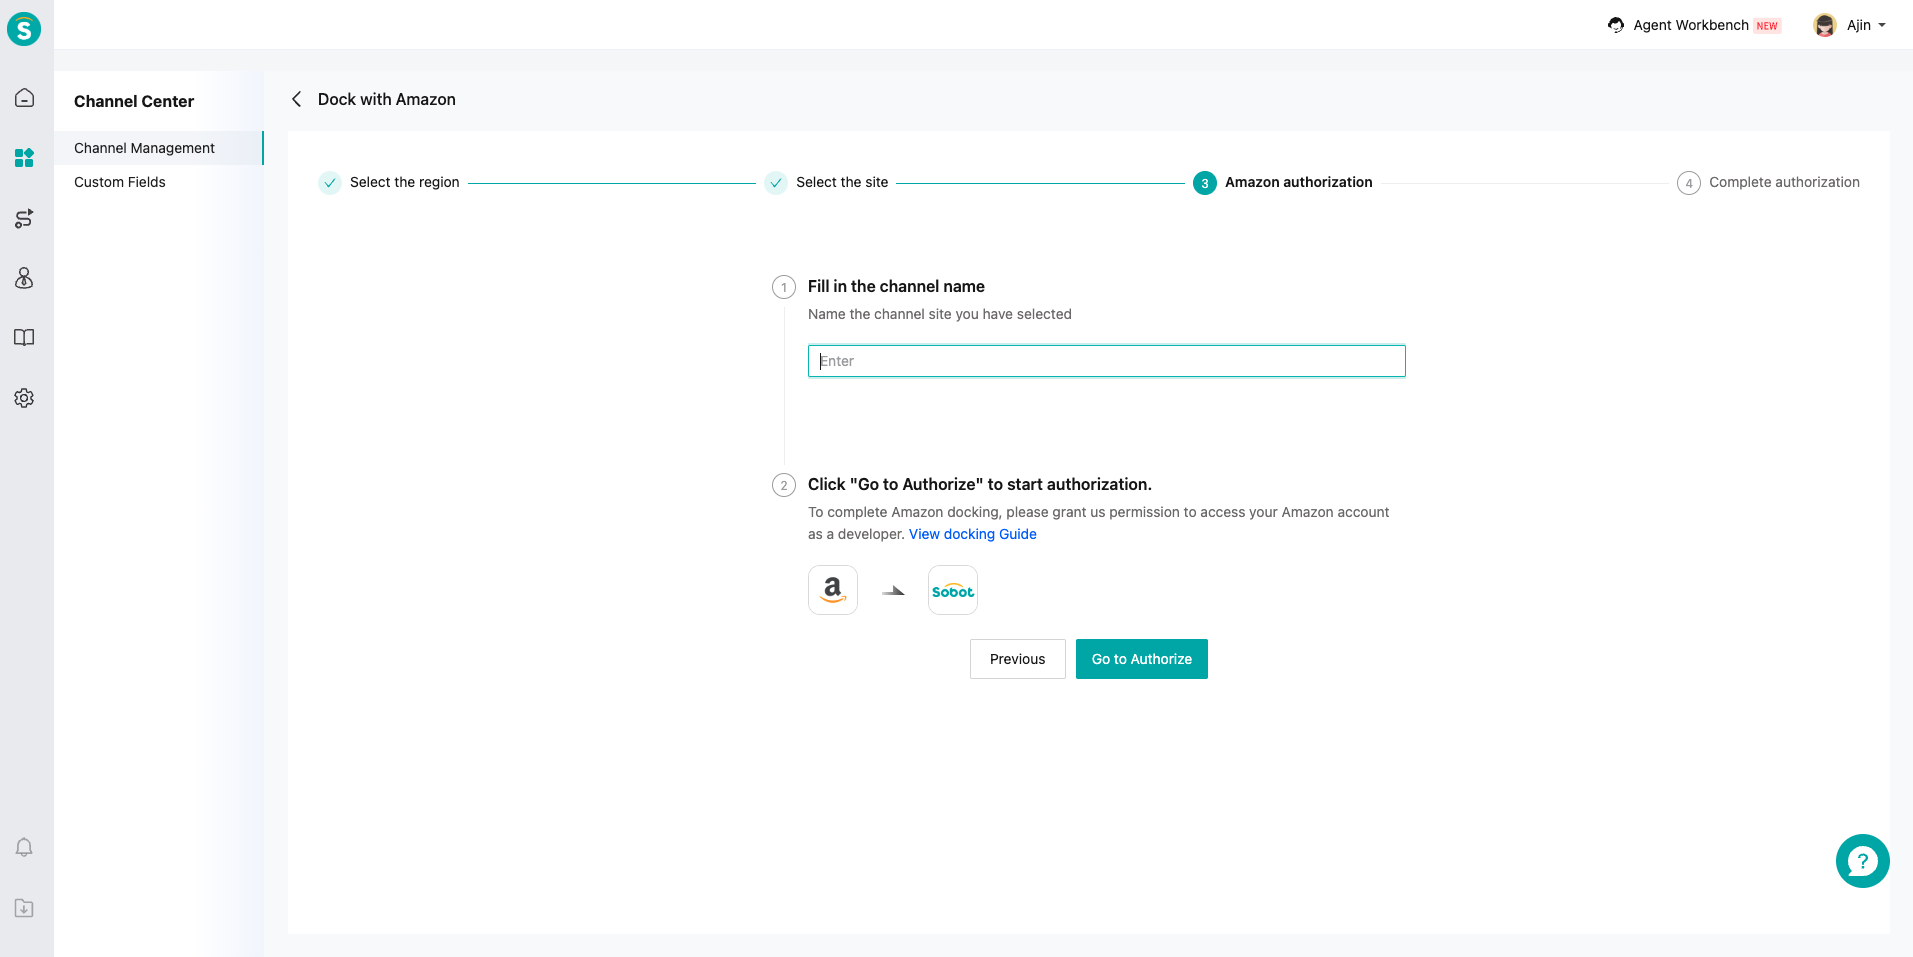
# ● Name Channel and Authorize
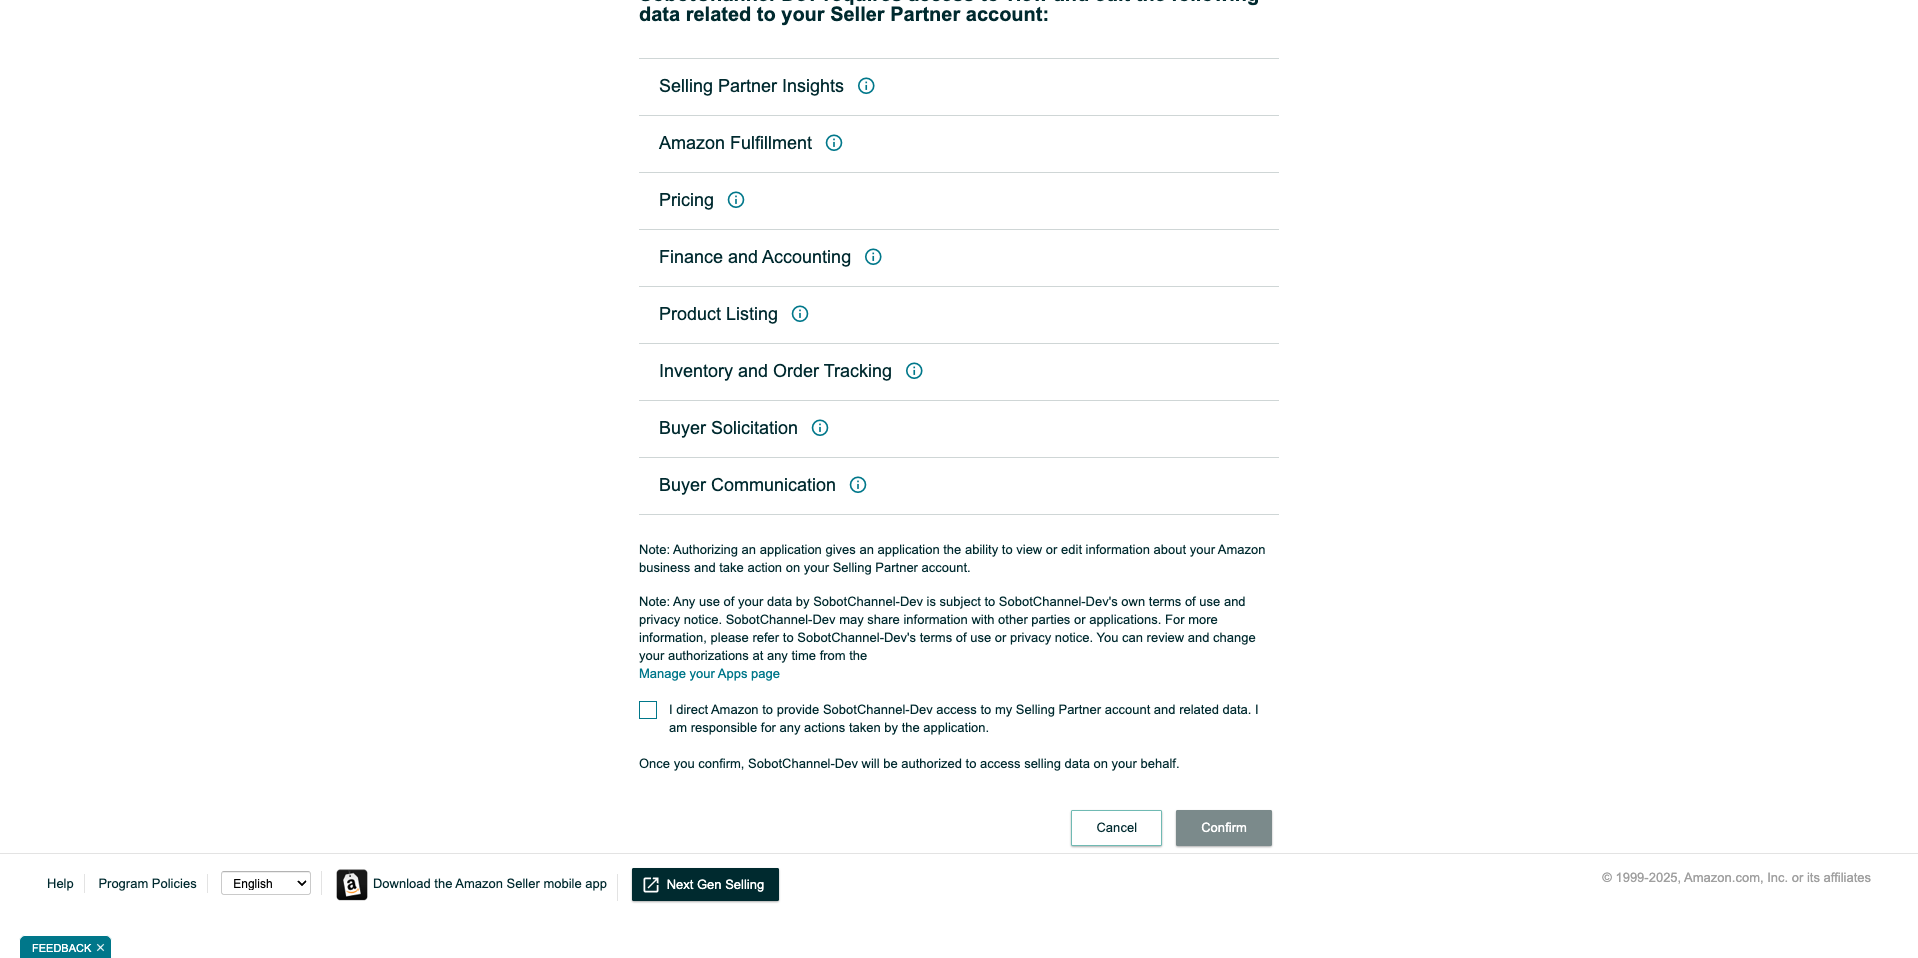
Name your channel site and click "Authorize". You must log in using the account owner credentials. Note: Even administrators don't have sufficient permissions. After login, Seller Central will display an authorization agreement. Check the box and click "Confirm" to proceed.
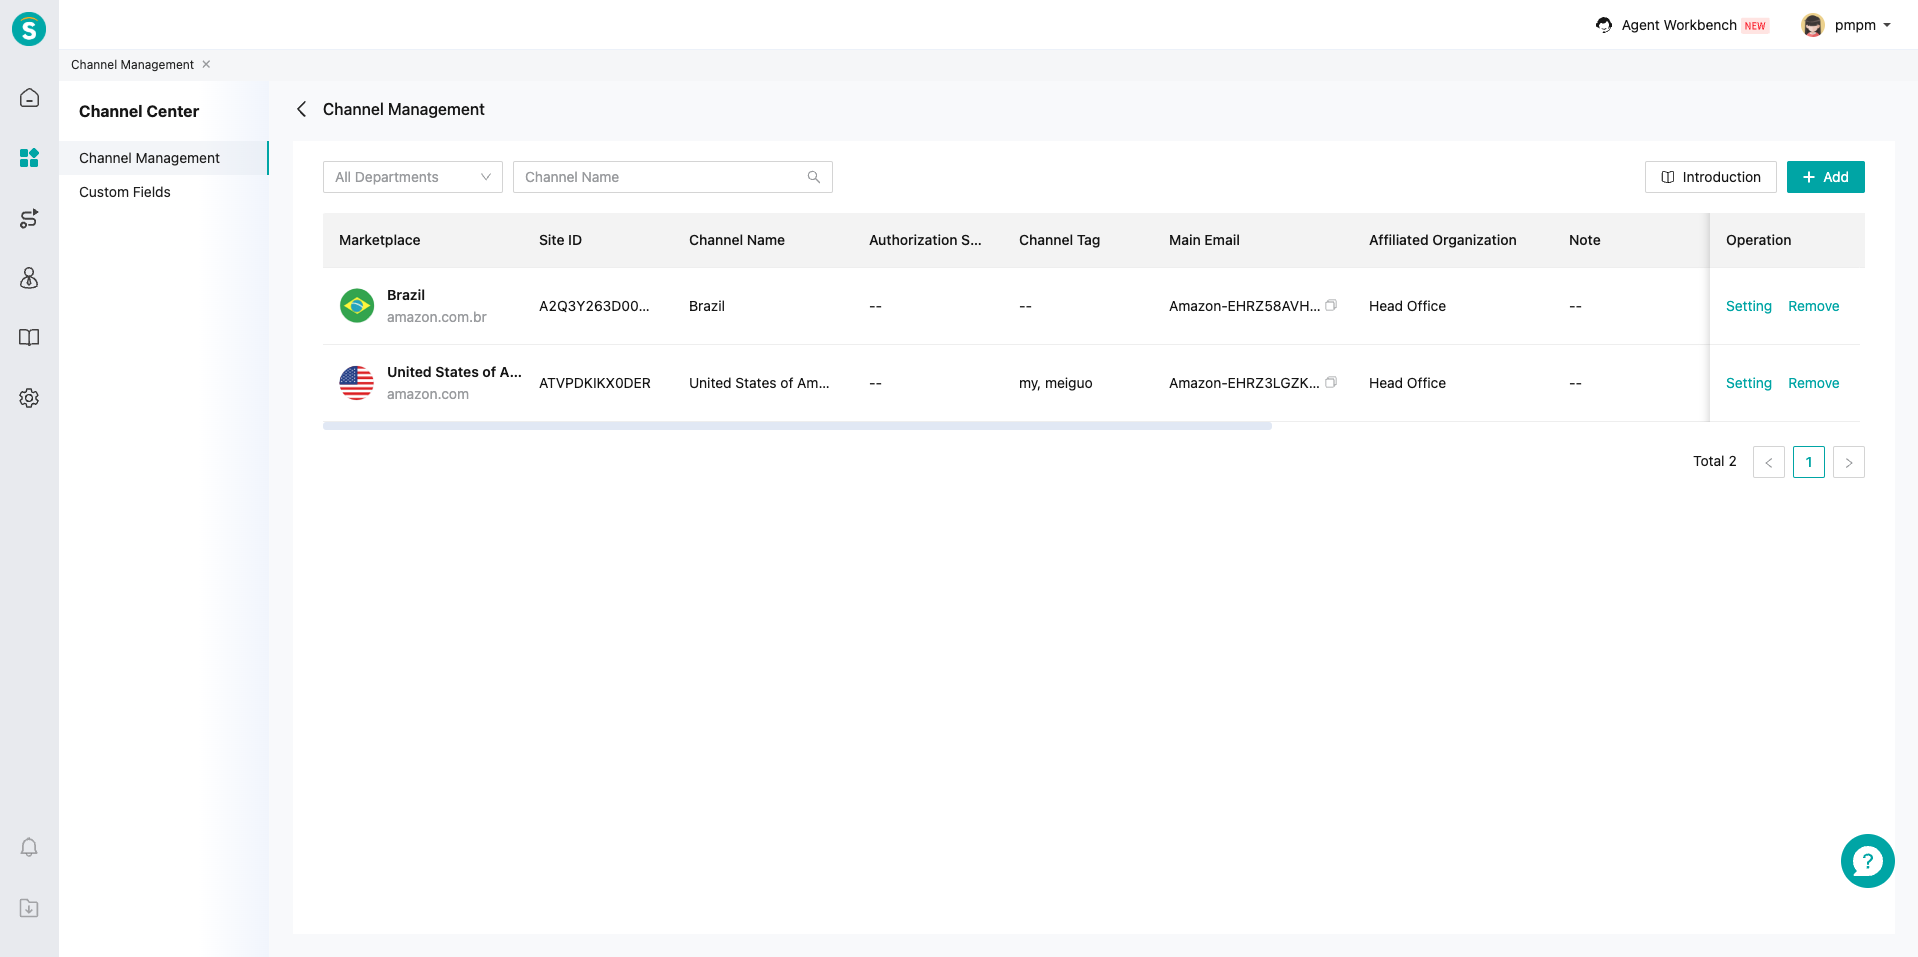
# ● Authorization Successful
After confirmation, the page will redirect back to Sobot. The connected site will appear in the channel site list for further configuration.
# Channel Configuration
# ● Message Settings
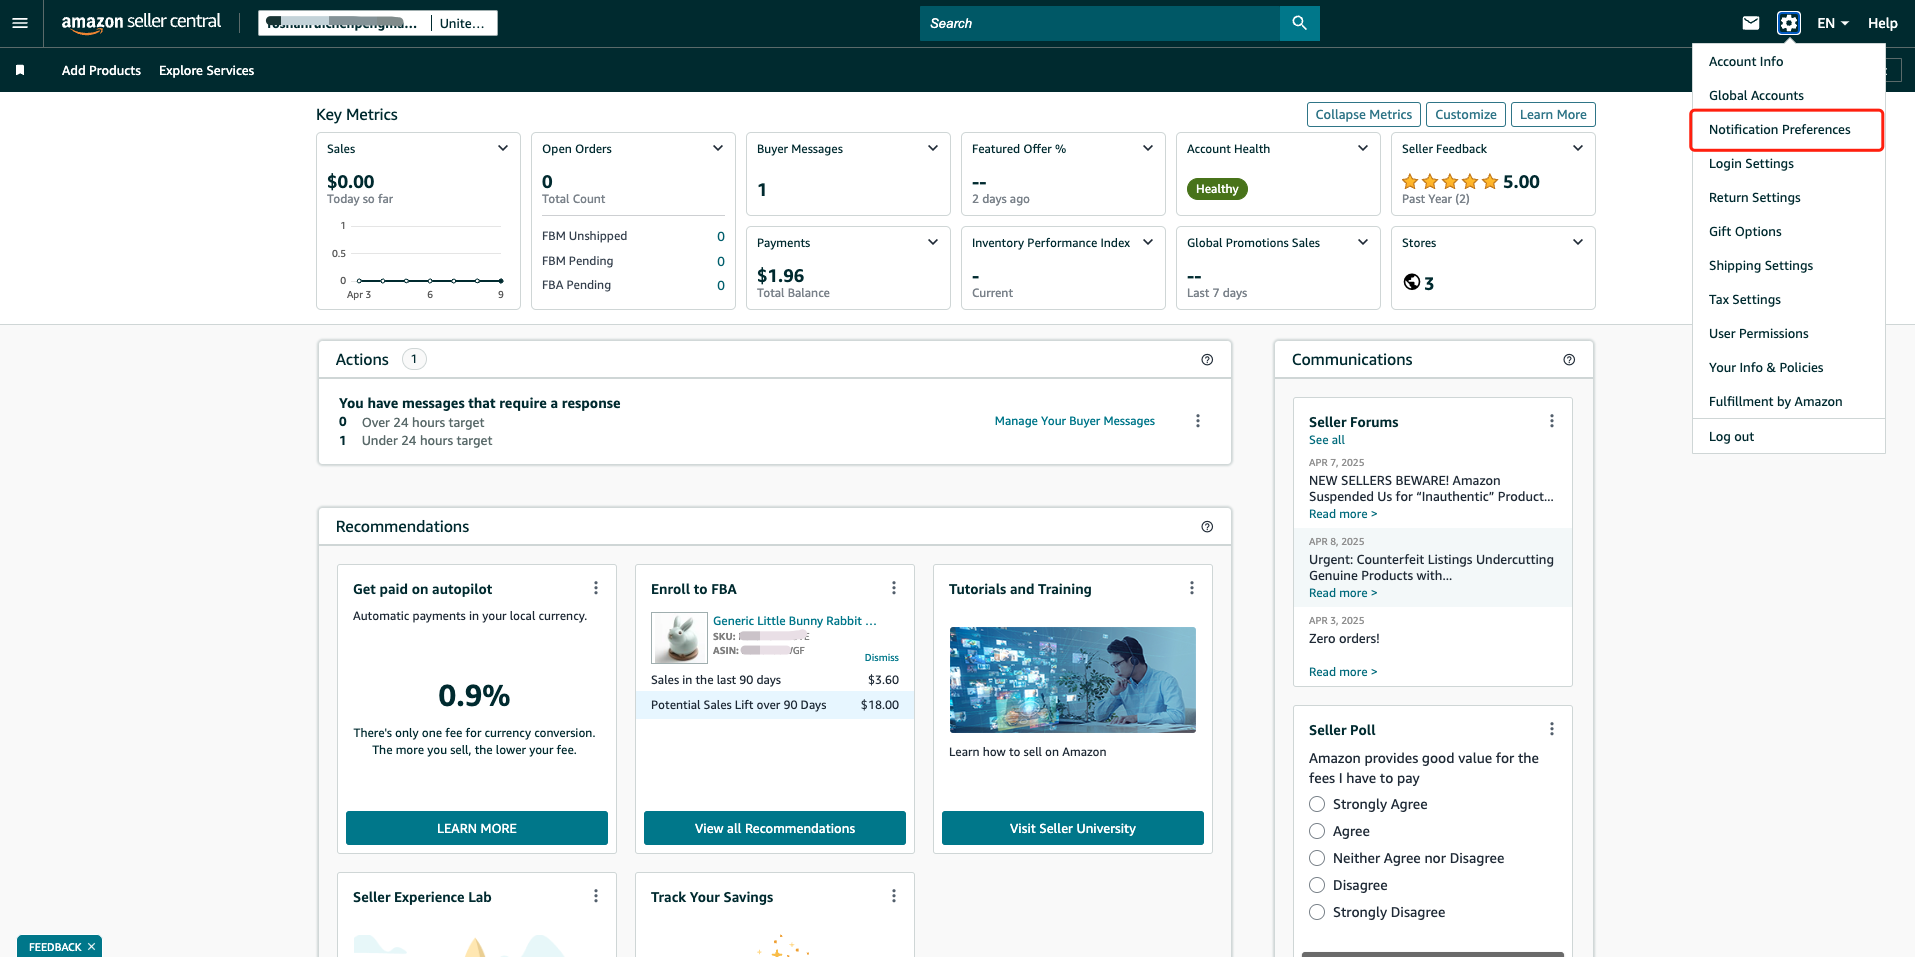
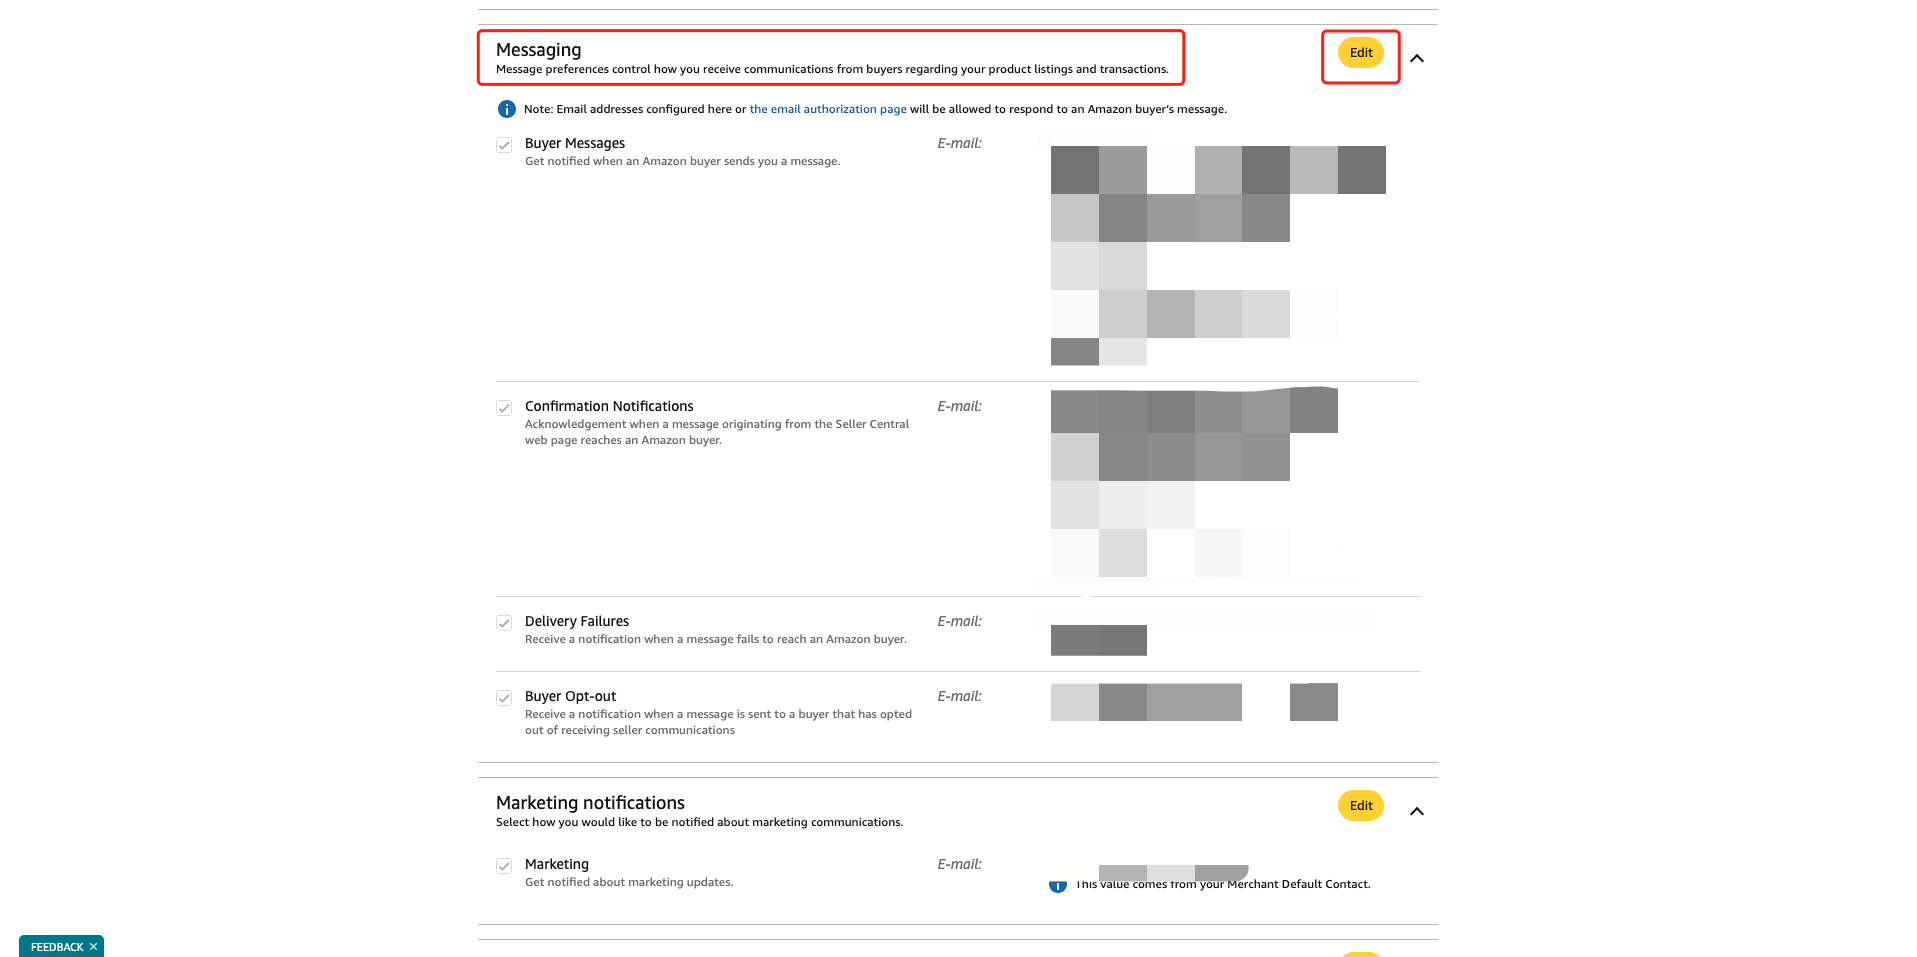
A primary email address will be generated for each site after authorization. Customers won't see this address. Copy this address to Amazon's notification settings (using US site as example): Ensure the selected site is US in Amazon Seller Central.
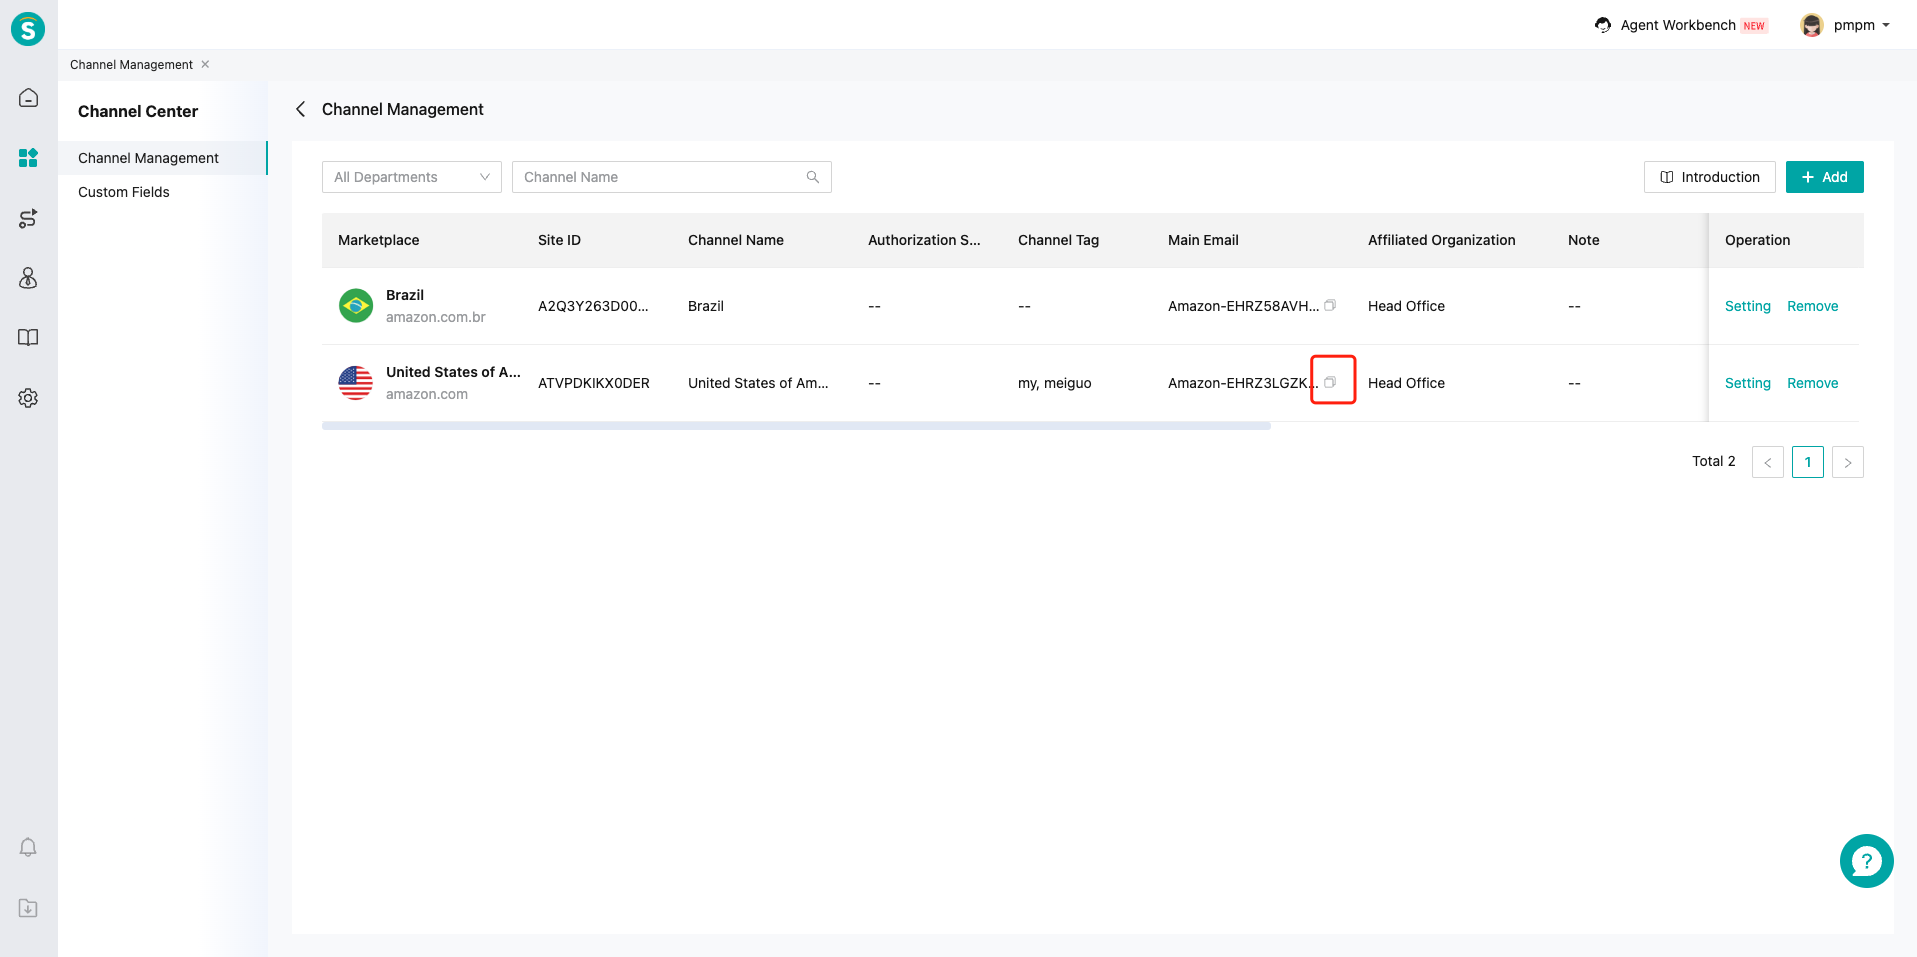
Go to Settings > Notification Preferences > Buyer Messages and Confirmation Notifications. Add the email address. Once configured, buyer messages and Amazon replies will be forwarded to Agent Workbench.
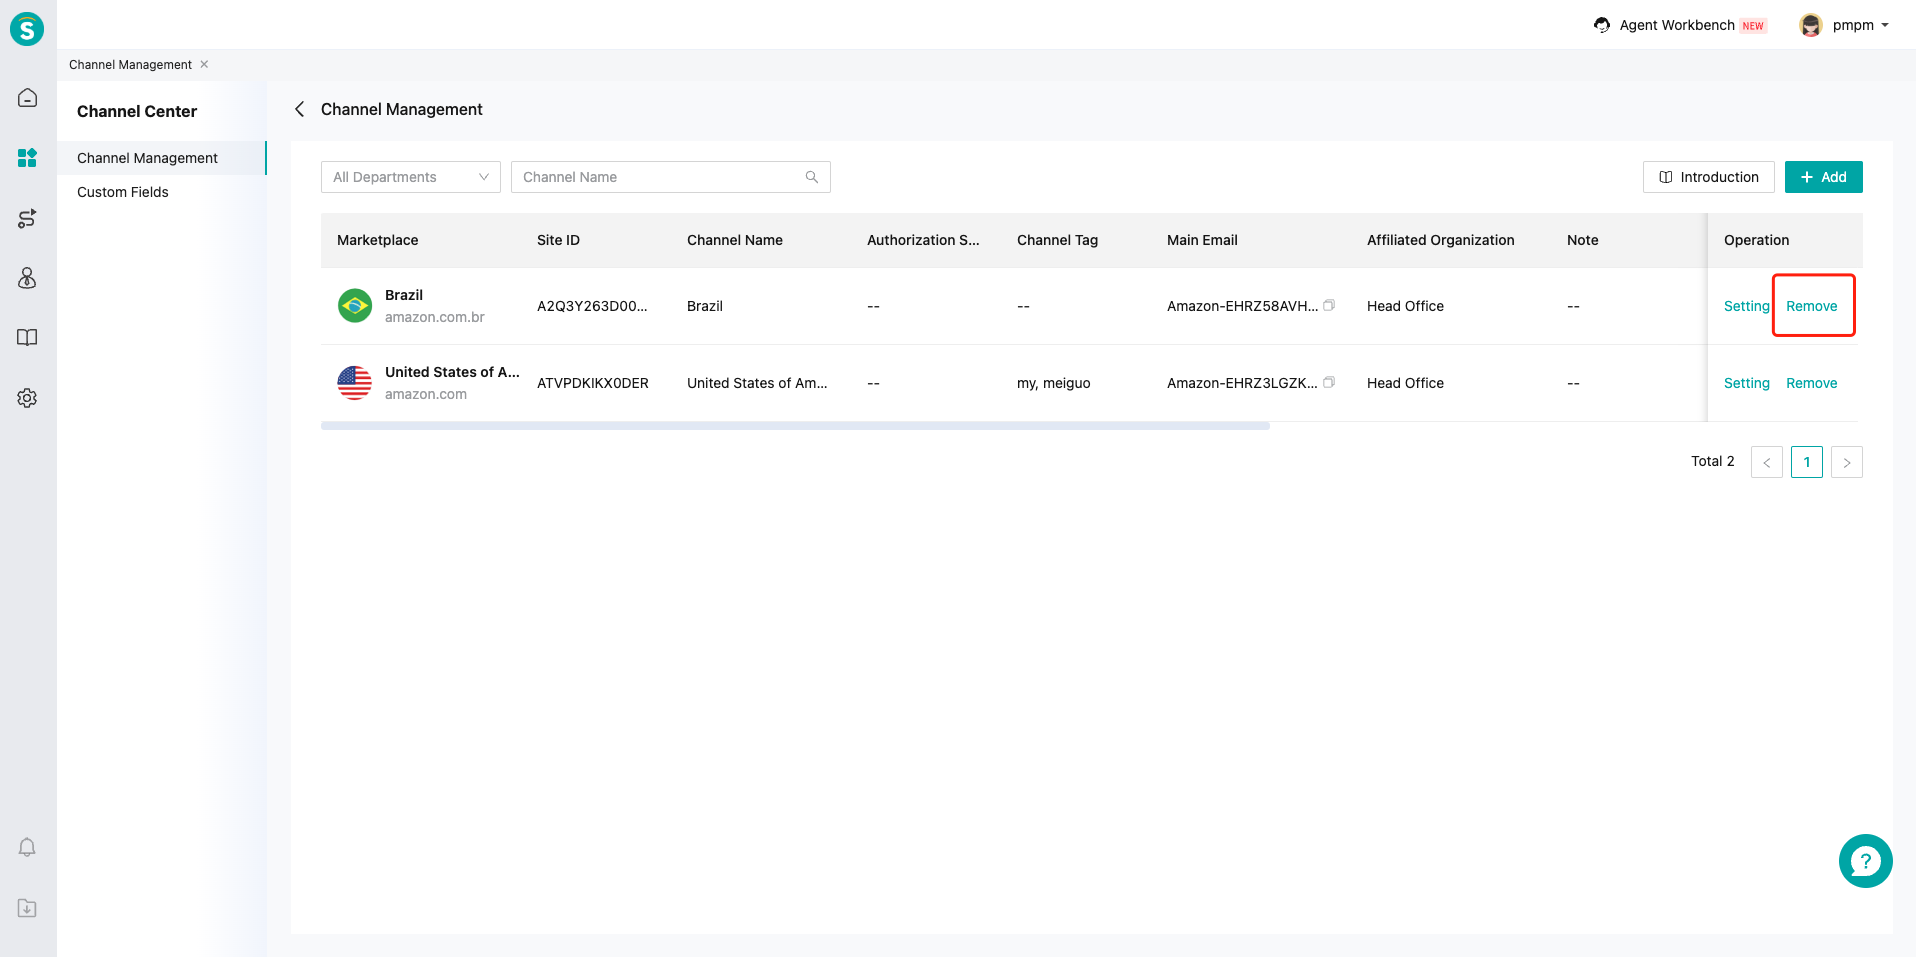
# ● Remove Site
Removal will deactivate configurations and stop new message reception.
# Adapting Online Sessions for Amazon
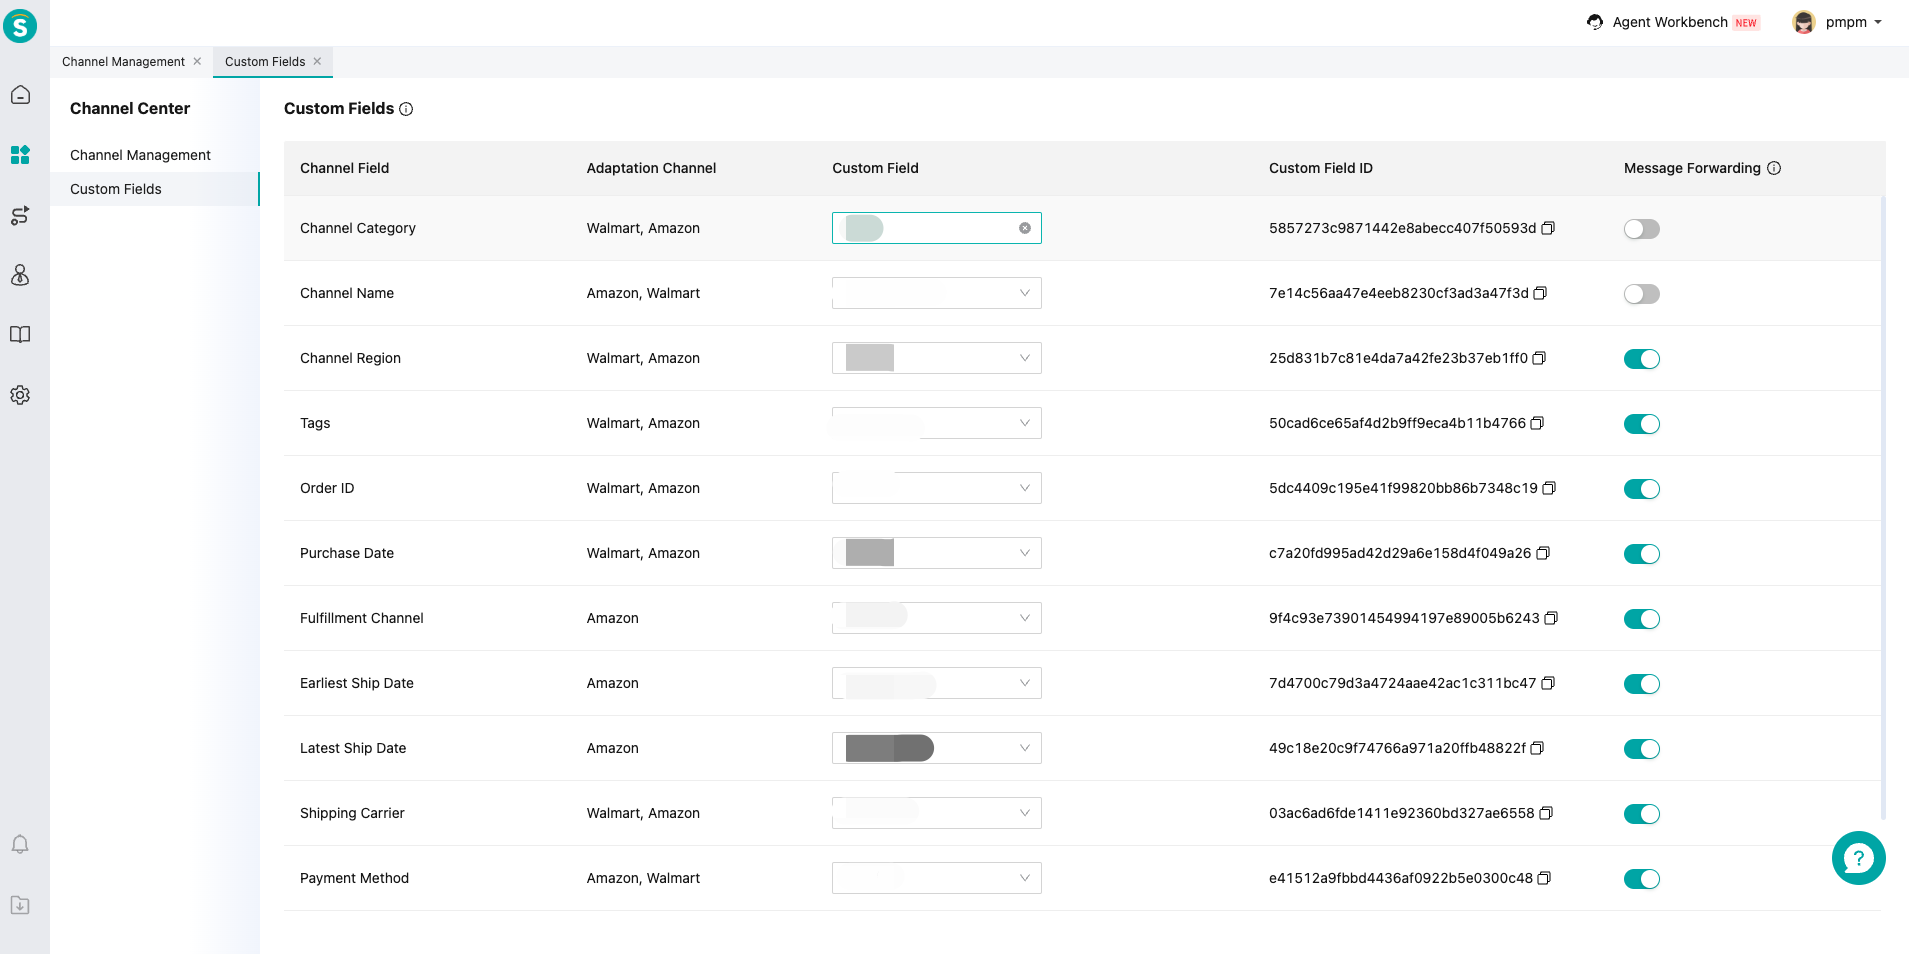
# ● Custom Fields
Map channel fields to Custom Fields in Channel Center\Custom Fields. This enables data synchronization for business rules, e.g., routing customers to appropriate skill groups based on channel info.
# ● Session Source - Amazon
Sessions created via Amazon will be labeled as "Amazon".
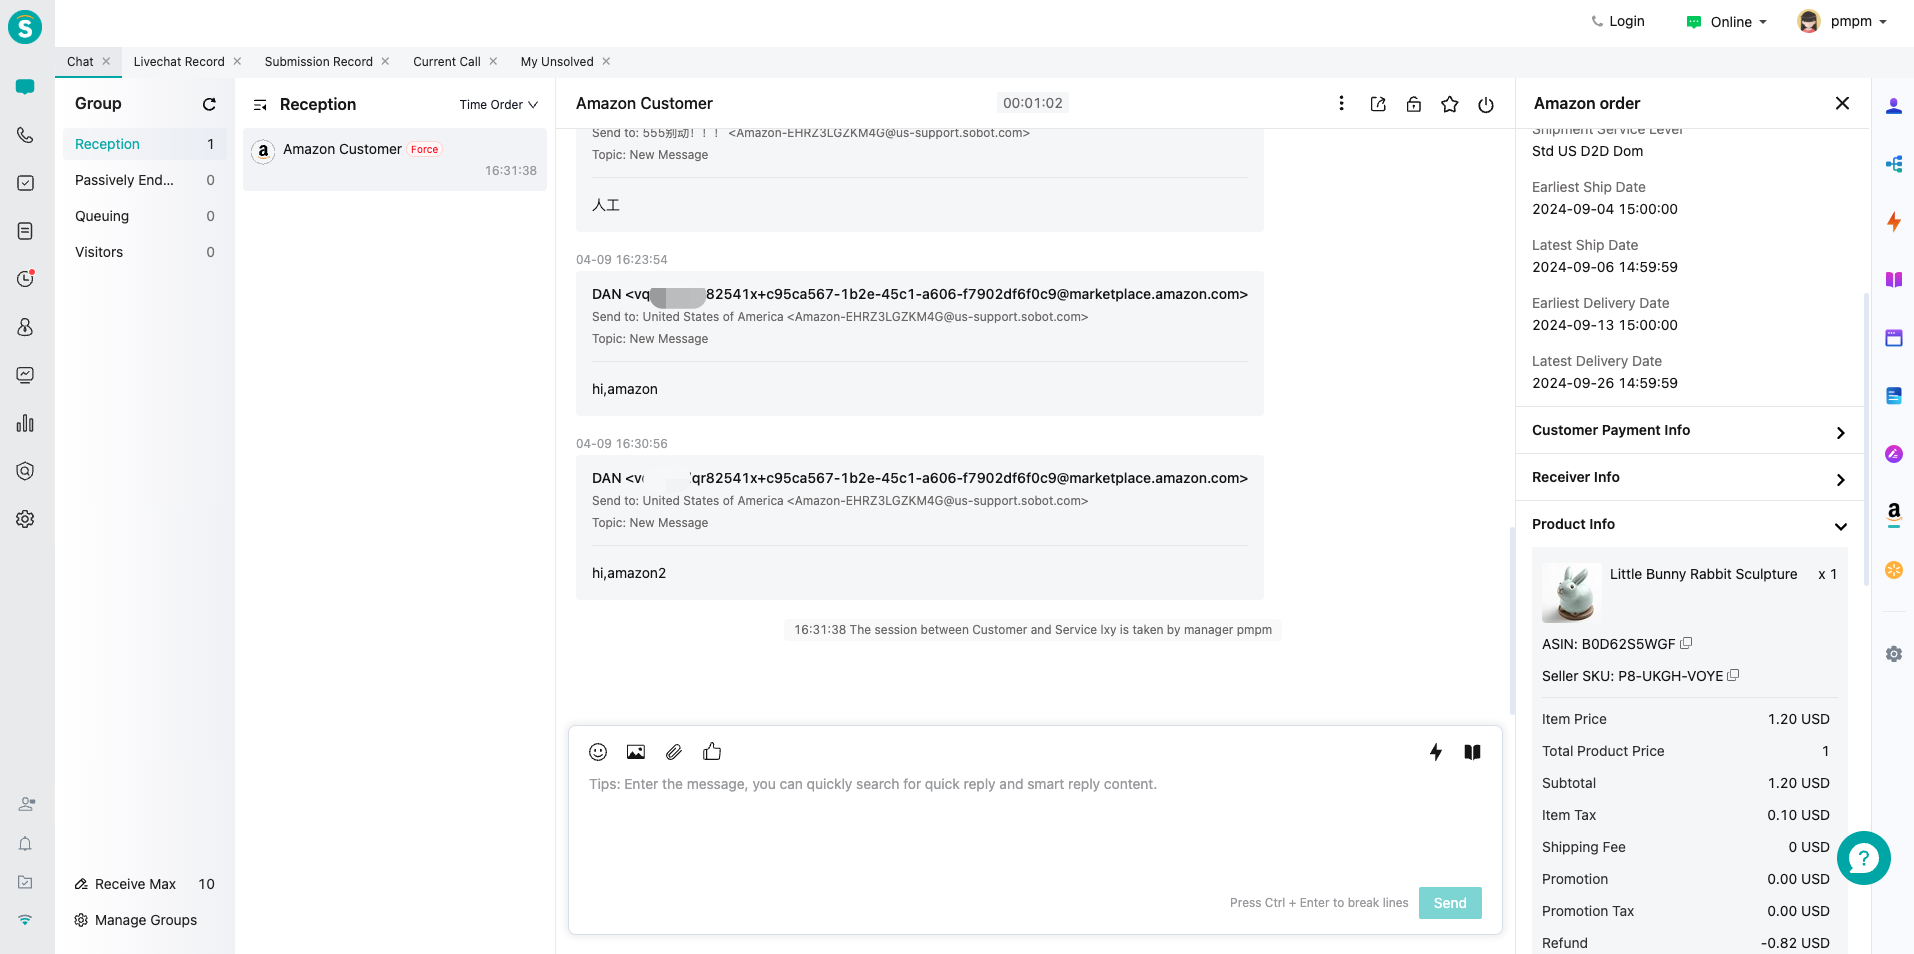
# ● Order Component
This Order component is designed for Amazon sellers to manage orders synced via SP-API. When opening an Amazon-originated ticket in Agent Workbench, the sidebar automatically displays order details: total amount, taxes, items, etc.