Pool Customer
# Pool Customer Guide
——Manage invalid customers, accumulate enterprise customer resources, and timely reassign customers to re-enter the flow
# What Can You Learn from This Article?
Pool Customer is the collection of all invalid customers, silent customers and low-intention customers in an enterprise. At any customer stage, customers can be recycled to the customer pool, and the pool customers are visible to all agents in the enterprise. Agents can collect customers they think valuable in the customer pool to conduct maintenance and explore opportunities. In Pool Customer, outbound tasks can be created in bulk for customers, and customers can be reactivated through these tasks.
# Preparation
● Add Pool Customer: You can manually add customer information through the Pool Customer Page, import customer information in bulk, or recycle customers to the Customer Pool through New Customer, To-Be-Assigned Customer, Follow-up Customer and My Customer.
● Add customer fields: When adding customer information, you can fill in different fields to explain customer characteristics and preferences, and add multiple customer fields to enrich the customer information.
Related article: Custom Customer & Company Field Guide
# Customer Info List
Through the CRM > Pool Customer Page, you can view all Pool Customers in the enterprise and adjust the displayed list customer fields by customizing list items. The agent with operation permissions can add, import or export in bulk, and edit customer information of the Pool Customer.
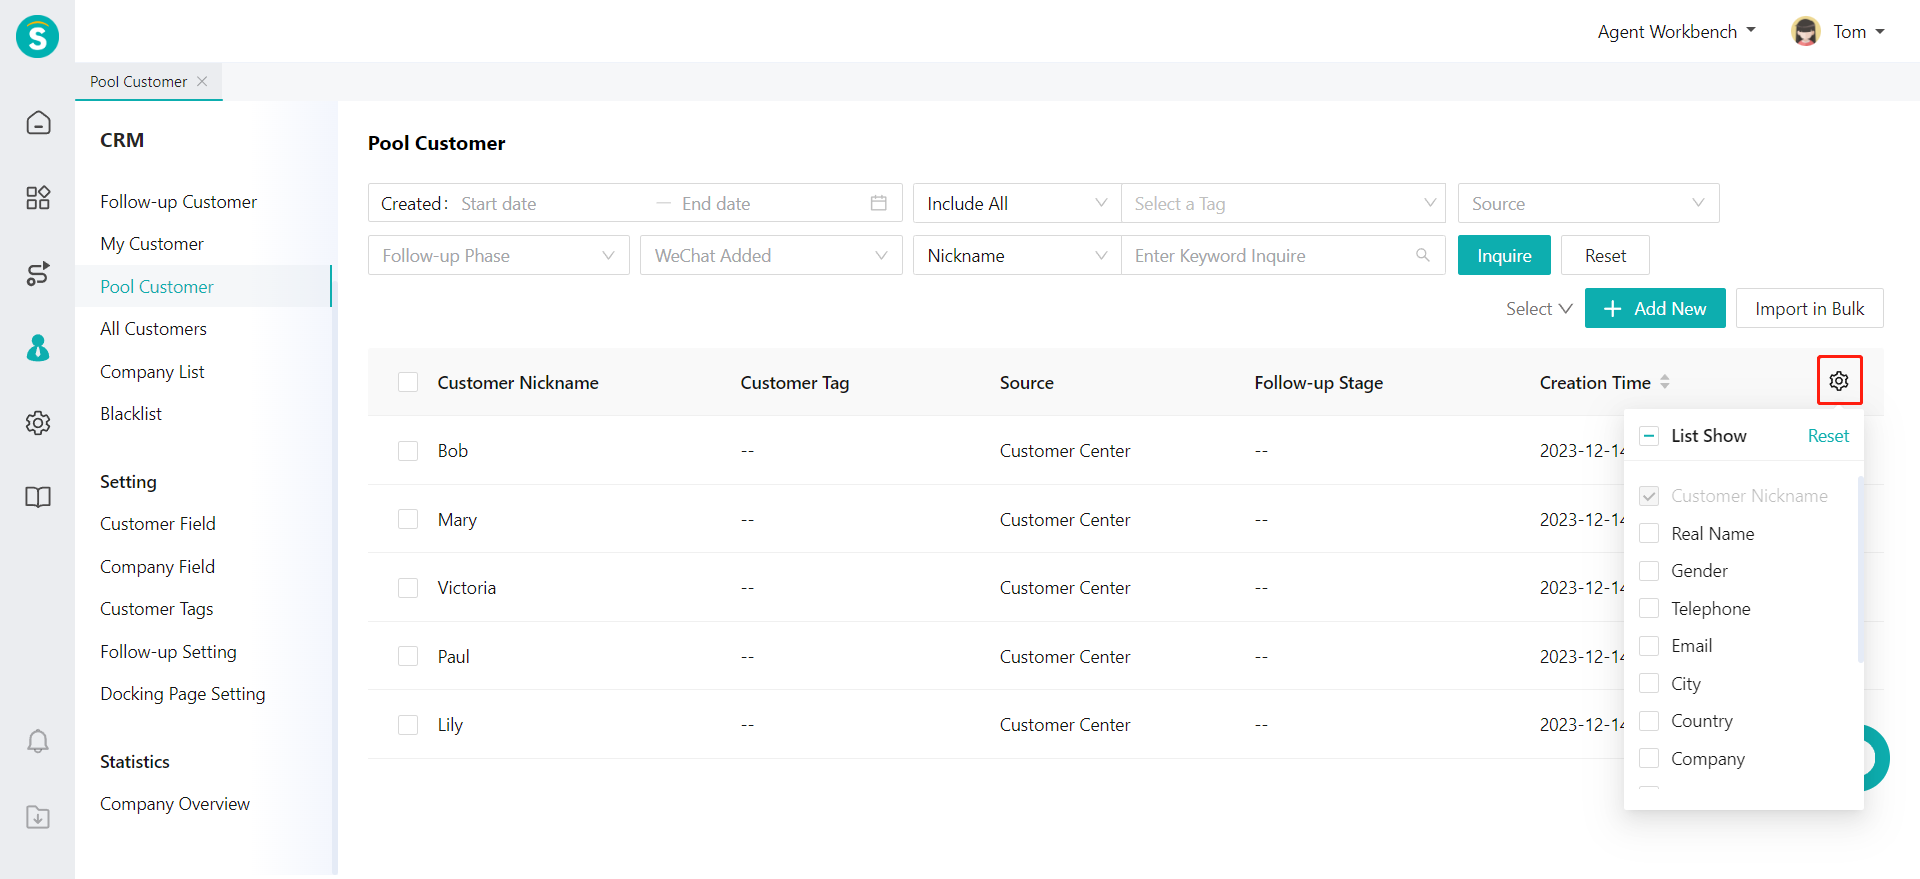
# ● Customize List Items
You can click the tag on the right side of the customer information list on the Pool Customer Page to activate the row display field function and control the field content displayed in the customer list by checking the fields in the pop-up box.
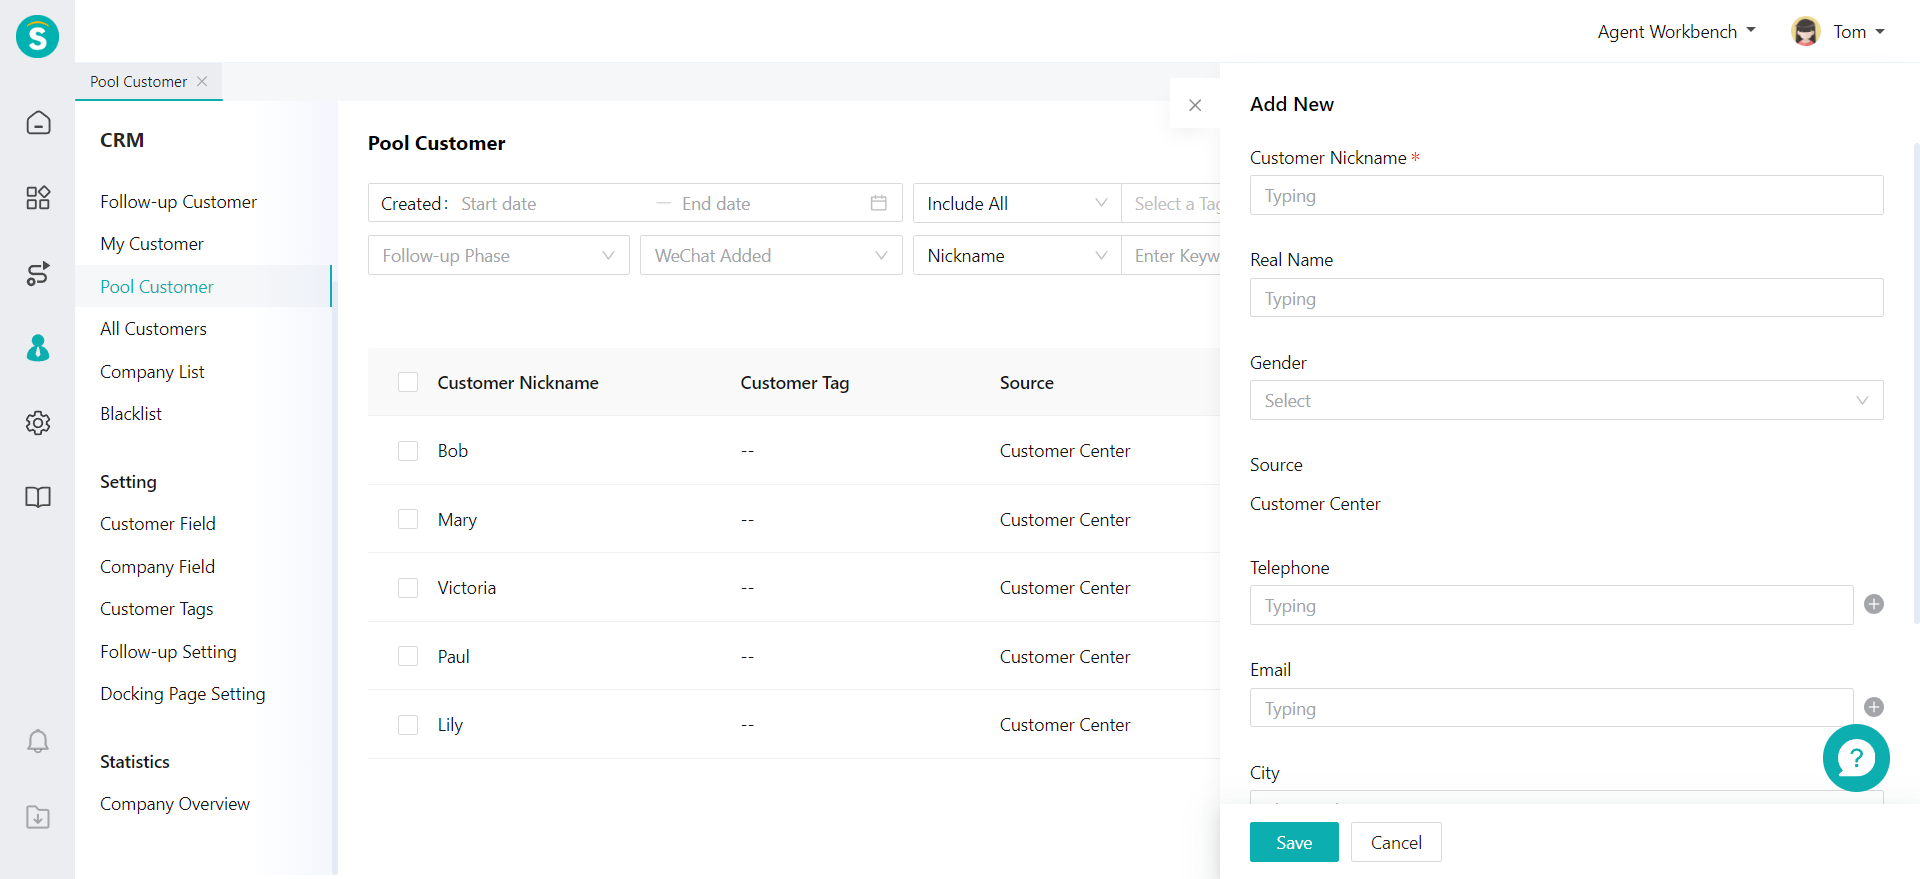
# ● Single New Customer
The agent with function permissions can click the【+Add Customer】button on the Pool Customer Page to manually add a Pool Customer, then fill in the customer information field, and save it.
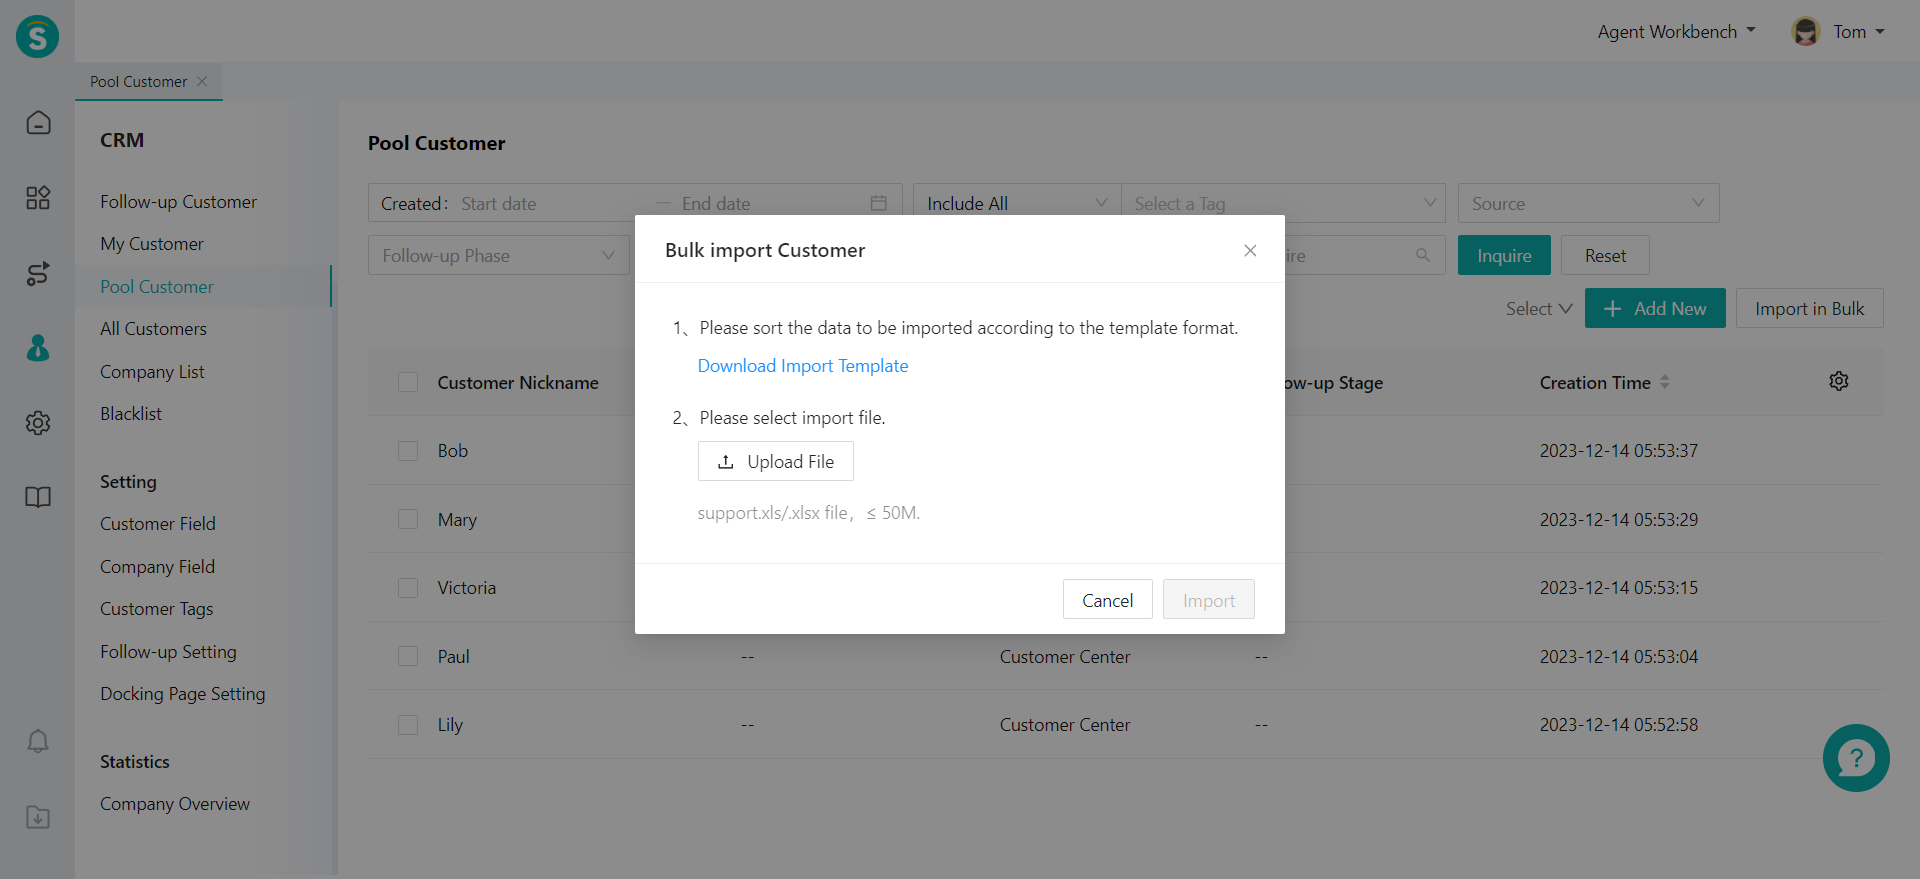
# ● Bulk Import
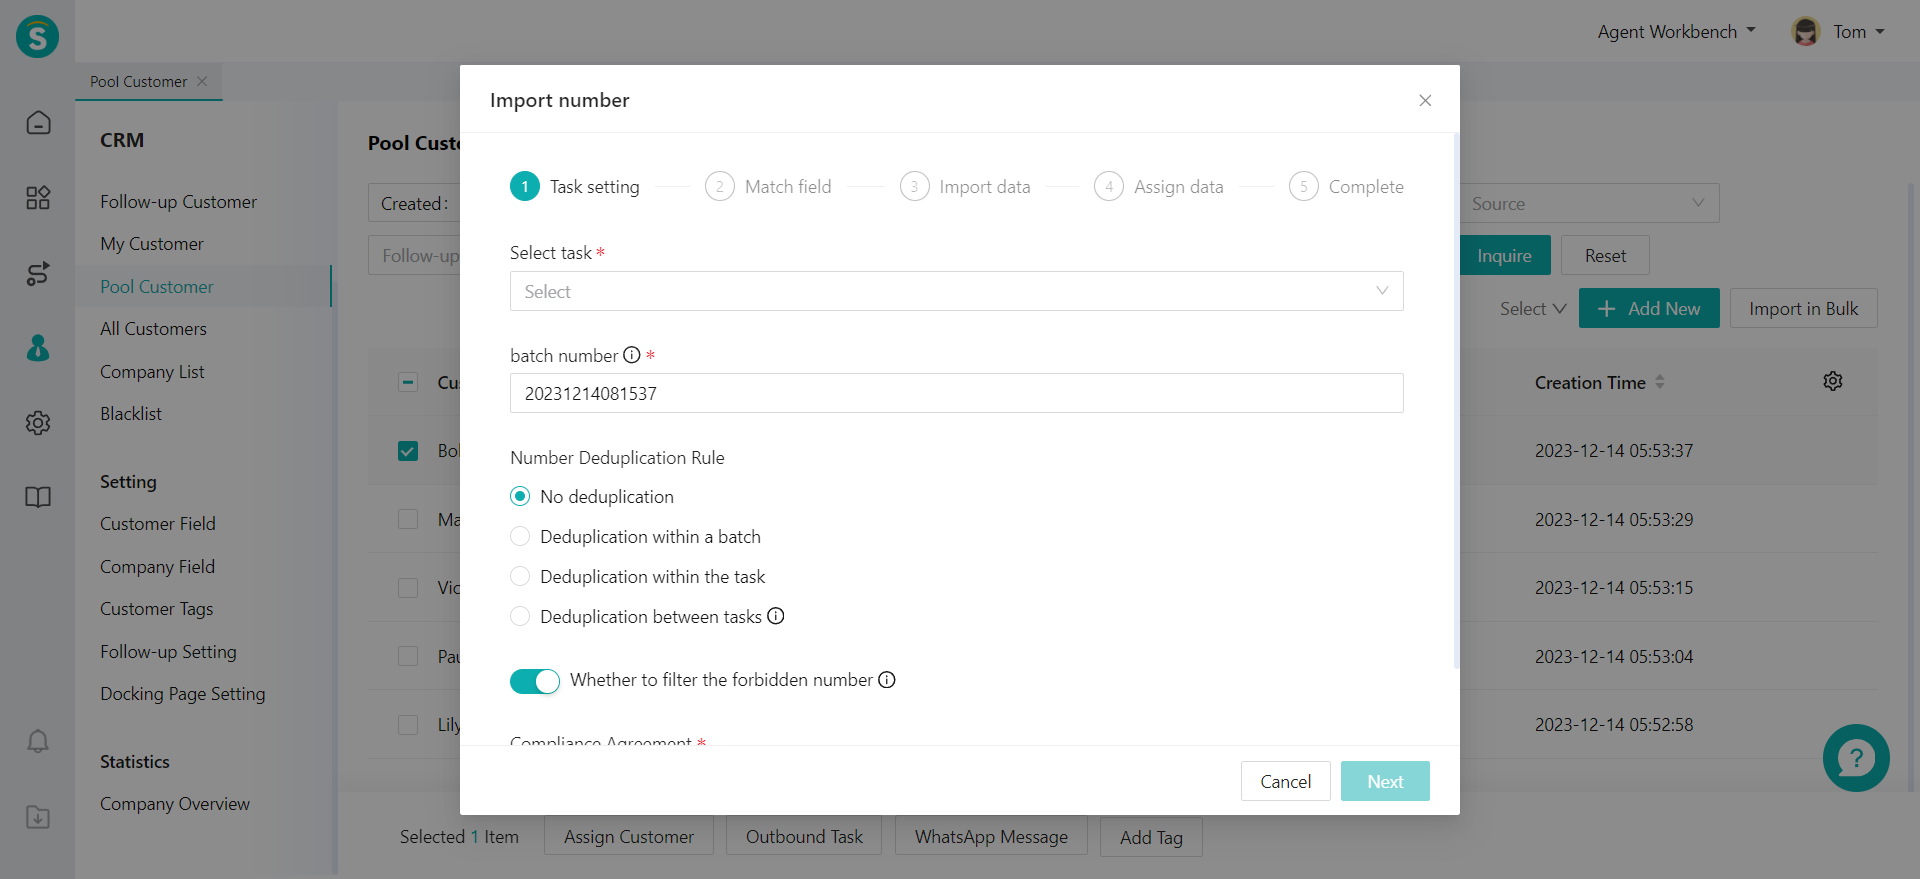
The agent with the bulk import permission can click the【Bulk Import】button and upload files to create Pool Customer information in bulk through the Pool Customer Page.
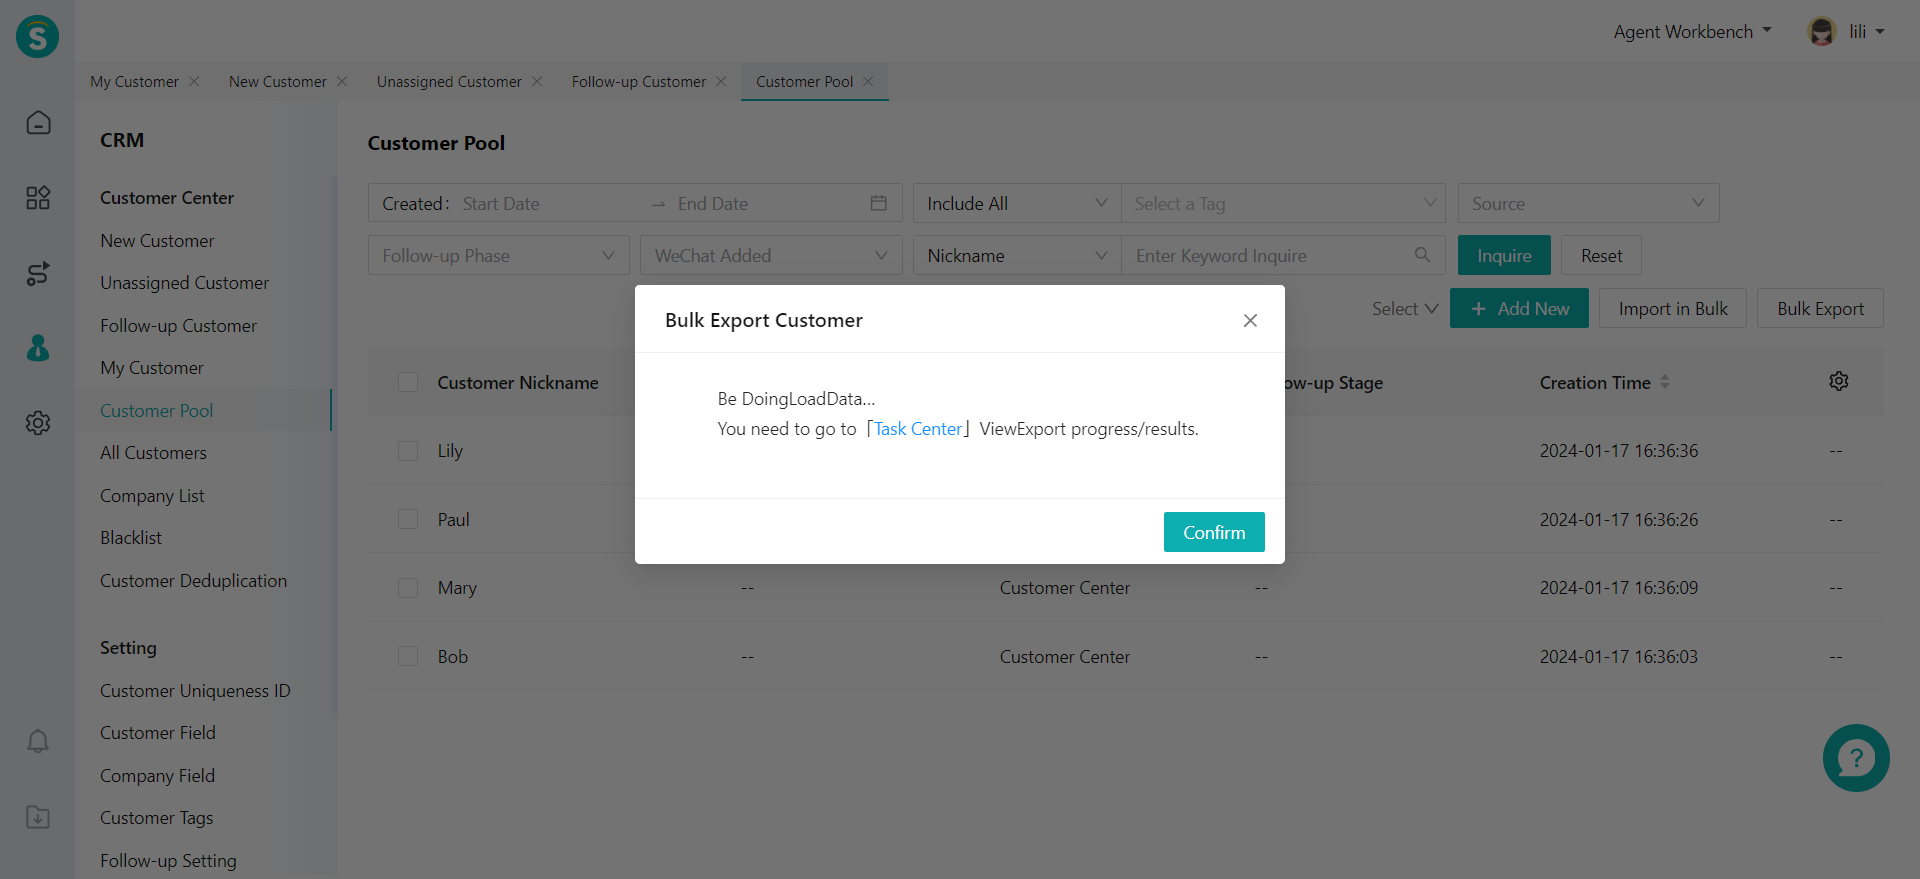
# ● Bulk Export
The agent with the bulk export permission can click the【Bulk Export】button to export all Pool Customer information through the Pool Customer Page.
# Query Customer
Through the CRM > Pool Customer Page, you can filter and query customer information through the default conditions of the system, or select custom fields through custom filtering to filter and query.
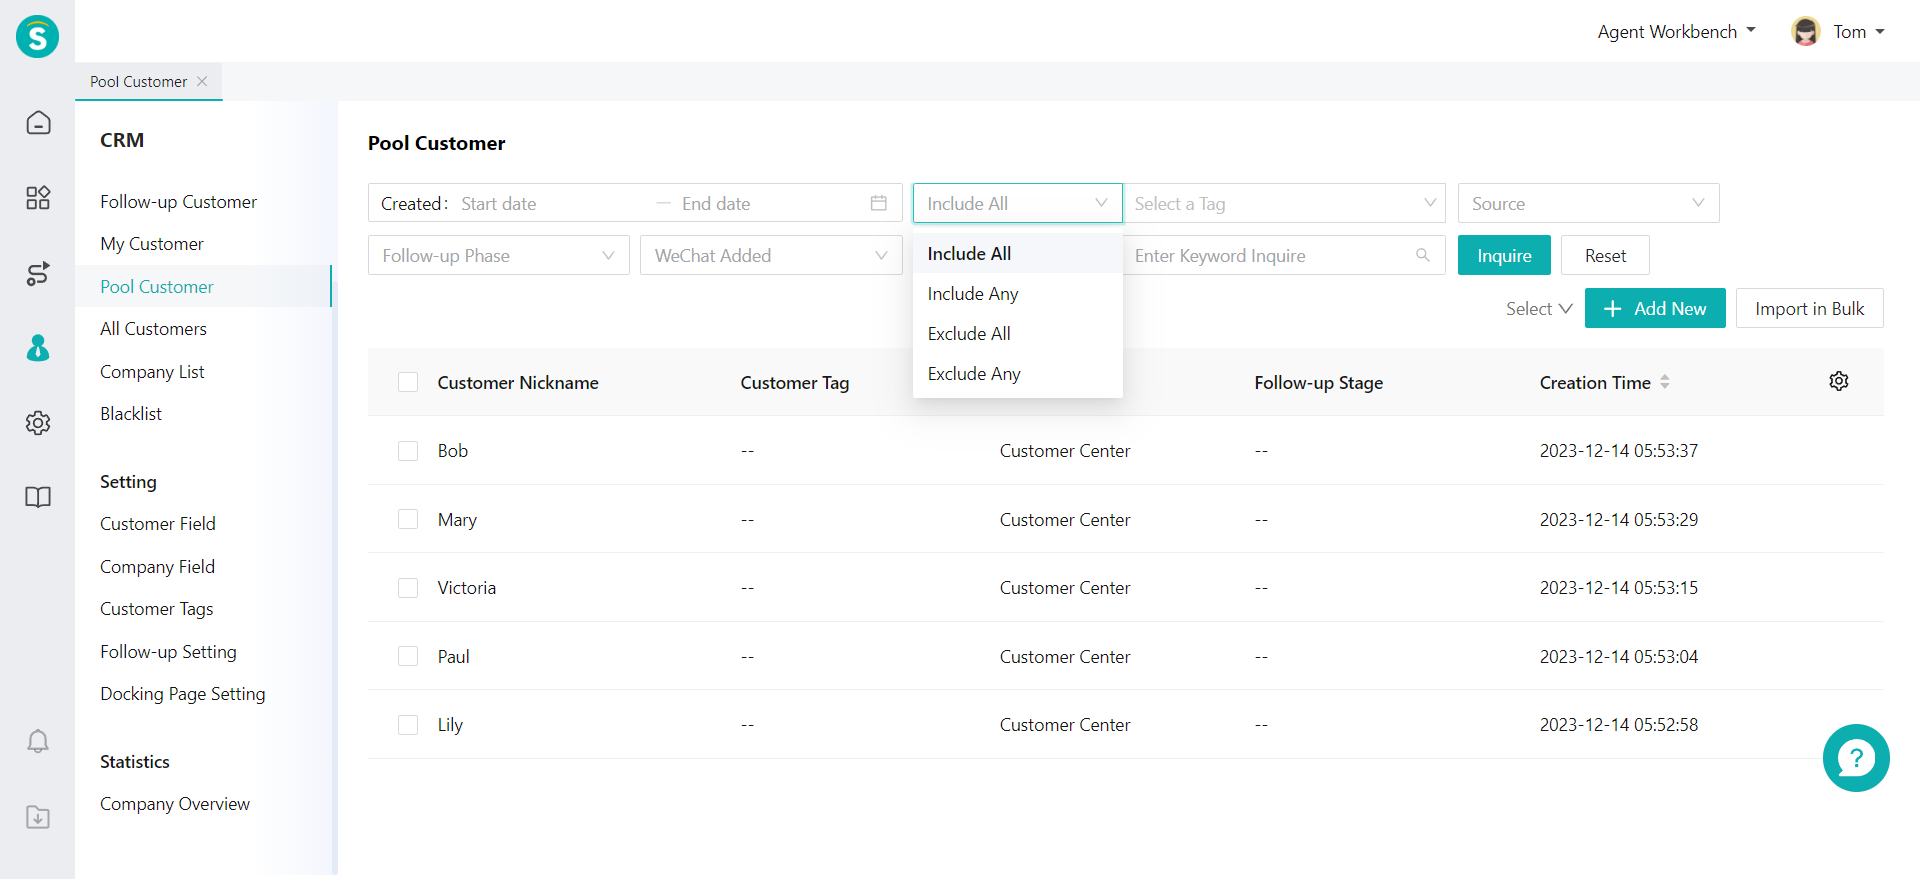
# ● Basic Query
Through the Pool Customer Page, you can filter customer information by customer creation time, customer tag, customer source, follow-up stage, and whether the customer is a WeChat friend of the agent. Besides, you can also conduct keyword search through customer nickname, real name, company, phone number, email and docking ID, and query customer tags according to different relationships.
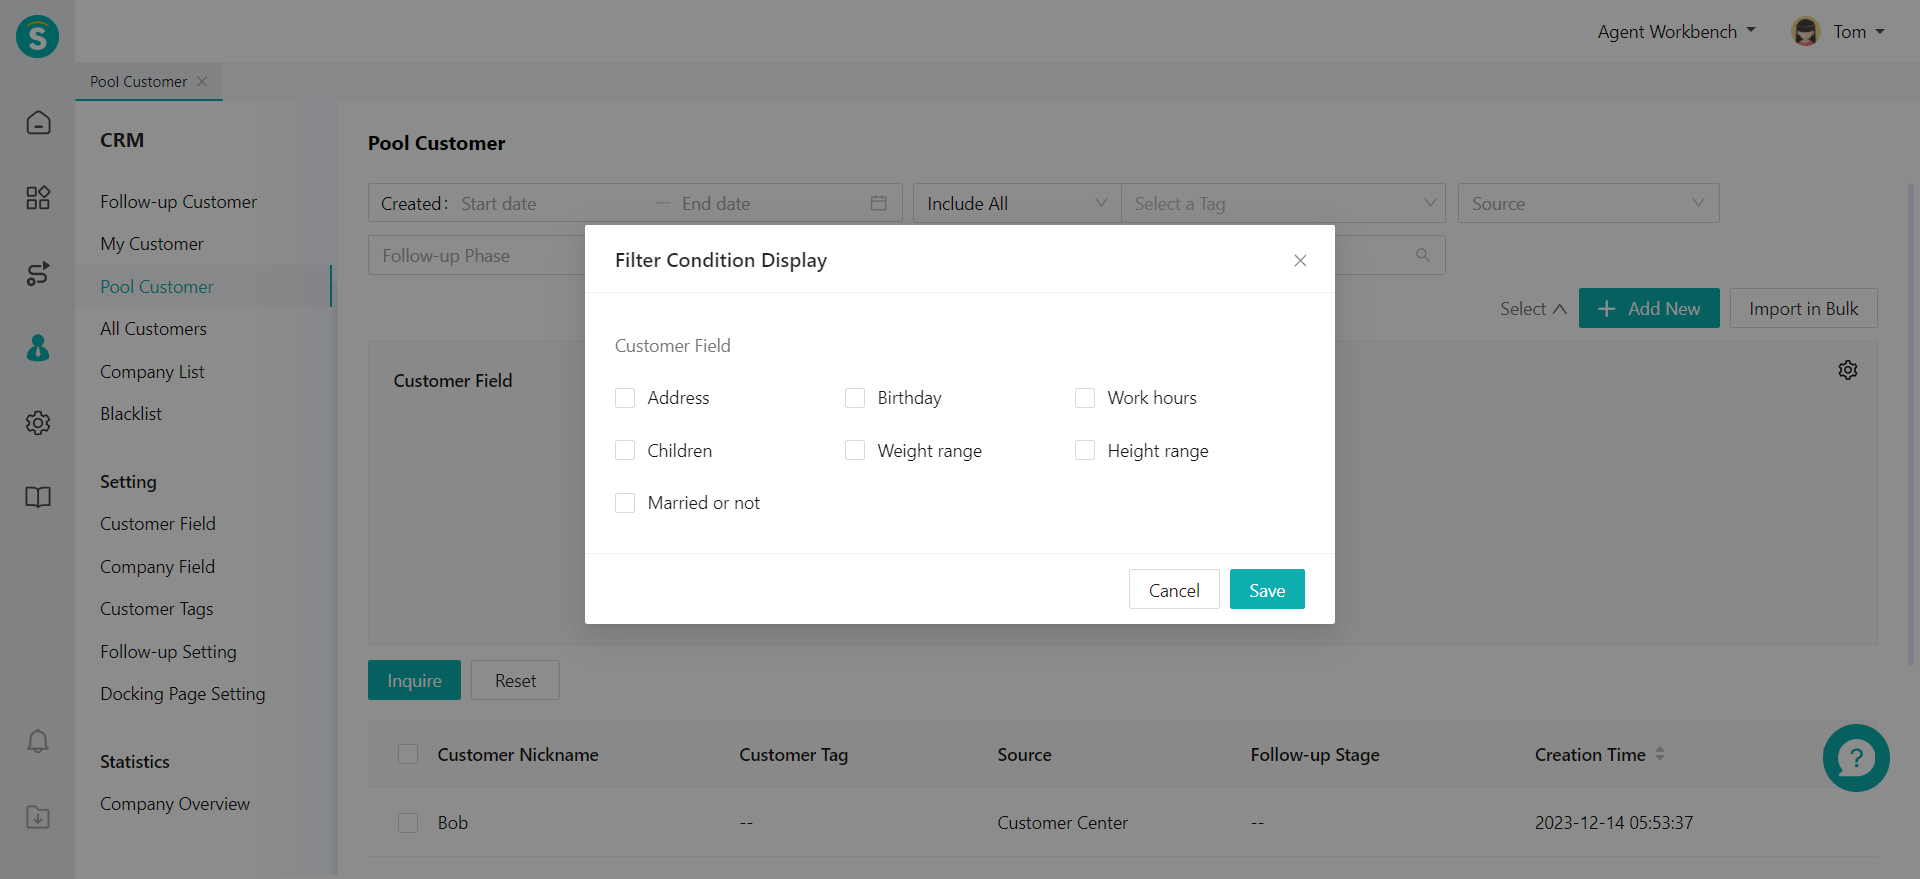
# ● Custom Query
If you need to filter and query customer information for fields beyond the basic query range, you can click【Filter】 button in the query condition area, select the fields to query by clicking the button on the right, and query the information by specific fields.
# Customer Operation
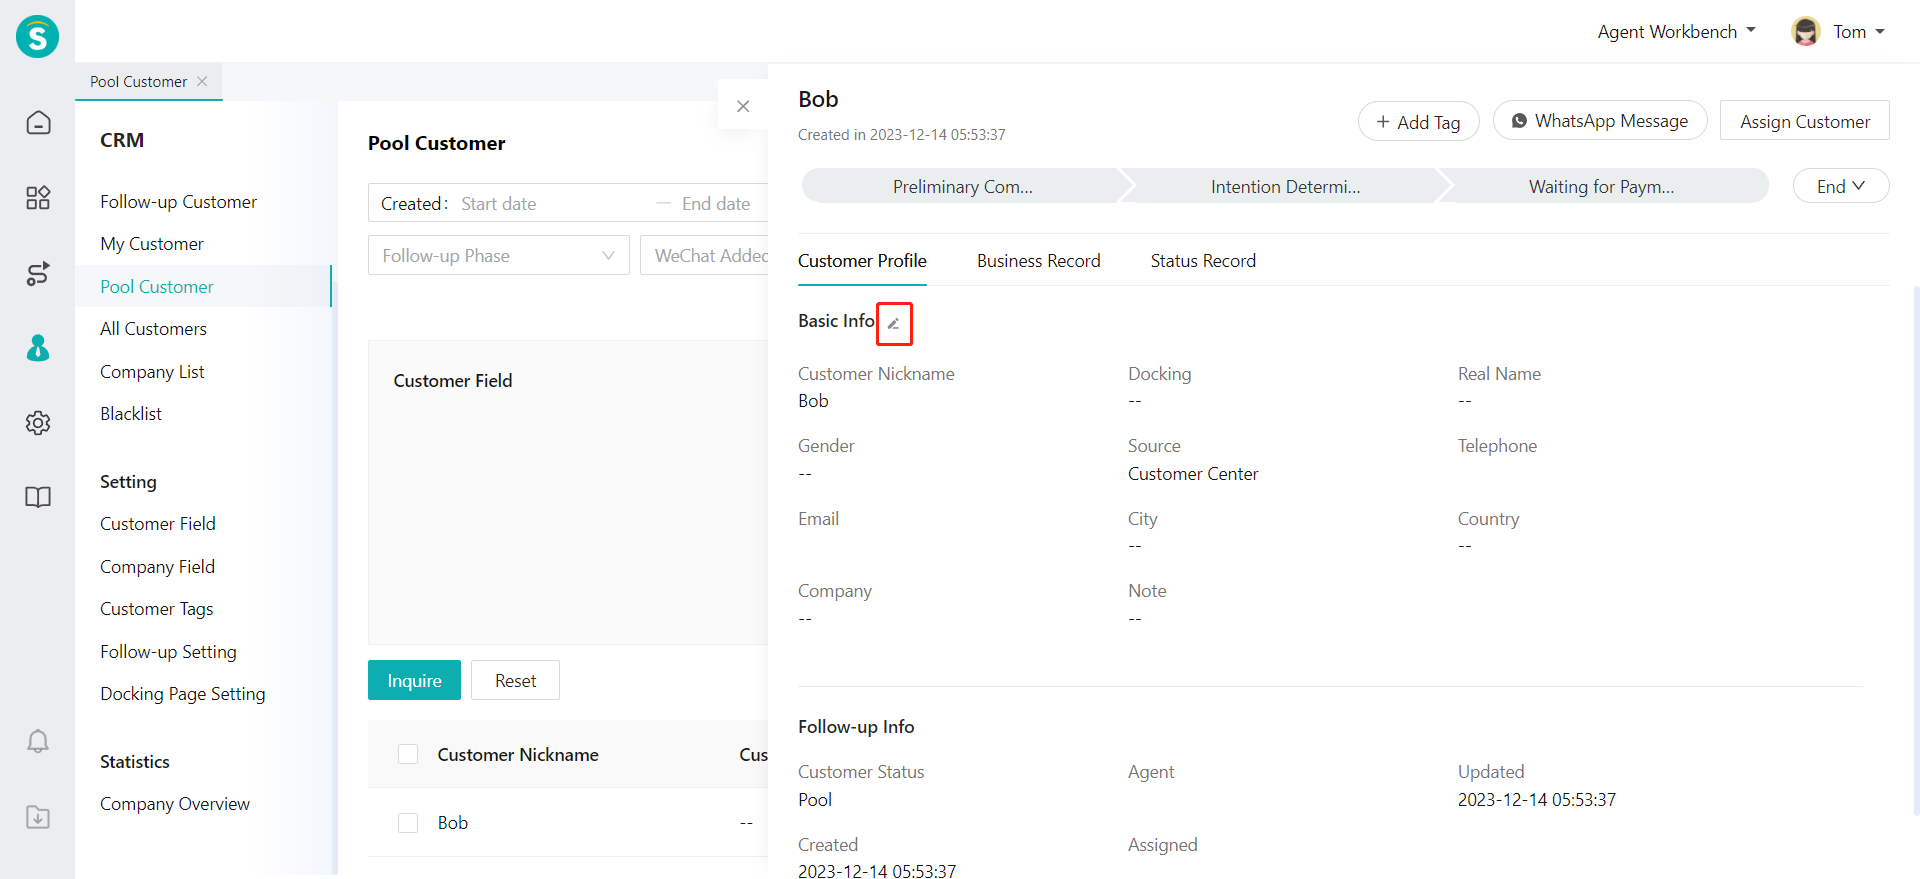
# ● Modify Customer Information
You can click any line of customer information on the Pool Customer Page to view the customer details, through which you can learn about the customer's status, external order information, WeCom chat history, etc. You can also edit and update the customer's basic information.
# ● Bulk Operation
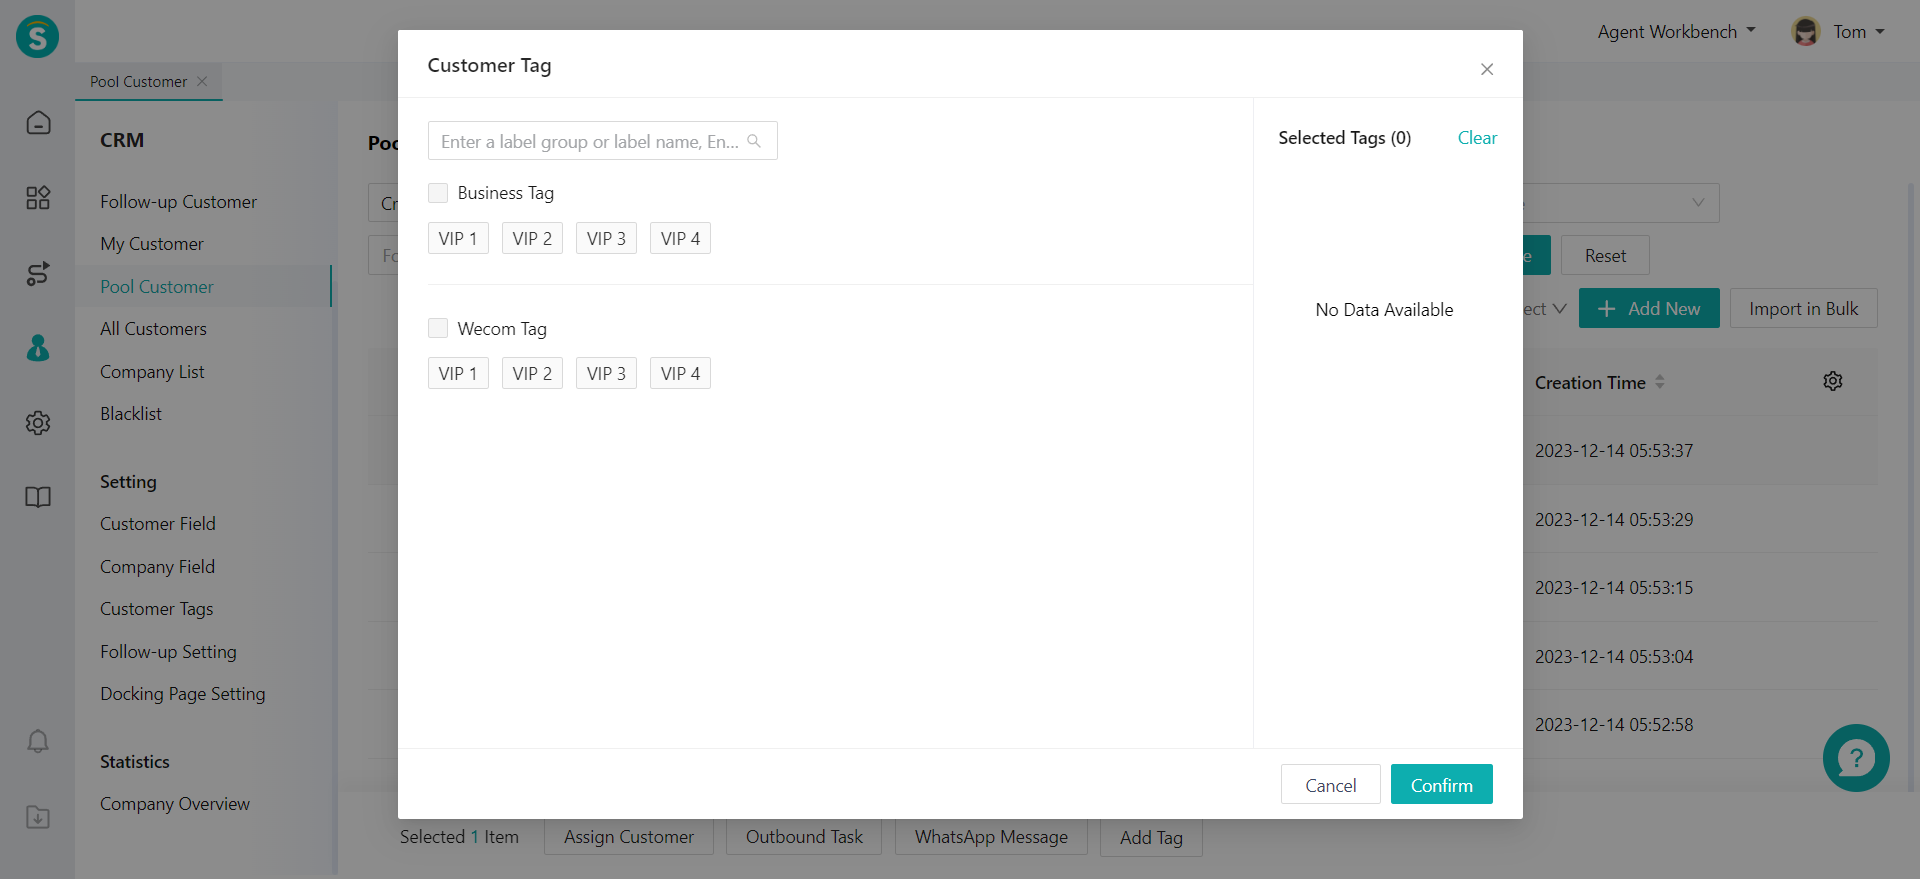
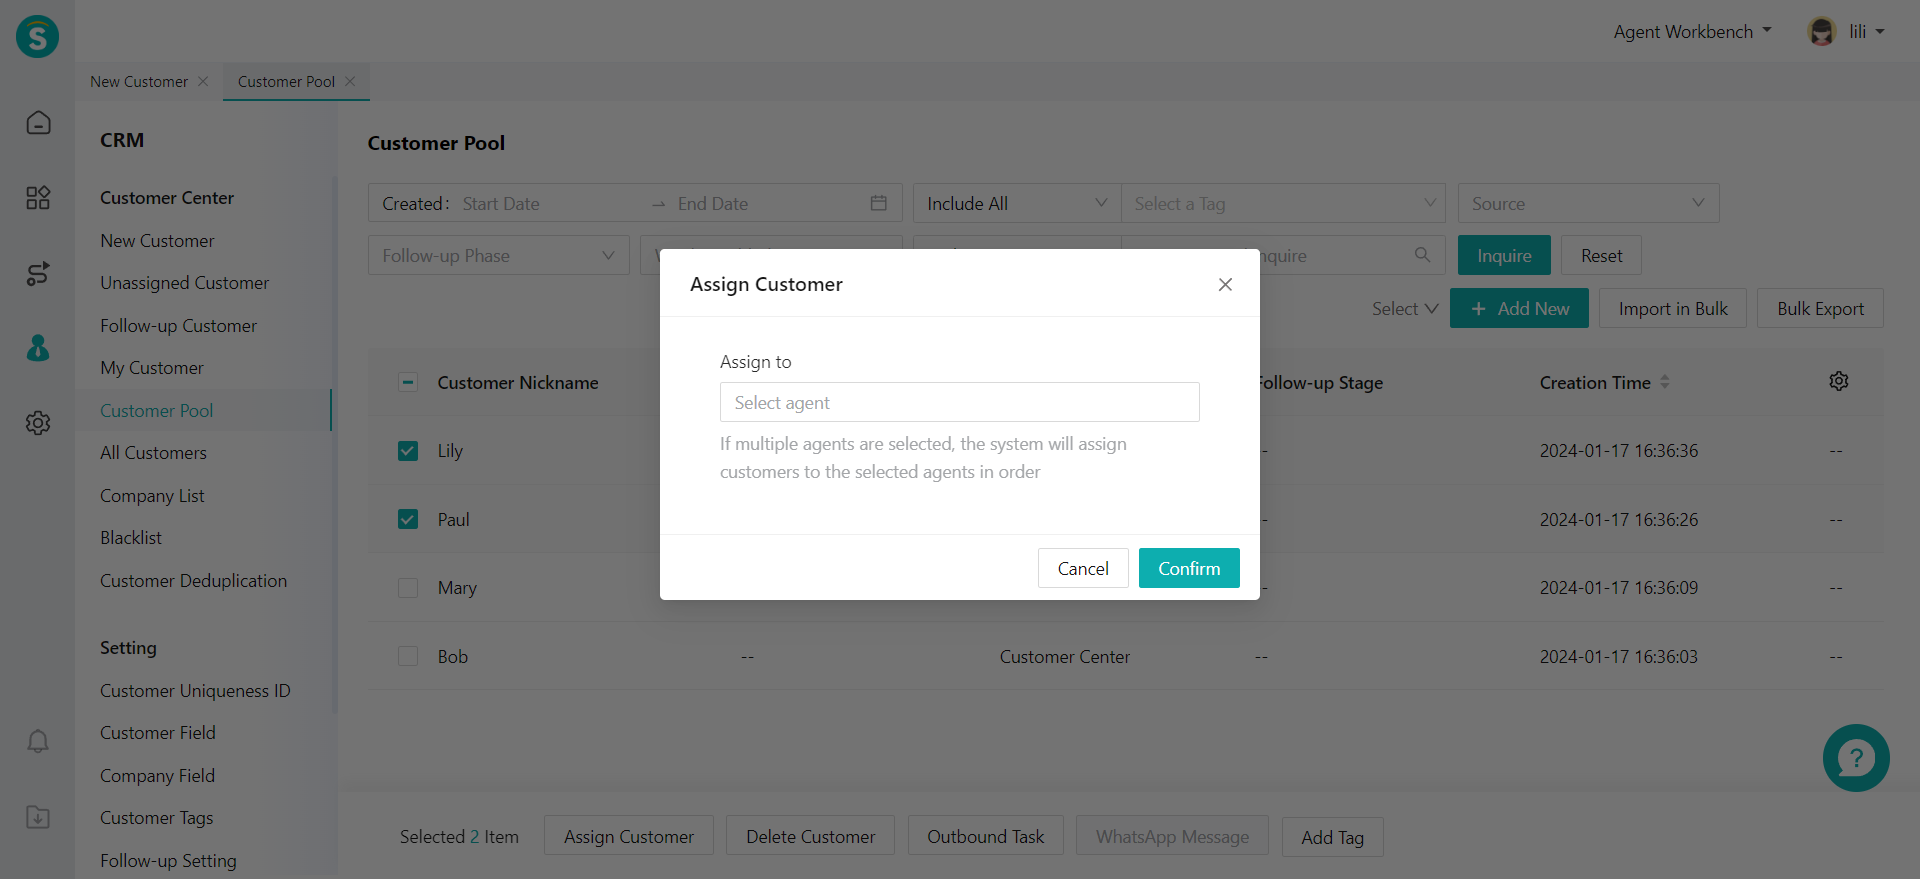
In the customer list, you can select all or multiple customers through the left selection box to activate customer bulk operations. The agent with corresponding operation permissions can perform the operations such as Assign Customer, Delete Customer, Outbound Task and Add Tag on the Pool Customer Page.
- Assign Customer By selecting multiple customer information and clicking Transfer Customer, you can reassign My Customers to the designated department or its members. When multiple agents are selected, the selected customer information will be evenly assigned by polling among them.
Delete Customer By selecting multiple customer information and clicking Delete, you can delete the customer information. After operation, the page will be refreshed automatically, and the deleted customers will be removed from the Pool Customer and cannot be retrieved.
Outbound Task Users who purchase call center or omni-channel agent products can create outbound tasks in bulk. By selecting multiple customer information and clicking Outbound Task, you can create the customer information as outbound tasks.
- Add Tag By selecting multiple customer information and clicking Add Tag, you can edit tag information of the selected customers in bulk. You can select WeCom tag or business tag through the pop-up window, so that the tag information of the selected customers will be fully updated.