Usage description of Amazon docking
# Usage description of Amazon docking
——Learn the specific operation steps of Amazon docking through this article
# Preparations
● An account with Sobot system admin permissions.
● An Amazon account owner's account.
# Authorize the Amazon app
# ● Start docking
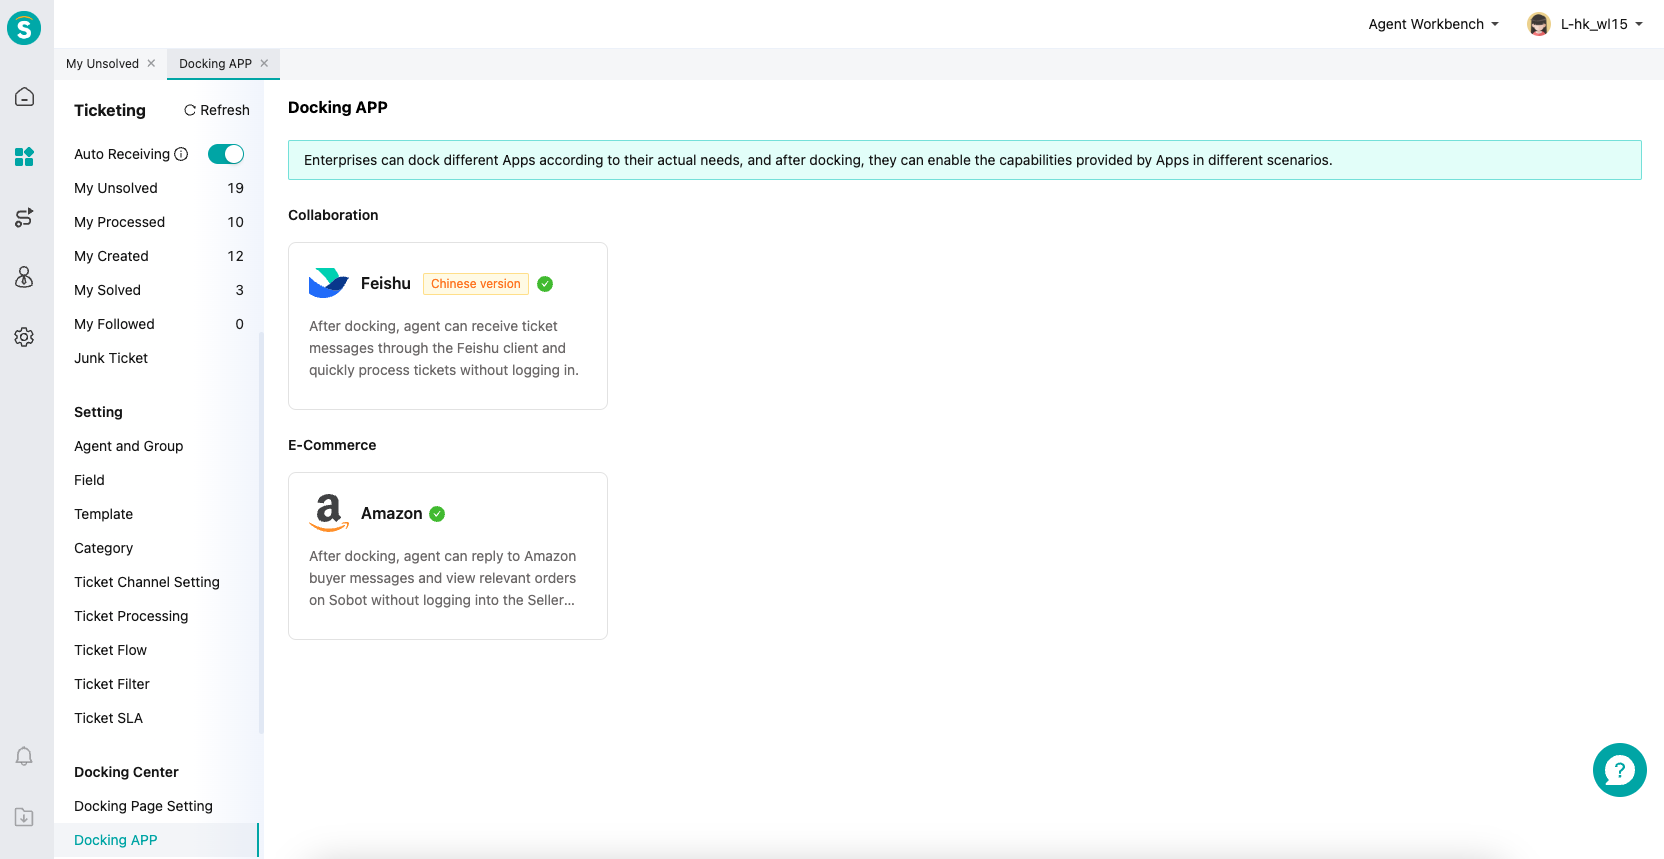
Find Amazon app in Ticket Center - Docking Center - Docking App, and click Start Docking.
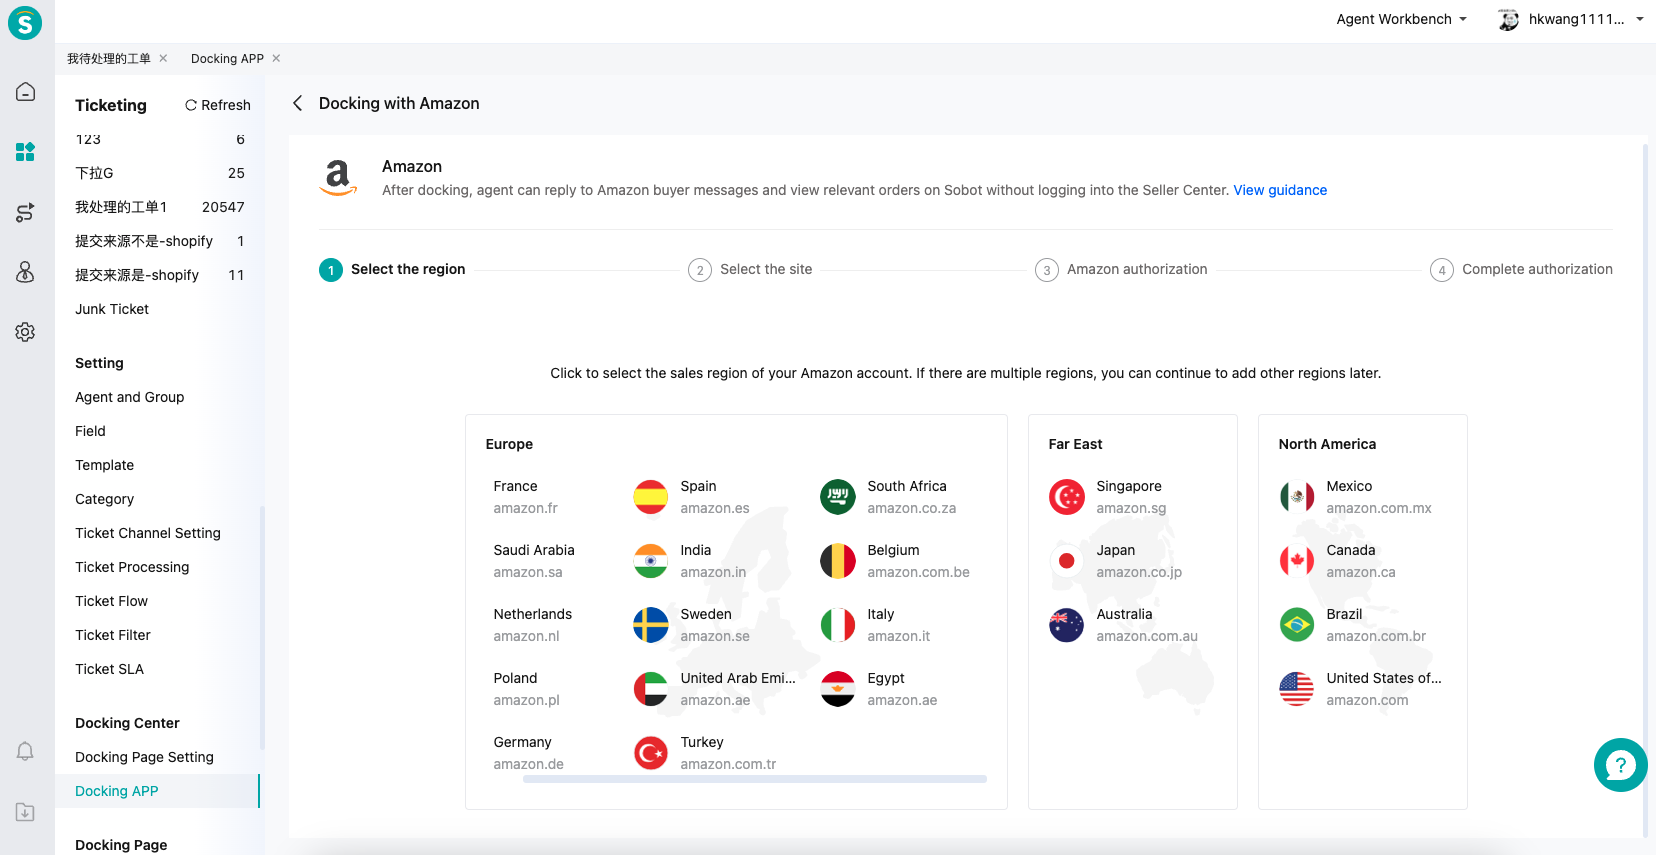
# ● Select region
Select the Amazon region: North America, Europe, or the Far East. Select any region where your current sales are located. For example, if you sell on amazon.com, then select North America.
You can connect unlimited other accounts, regions, and markets as needed later.
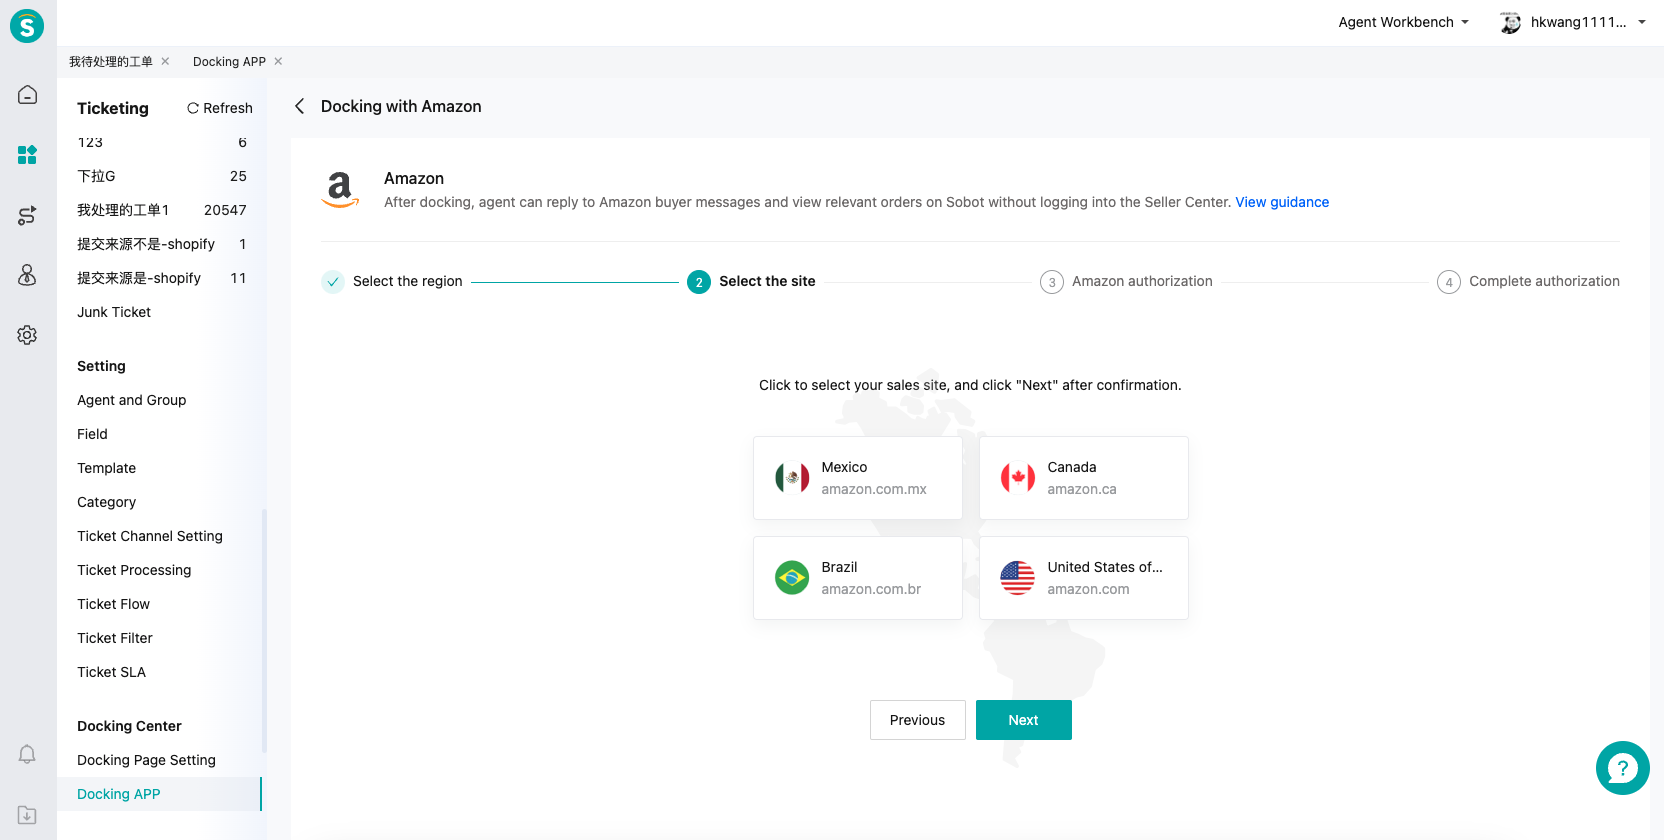
# ● Select site
Select each site where your sales are located. Multiple selections are allowed.
# ● Authorization
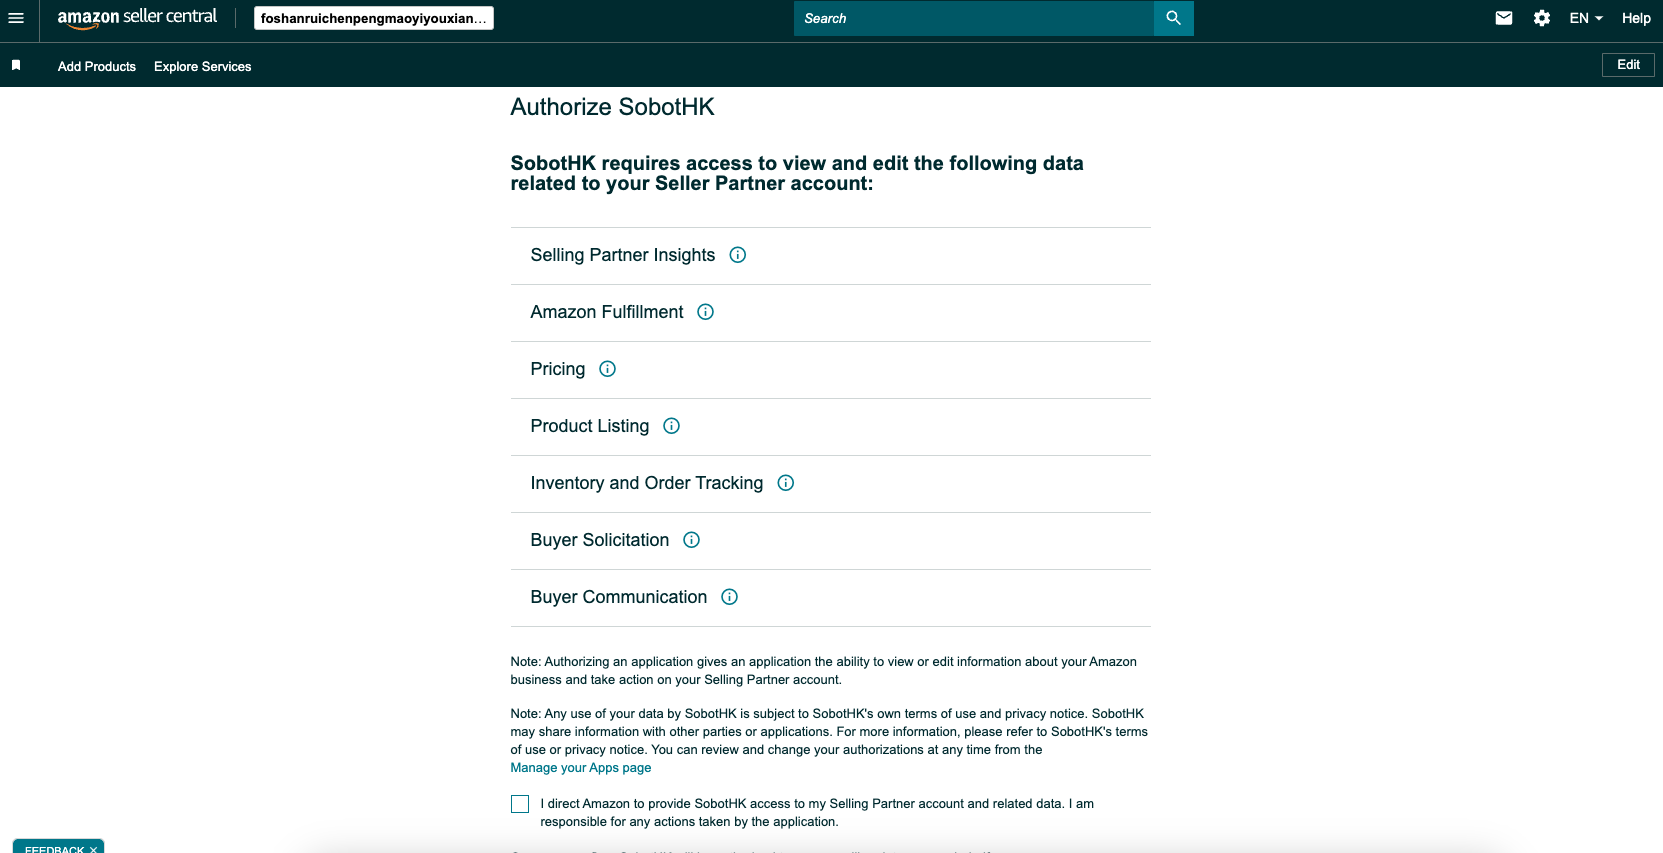
After clicking "Go to Authorize", log in to your Amazon seller account as the account owner. Remember that you must log in as the account owner. Even admin does not have enough permissions.
After logging in, the Seller Center will display an agreement to authorize our integration with your account. To agree to the terms and continue the settings, please check the check box, and then click "Confirm".
# Field configuration
# ● Application Scenarios
You can associate some field attributes of Amazon orders with a text-type custom field. When creating a ticket, the system will synchronize this field to the ticket field for trigger workflow and other businesses.
For example, assign orders from the US site to agents in the US.
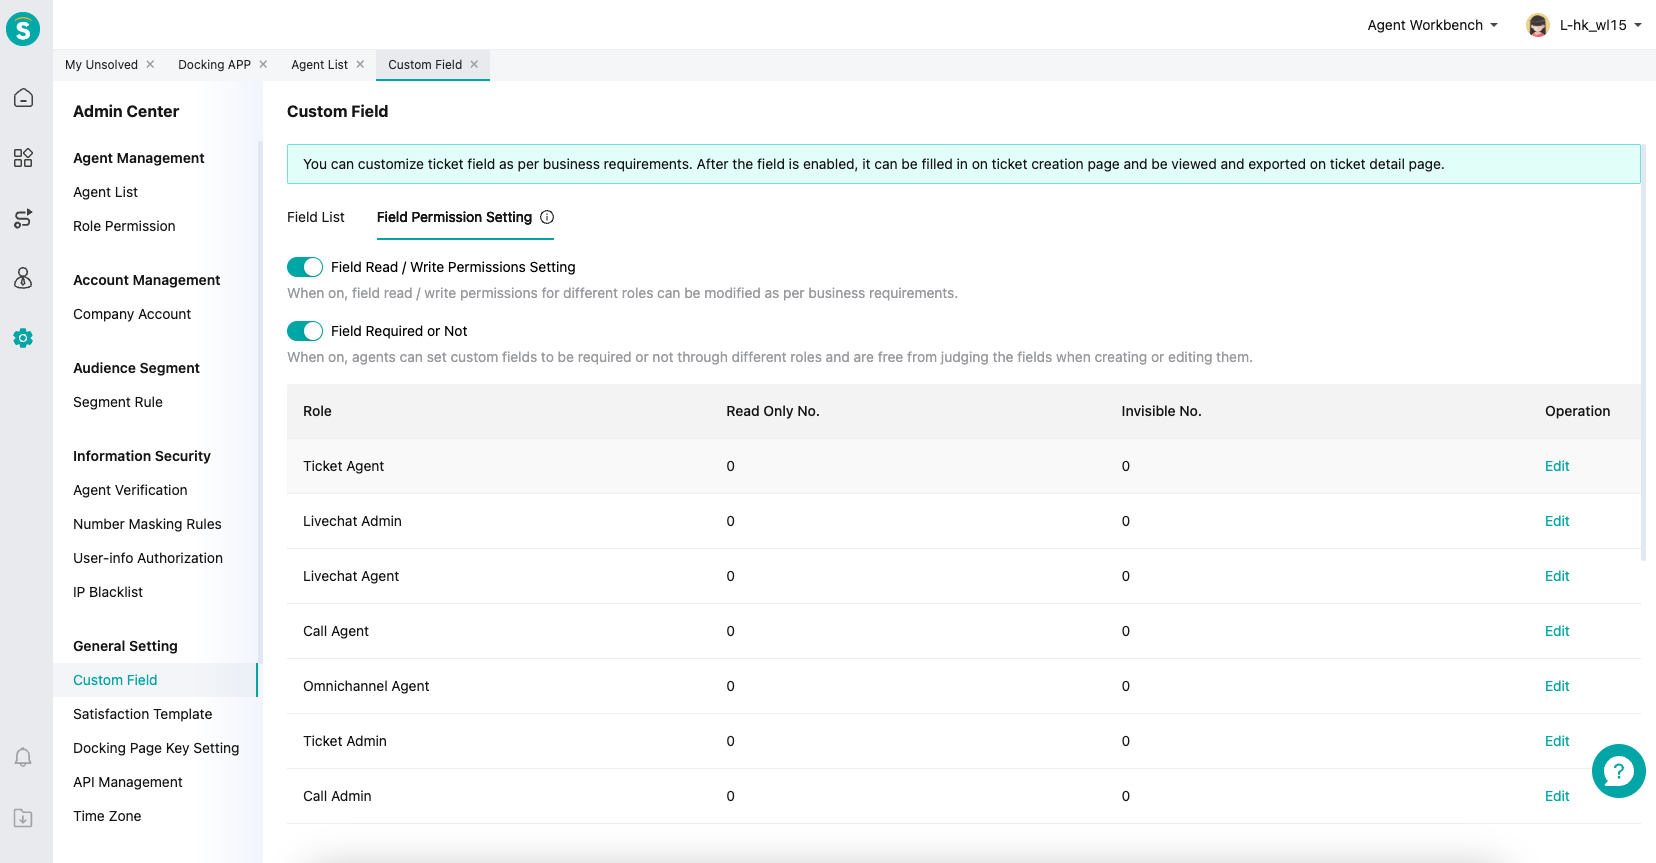
These fields are only generated when creating a ticket, and the system will not update them later. It is recommended to limit agent from making changes through the field permission setting feature in the Admin Center - Public Setting - Custom Field.
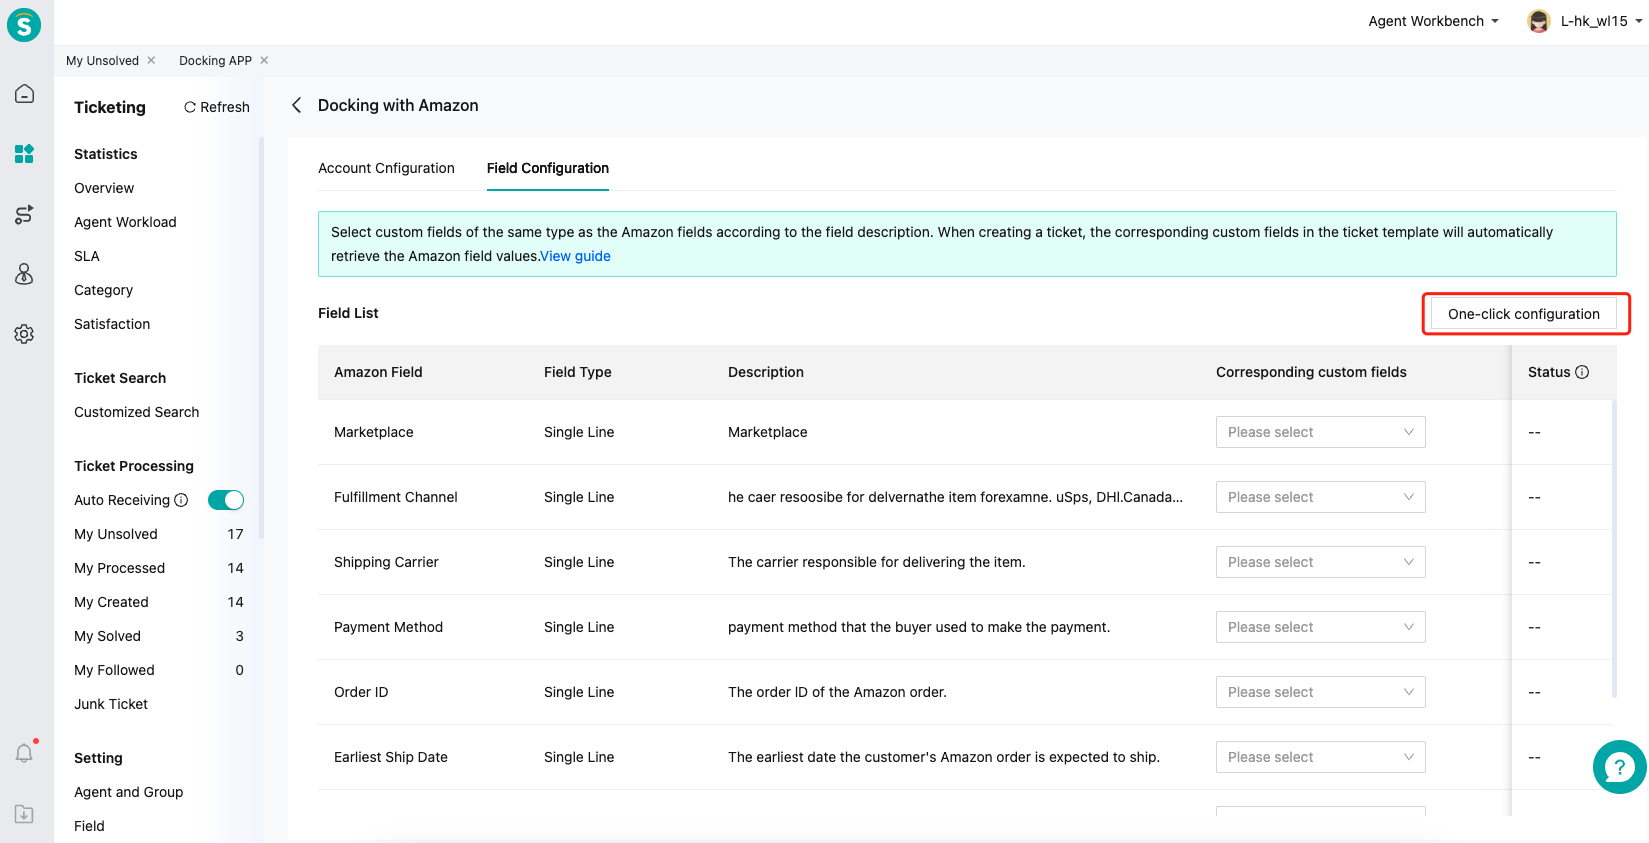
# ● One-click Configuration
Create custom fields corresponding to all Amazon fields in the field list at once. If there are custom fields with the same name, they will not be created again.
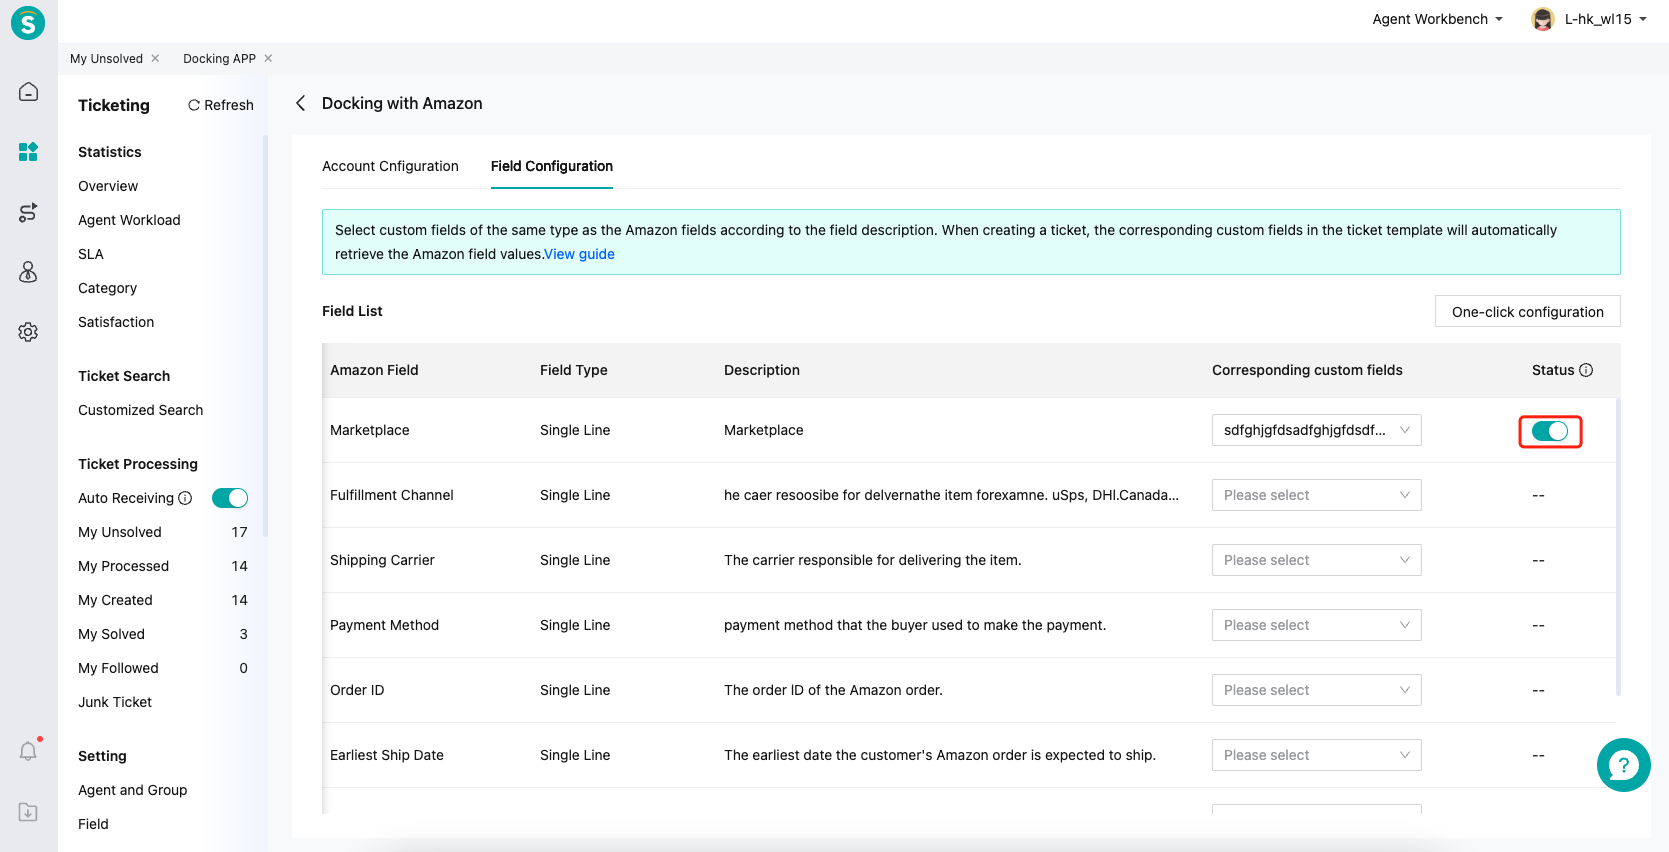
# ● Field status
After the status is disabled, the field will not be placed in the ticket when creating a ticket.
# Account configuration
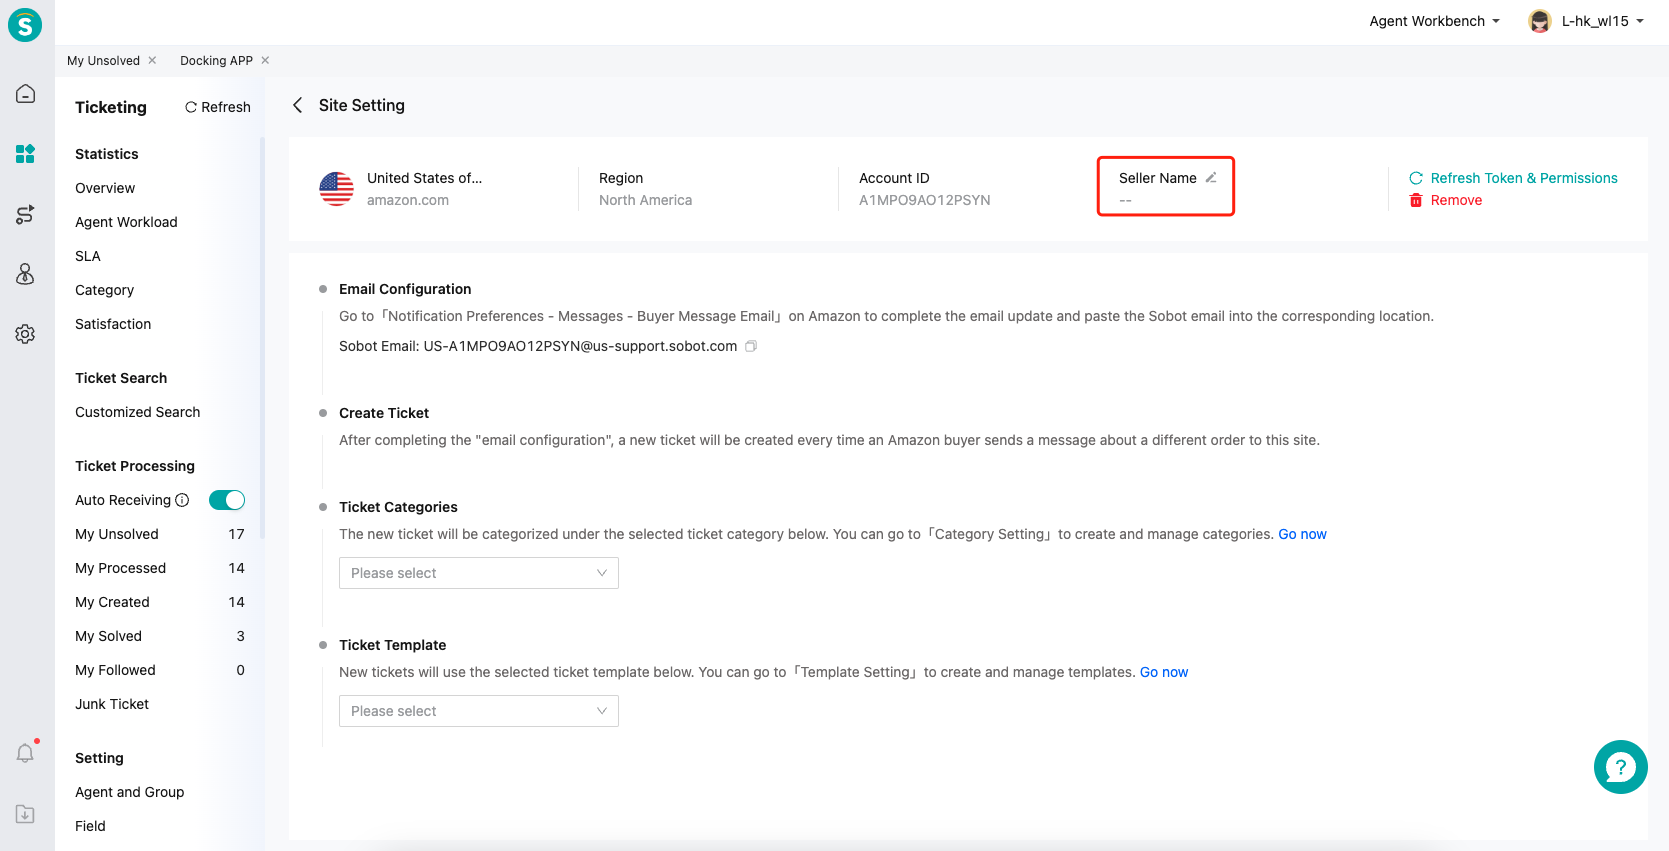
# ● Seller name
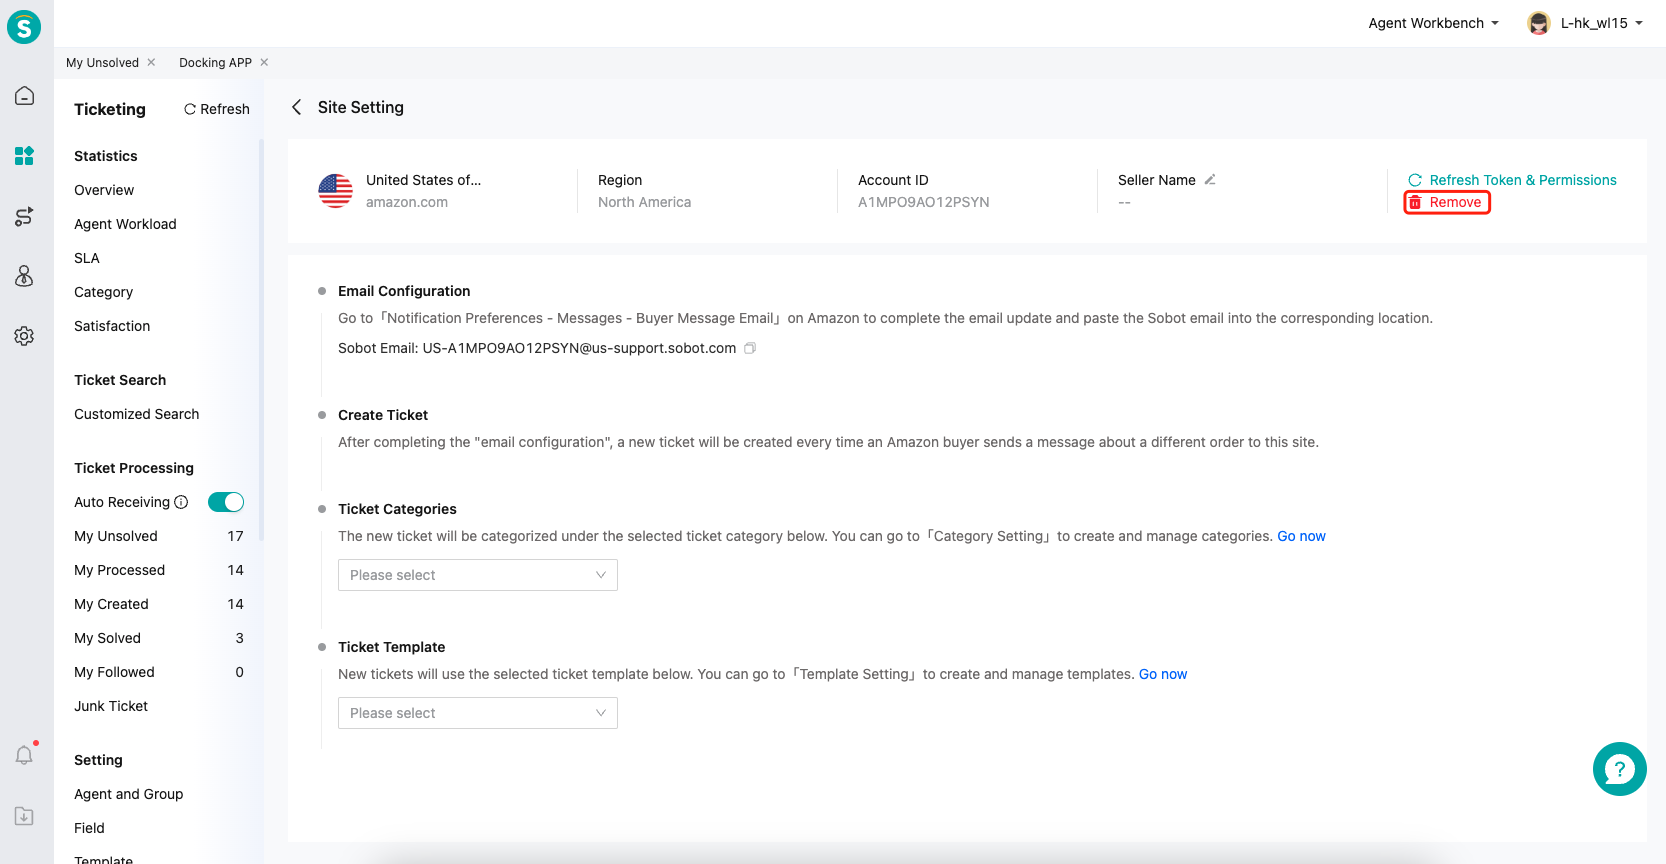
In the Account Configuration - Site Setting - Setting, you can name a seller name for each site to distinguish which site of which app the message comes from.
# ● Buyer message configuration
After authorization, the system will generate an email address for each site, which your customers will never see, so it doesn't matter even if it is ugly!
Click the Copy button to copy the address to the Amazon notification setting. Here is an example using the US site:
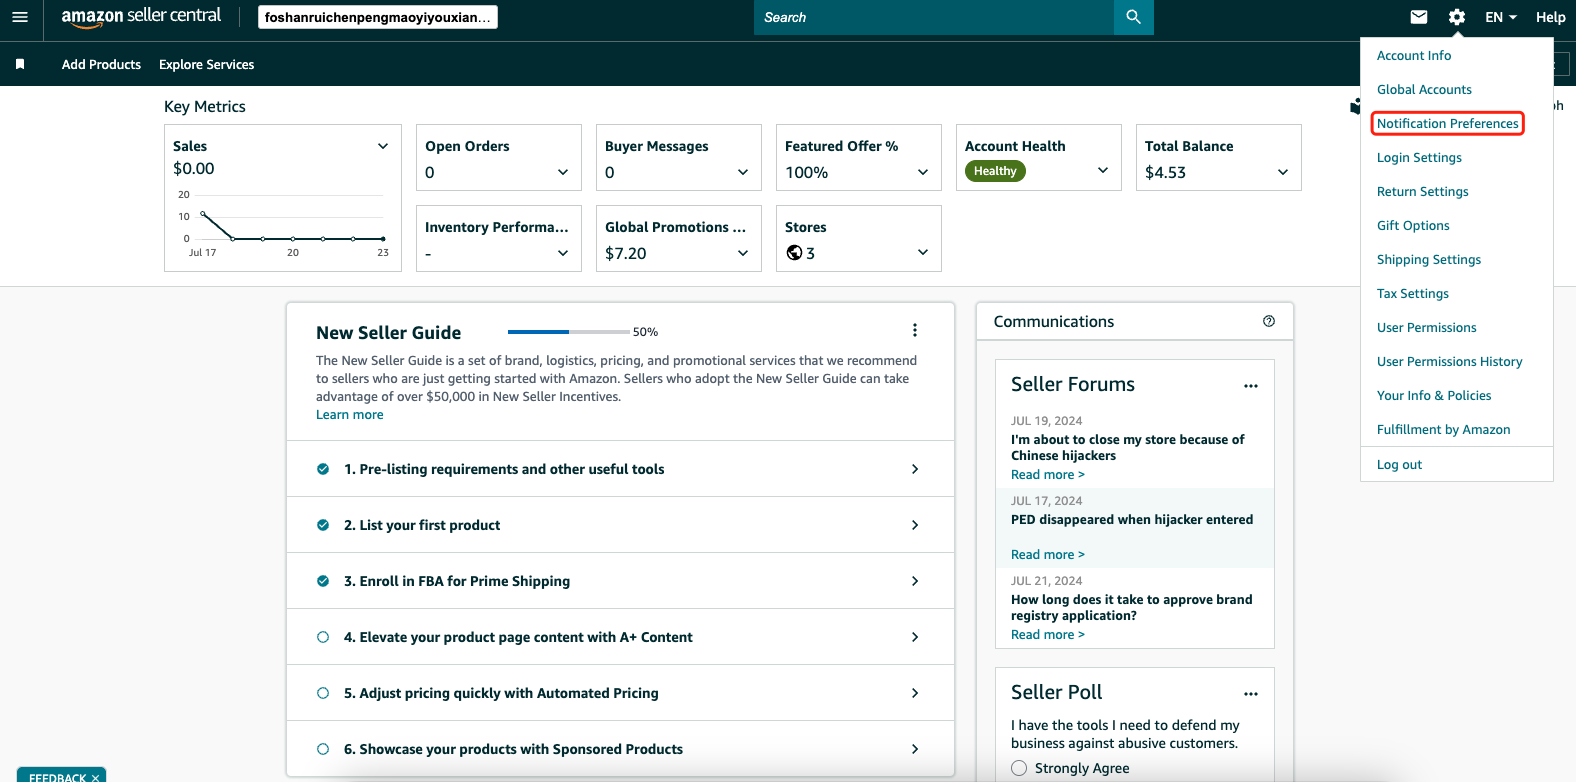
Enter the Amazon seller backend and make sure the selected site is the US site.

Find buyer messages in Setting - Notification Preferences, and add the email address to buyer messages.
After successful configuration, the system will handle all buyer messages of the same order in the same ticket.
Note: The system does not support other notification messages currently.

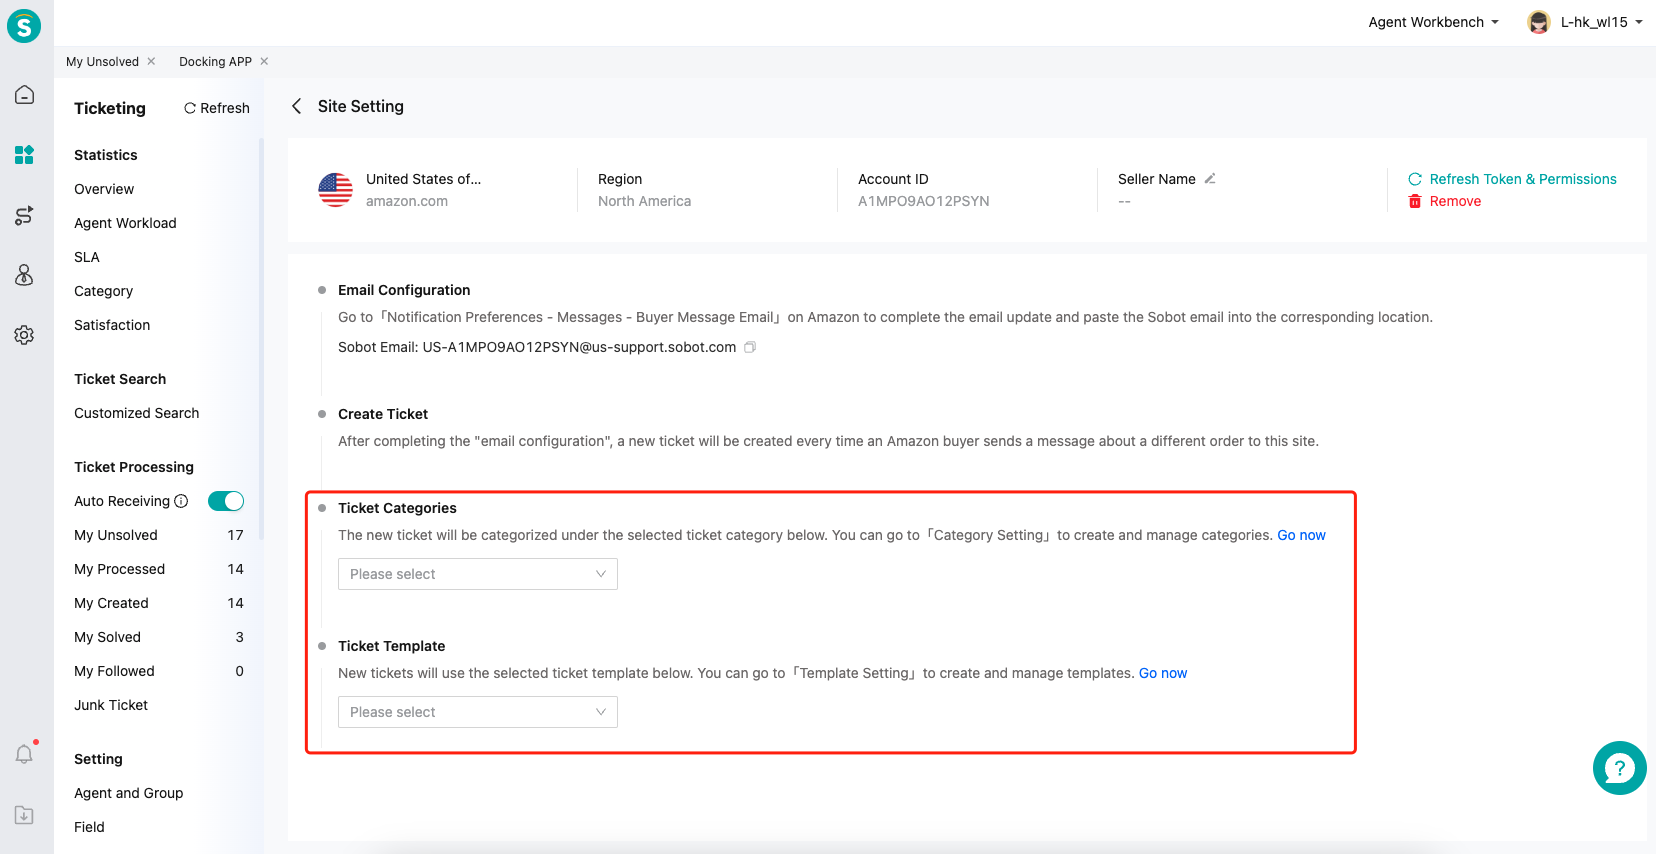
# ● Ticket category and ticket template
Create a ticket category and ticket template for the tickets generated from the buyer messages of this site.
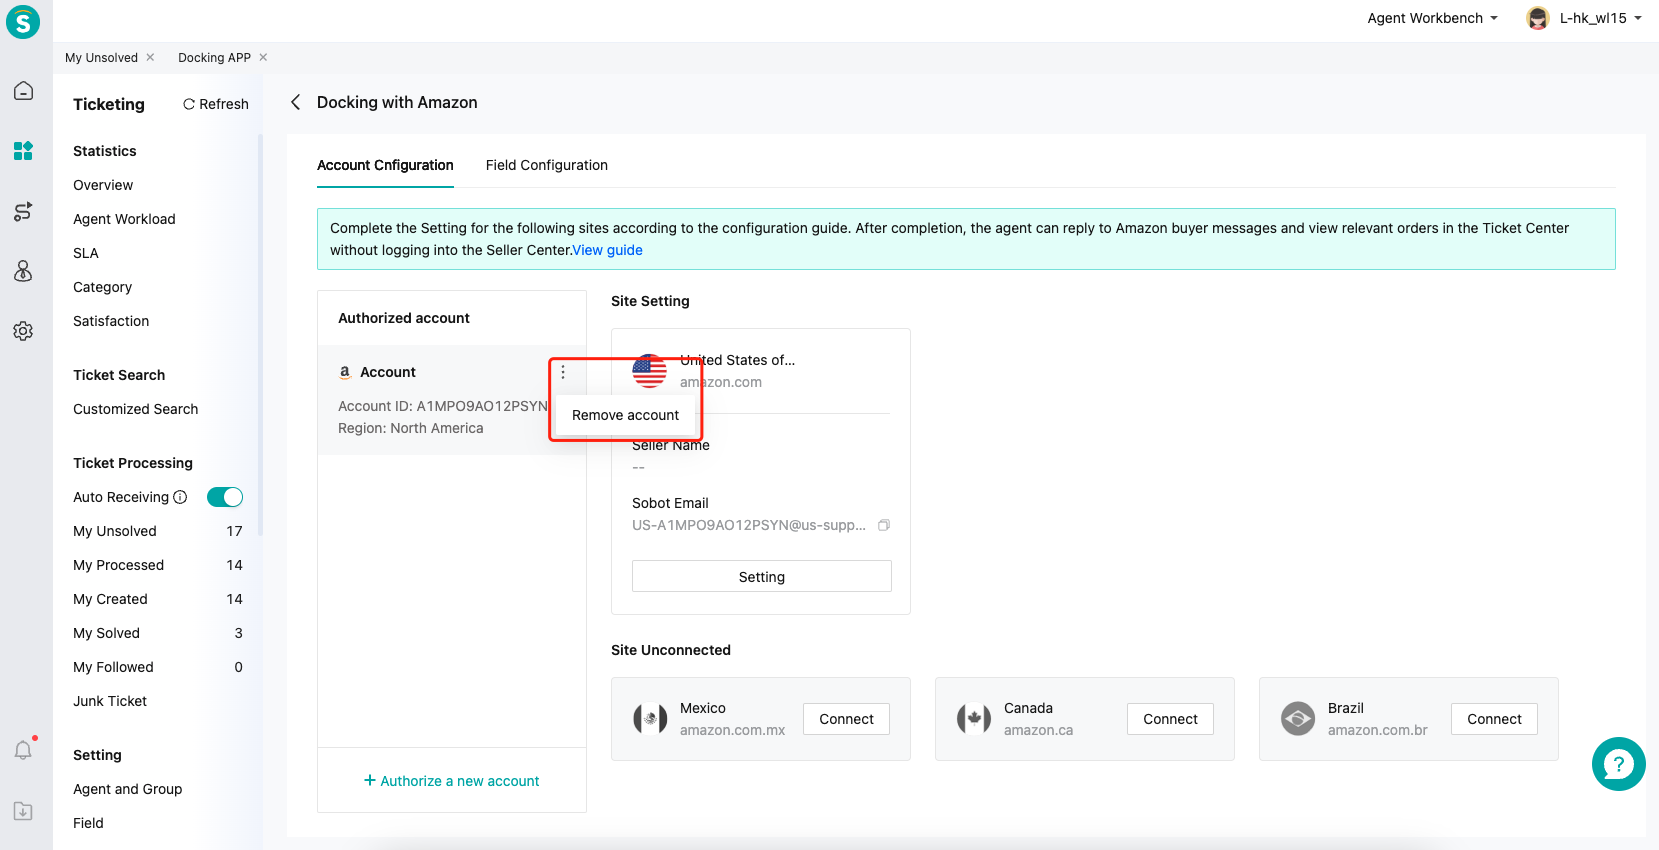
# ● Delete account/delete site
After deletion, the related configurations will become invalid and new buyer messages will not be received.
# Amazon ticket adaptation
# ● Ticket source - Amazon
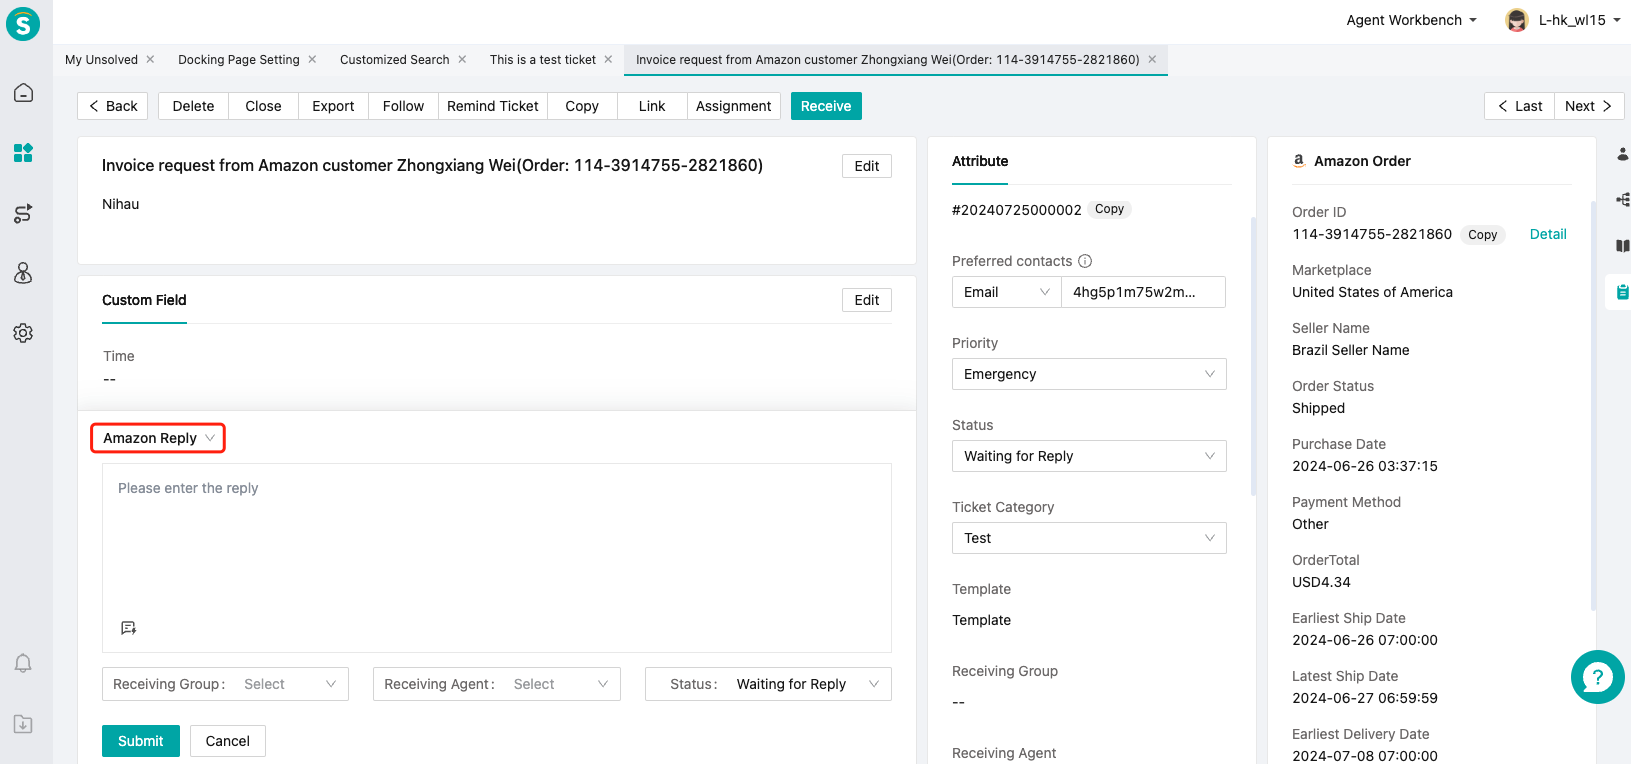
After successful docking, the tickets created by Amazon will be marked as Amazon's ticket source.
# ● Order component
When opening a ticket to enter the ticket details page, if the ticket source is Amazon, the order details page will be opened by default.
The order details page will provide information such as total order amount, taxes, and products.
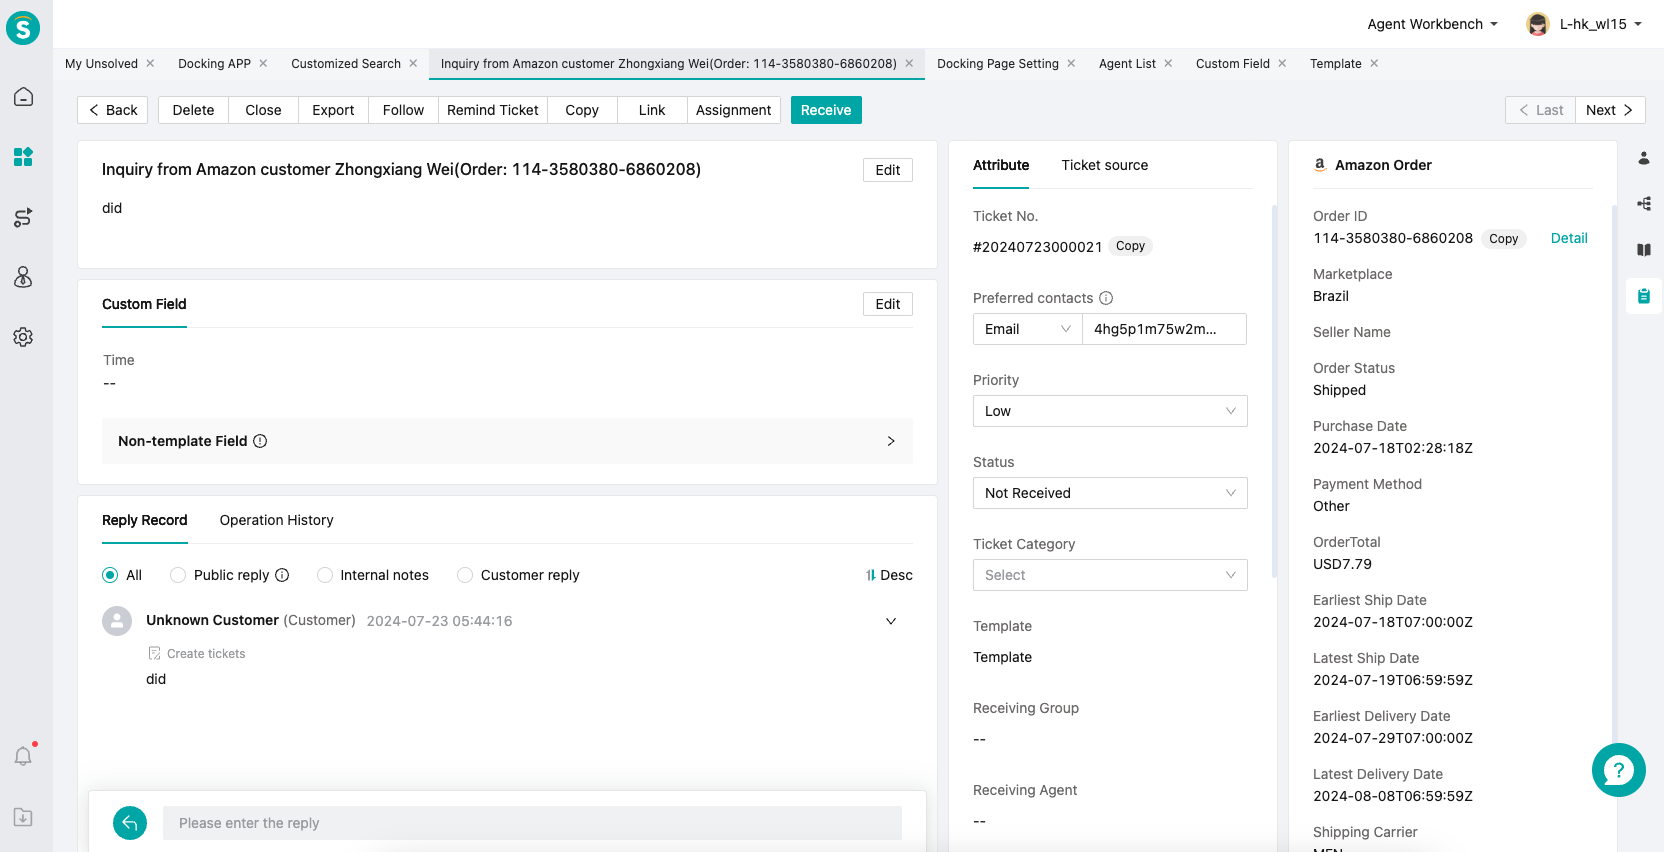
# ● Amazon reply
A new reply method (Amazon reply) is added. If the ticket source is Amazon, clicking the reply button will default to an Amazon reply.