Zalo Integration Instructions
# Zalo Integration Instructions
——Learn the specific steps for integrating Zalo services with the Zhichi customer service workstation through this article;
# Preparation Work
● An account with administrator privileges for the Wisdom Tooth system. ● An account with administrator privileges for the Zalo OA management backend. ● An account with administrator privileges for the Zalo OA developer platform. ● A valid Vietnamese mobile phone number.
# Authorize Zalo Application
# ● Start Integration
In the Marketplace - Social Media, find the Zalo app and click to start integration.

# Get Application Information
# ● Create Zalo Application
If you do not have the Zalo app, please follow the official documentation (opens new window) to create an application.
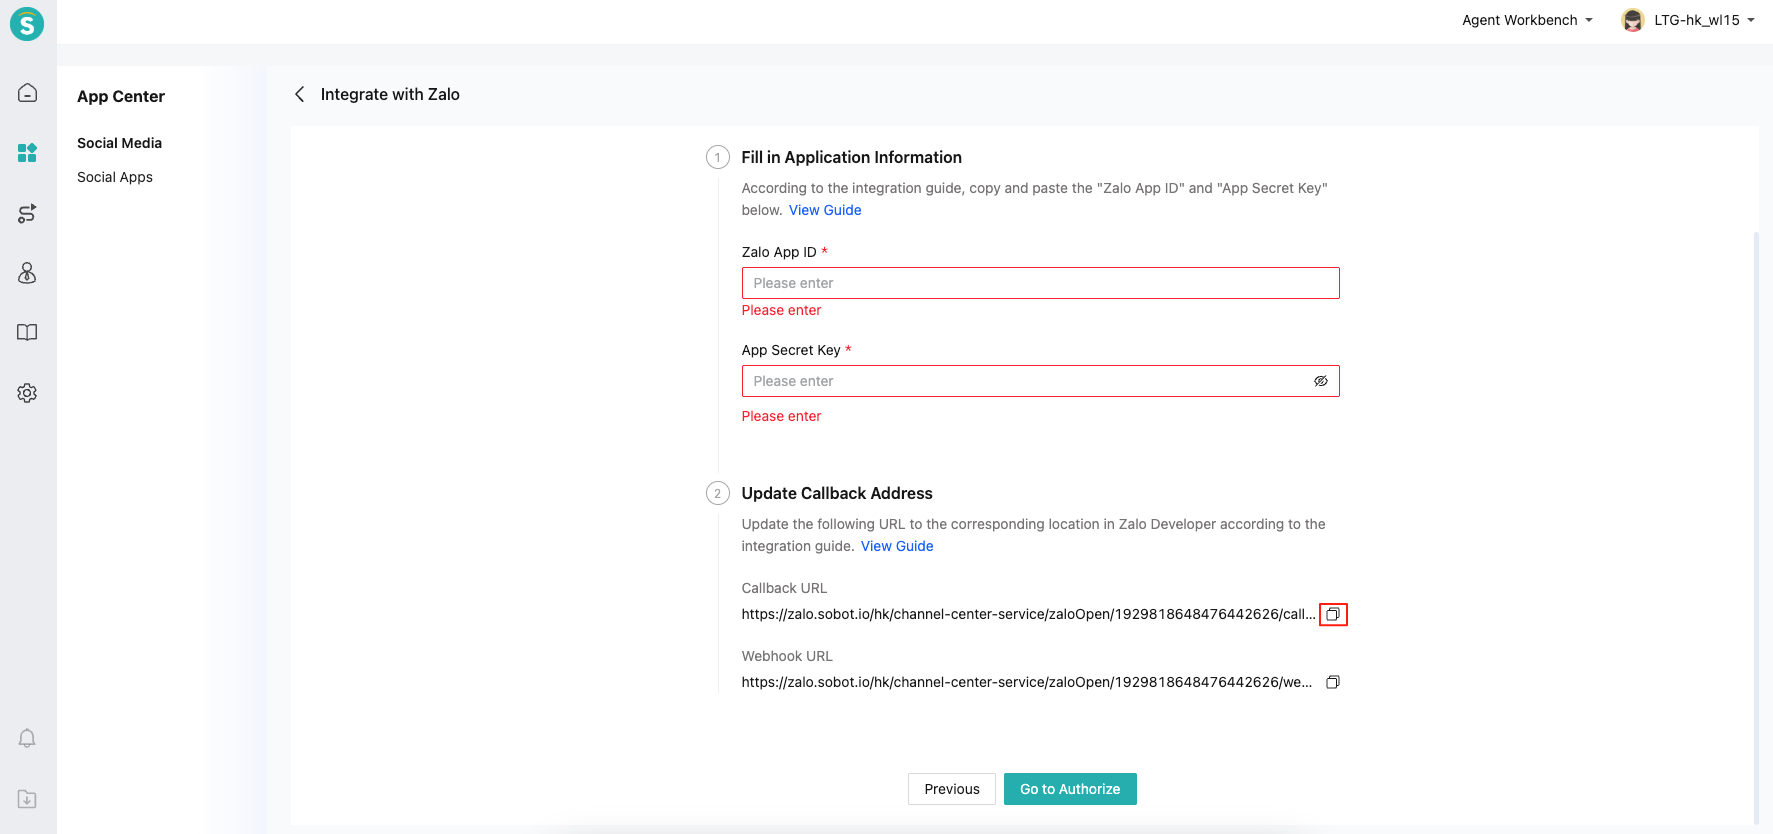
# ● Get the application ID and secret key
Find the application you want to authorize, copy the obtained application ID and key, and fill them into the system later.


After the application is successfully created, set it to active.
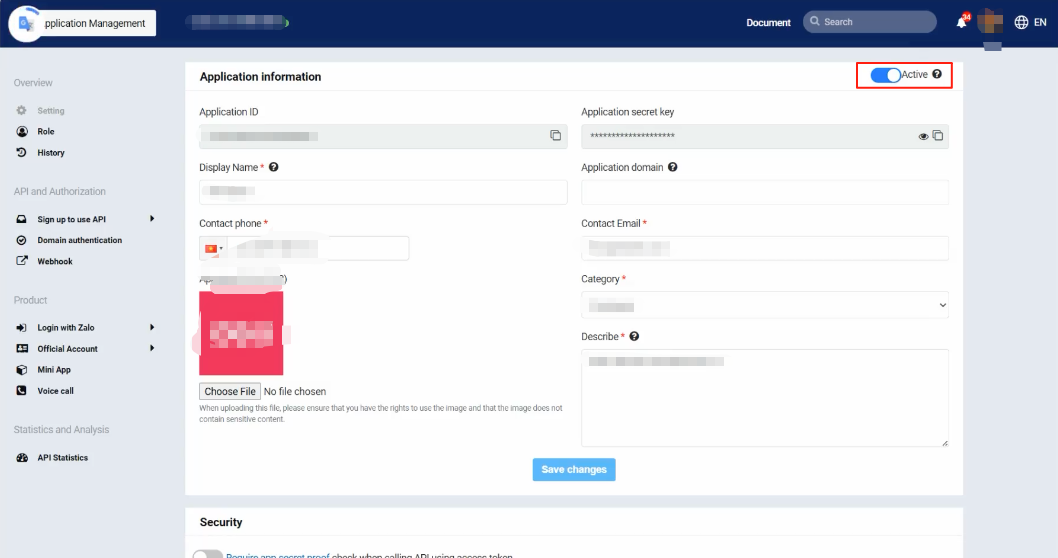
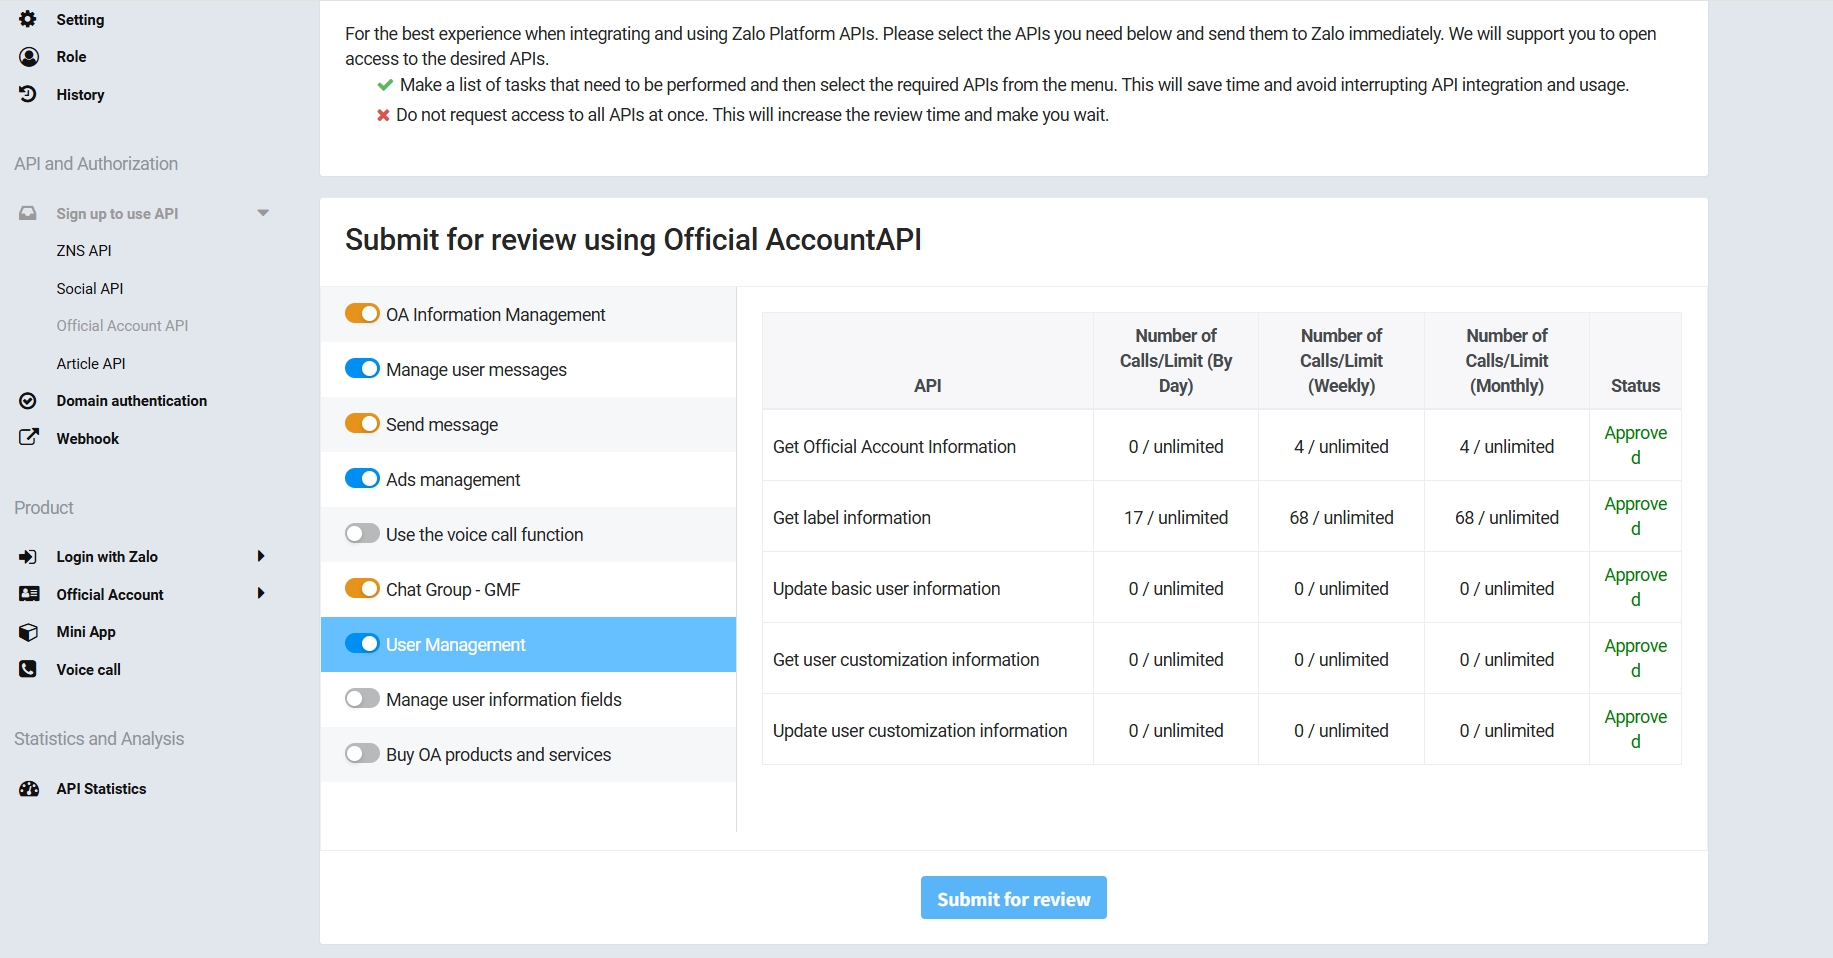
Register the APIs you want to use and enable the APIs in the image below.
# ● Verify Domain Name
First, obtain the verification URL in the system.
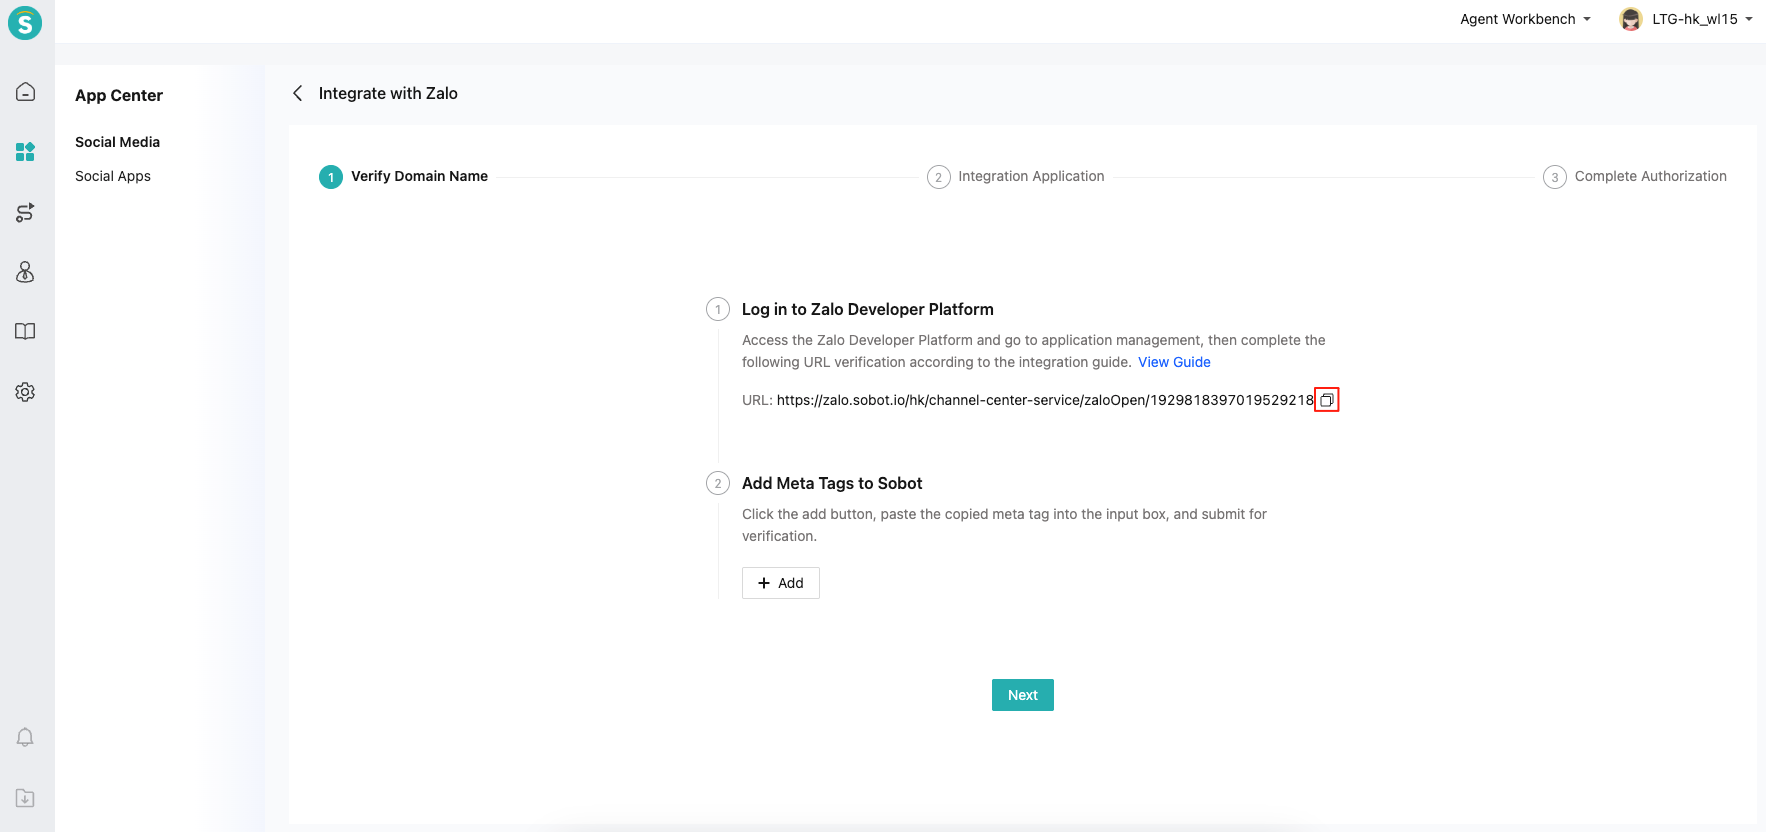
View the second domain verification method in the official documentation (opens new window) and complete the domain verification. Domain name verification has a slight delay, which can be checked 3-5 seconds apart and 2-3 more times.

You can add the meta tag obtained in Zalo to the system.

# Fill in the callback address
# ● Callback URL
Get the Callback Url in the system.
Fill in the Callback Url in Zalo.

Select the following permissions:
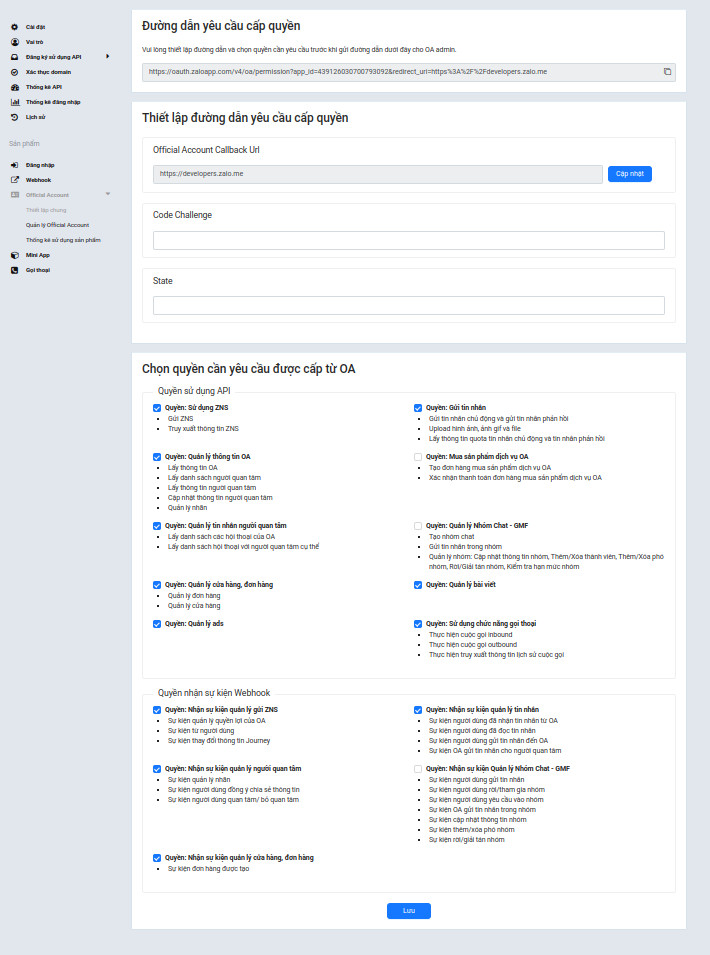
# ● Webhook URL
Get the Webhook URL in the system and fill it into Zalo's Webhook URL.

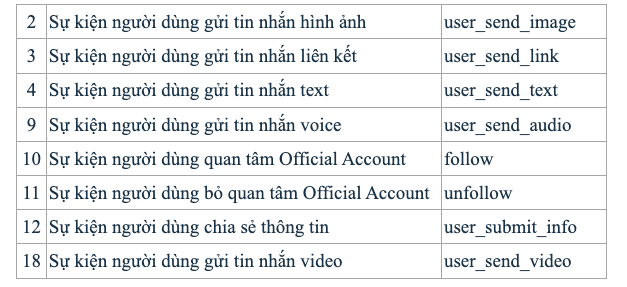
Select the events that need a callback:

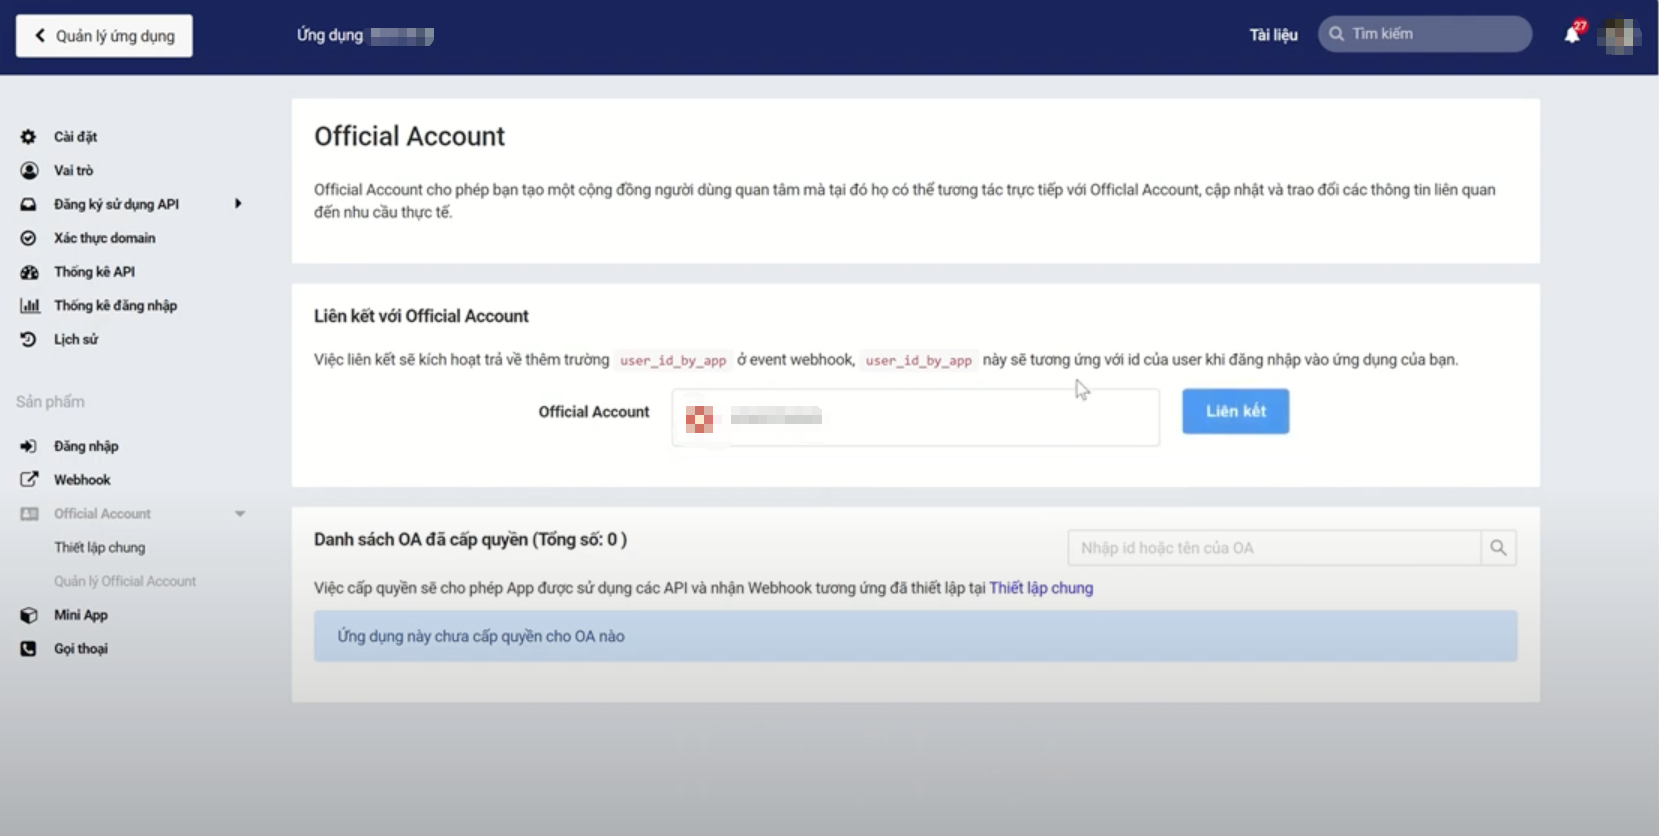
# ● Select Zalo OA
Select the Zalo OA account that this app will act as a proxy for.
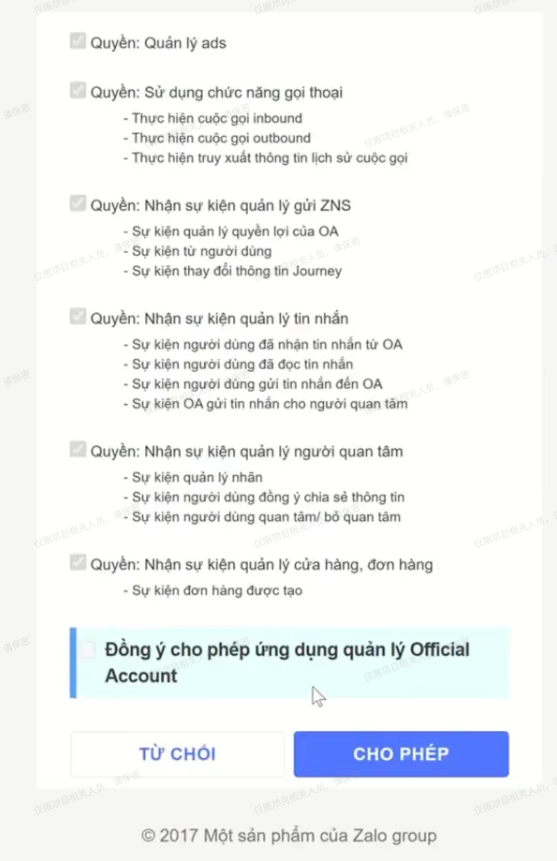
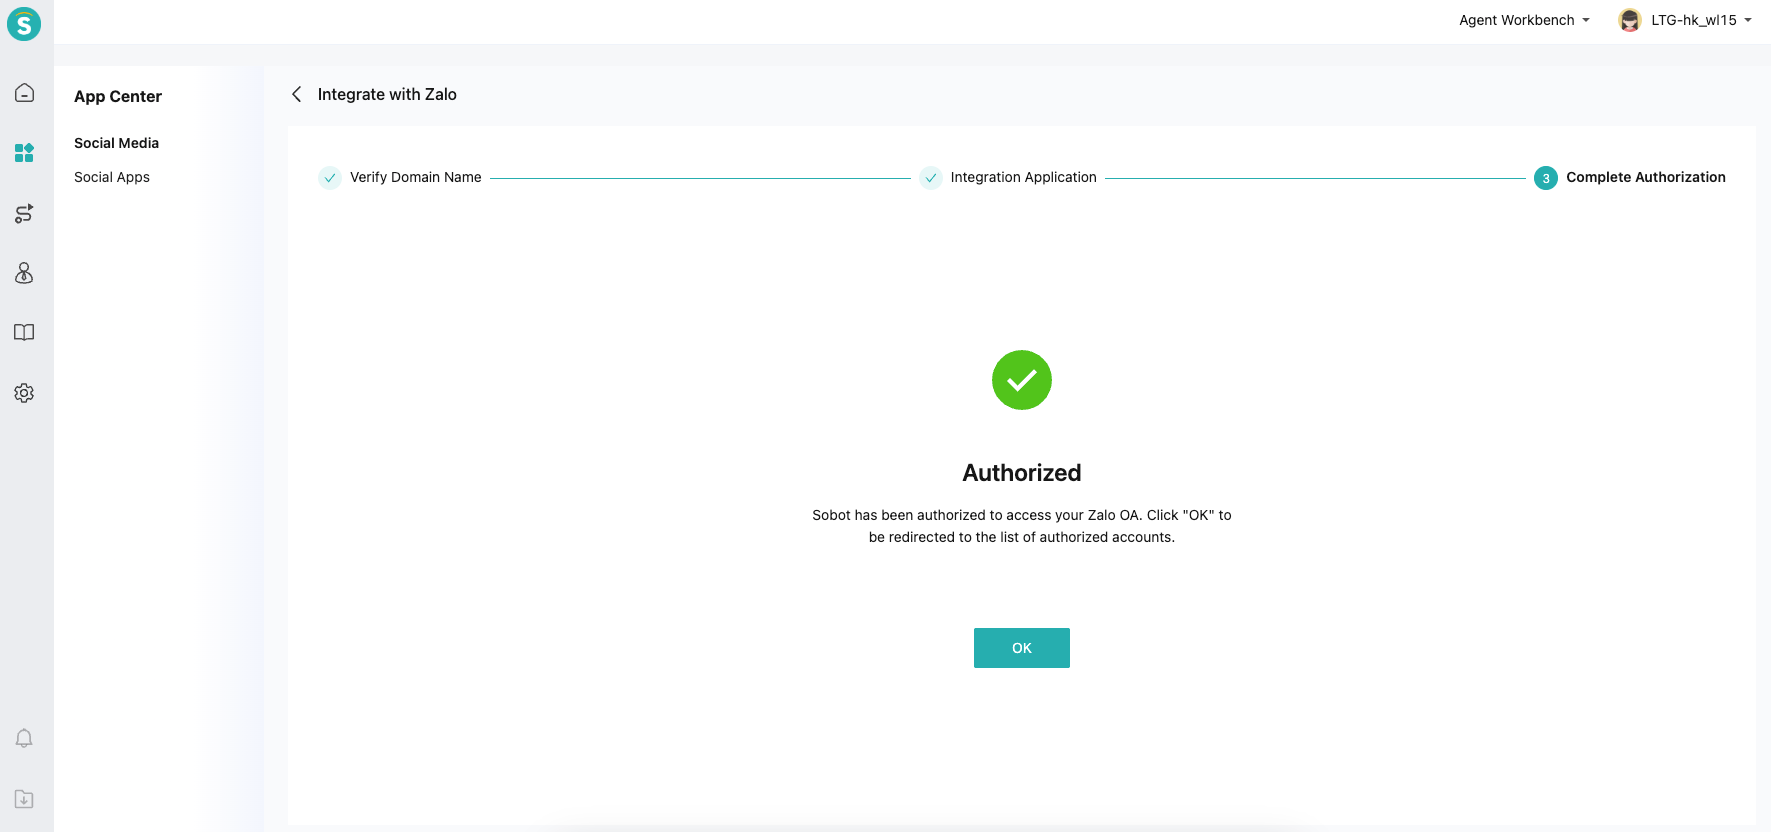
# ● Go to Authorization
Click the "GO to Authorize" button.

# Zalo Tag Configuration
Zalo OA can tag users. When users ask questions, if you want to use these tags for routing allocation, such as assigning users with the VIP tag to customer service agent A, you can achieve this through the following features.
# ● Set up the mapping between Zalo tags and CRM tags
Establish the correspondence between Zalo tags and CRM tags.

Note: When you create new tags on Zalo or CRM, you need to manually maintain the new corresponding relationships here. Similarly, when you delete tags on Zalo or CRM, you also need to manually unbind the corresponding relationships. If you do not unbind them, the relationships will no longer take effect.
# ● Set Routing Rules for CRM Tags
In Live Chat - Settings - Chat - Customer Assignment Strategy, you can set trigger conditions for customer tags to achieve customer allocation based on tags.
