Ticket Plug-in Guide
# Ticket Plug-in Guide
——Allows your customers to easily create tickets through the ticket plug-in
# Role of Ticket Plug-in
The ticket plug-in can be directly deployed to your page as a web link for your customers to fill in or make submission in combination with live chat and chatbot products.
# Preparation
● Preparation of ticket plug-in deployment environment: The ticket plug-in can be inserted into the page as a web link. Please prepare the deployment environment in advance.
● Content setting of custom fields: Ticket plug-in can be associated with multiple submission templates, which are the collection of content that customers need to fill in. If you require your customers to fill in specific content, please add custom fields in advance to configure submission templates.
Related article: Public Setting Guide
# Add and Manage Ticket Plug-in
Ticket plug-in is a convenient function for enterprises. It allows customers to submit, view, and reply to tickets through the plug-in page and also supports the transfer of customer information.
# ● Plug-in Setting
You can manage and preview the plug-in via Ticket Center > Setting > Ticket Source Setting > Ticket Plug-in page. Click 【Add Plug-in】 to add ticket plug-in.
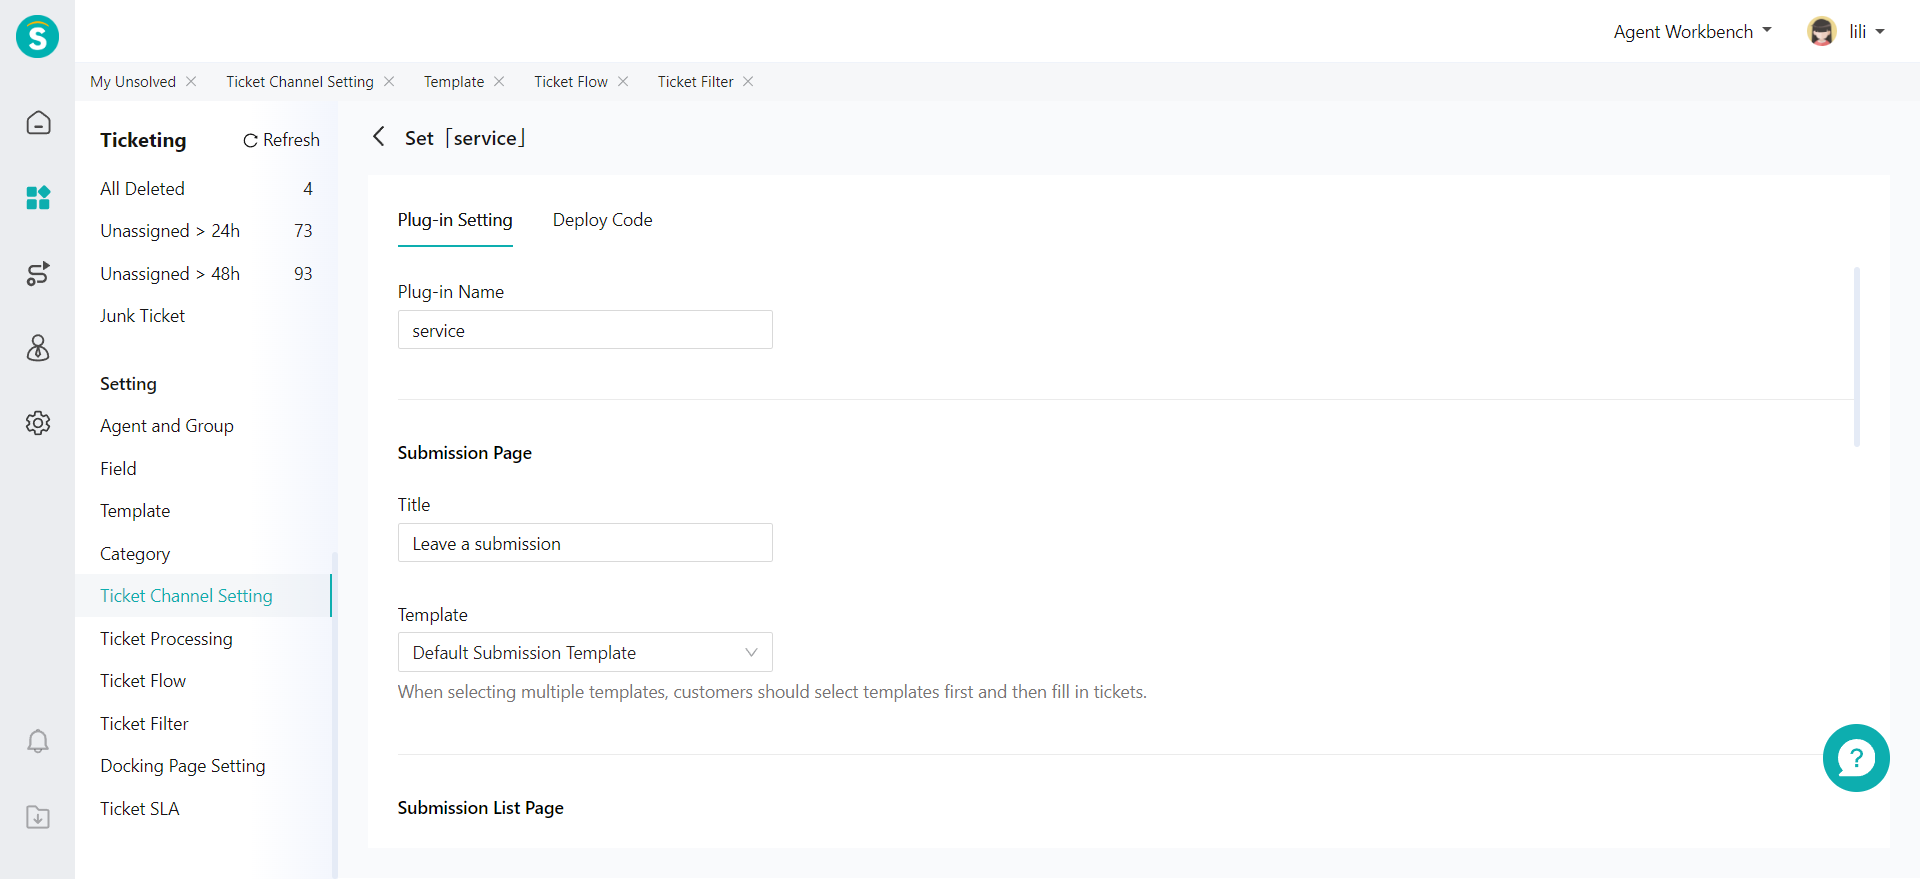
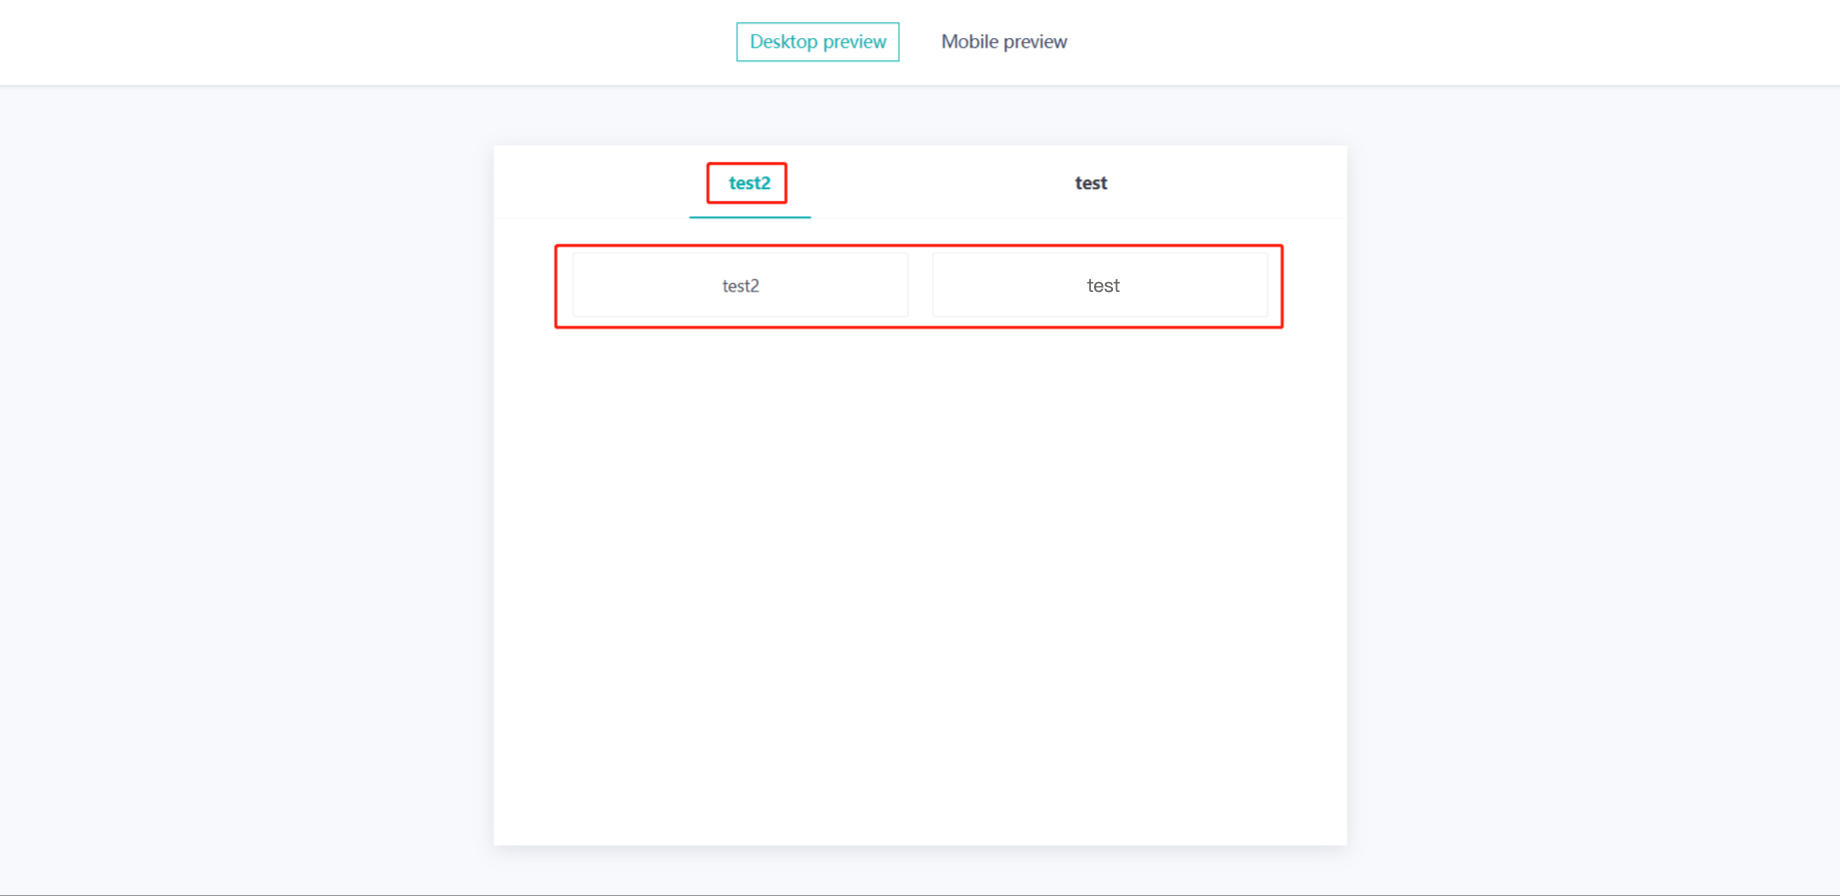
- Submission page setting
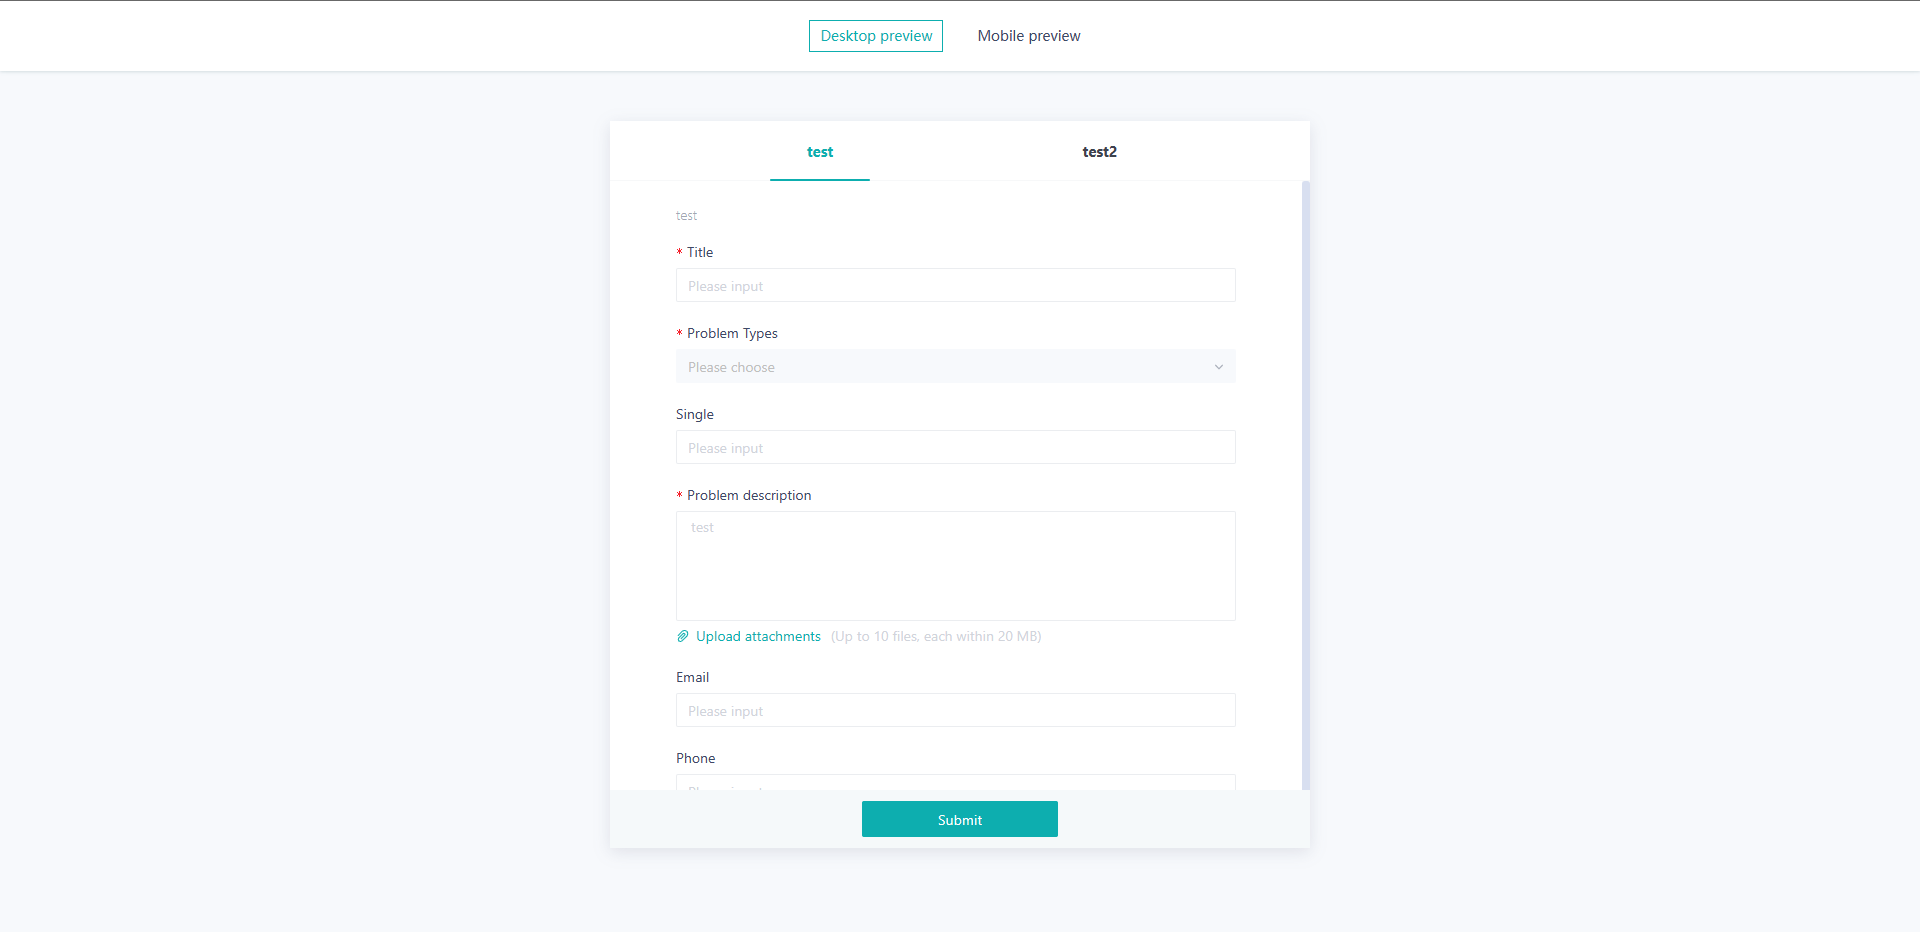
One or more submission templates can be added for each ticket plug-in. When multiple templates are added for the plug-in, the customer shall select template before filling in to enter submission page; the customer can change title text on the submission tab on the ticket plug-in page by editing the title of the submission page.
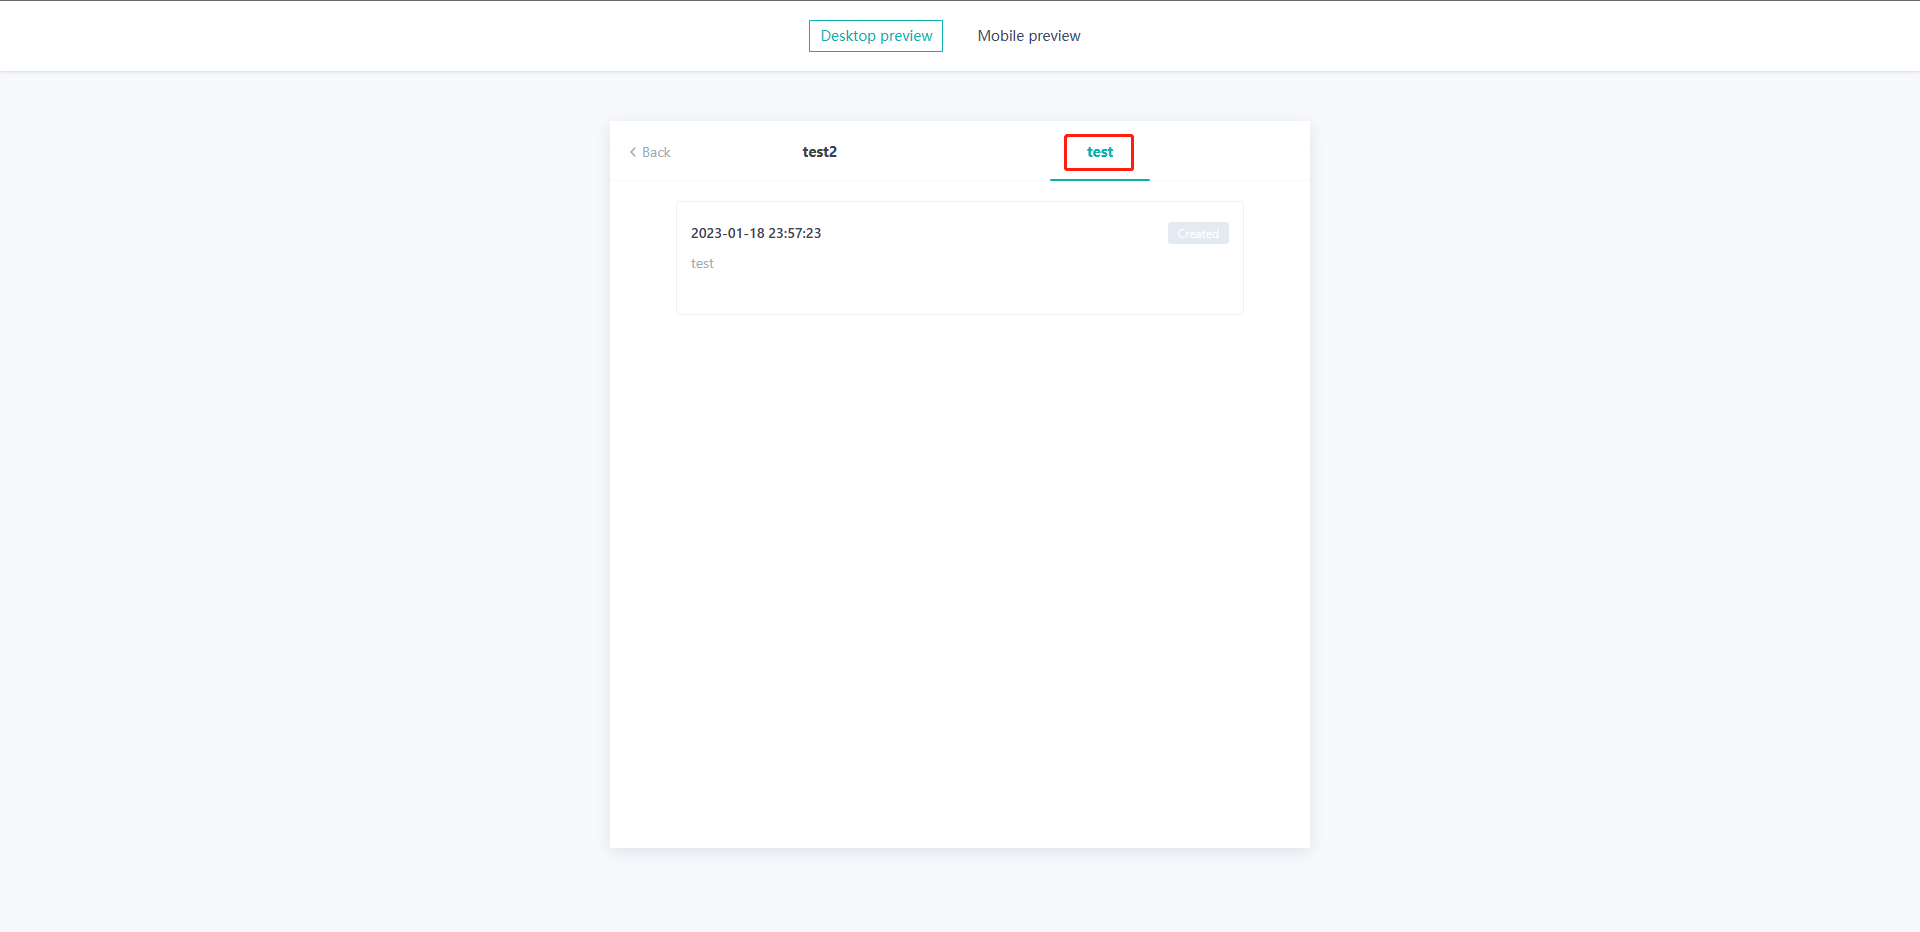
- List page setting
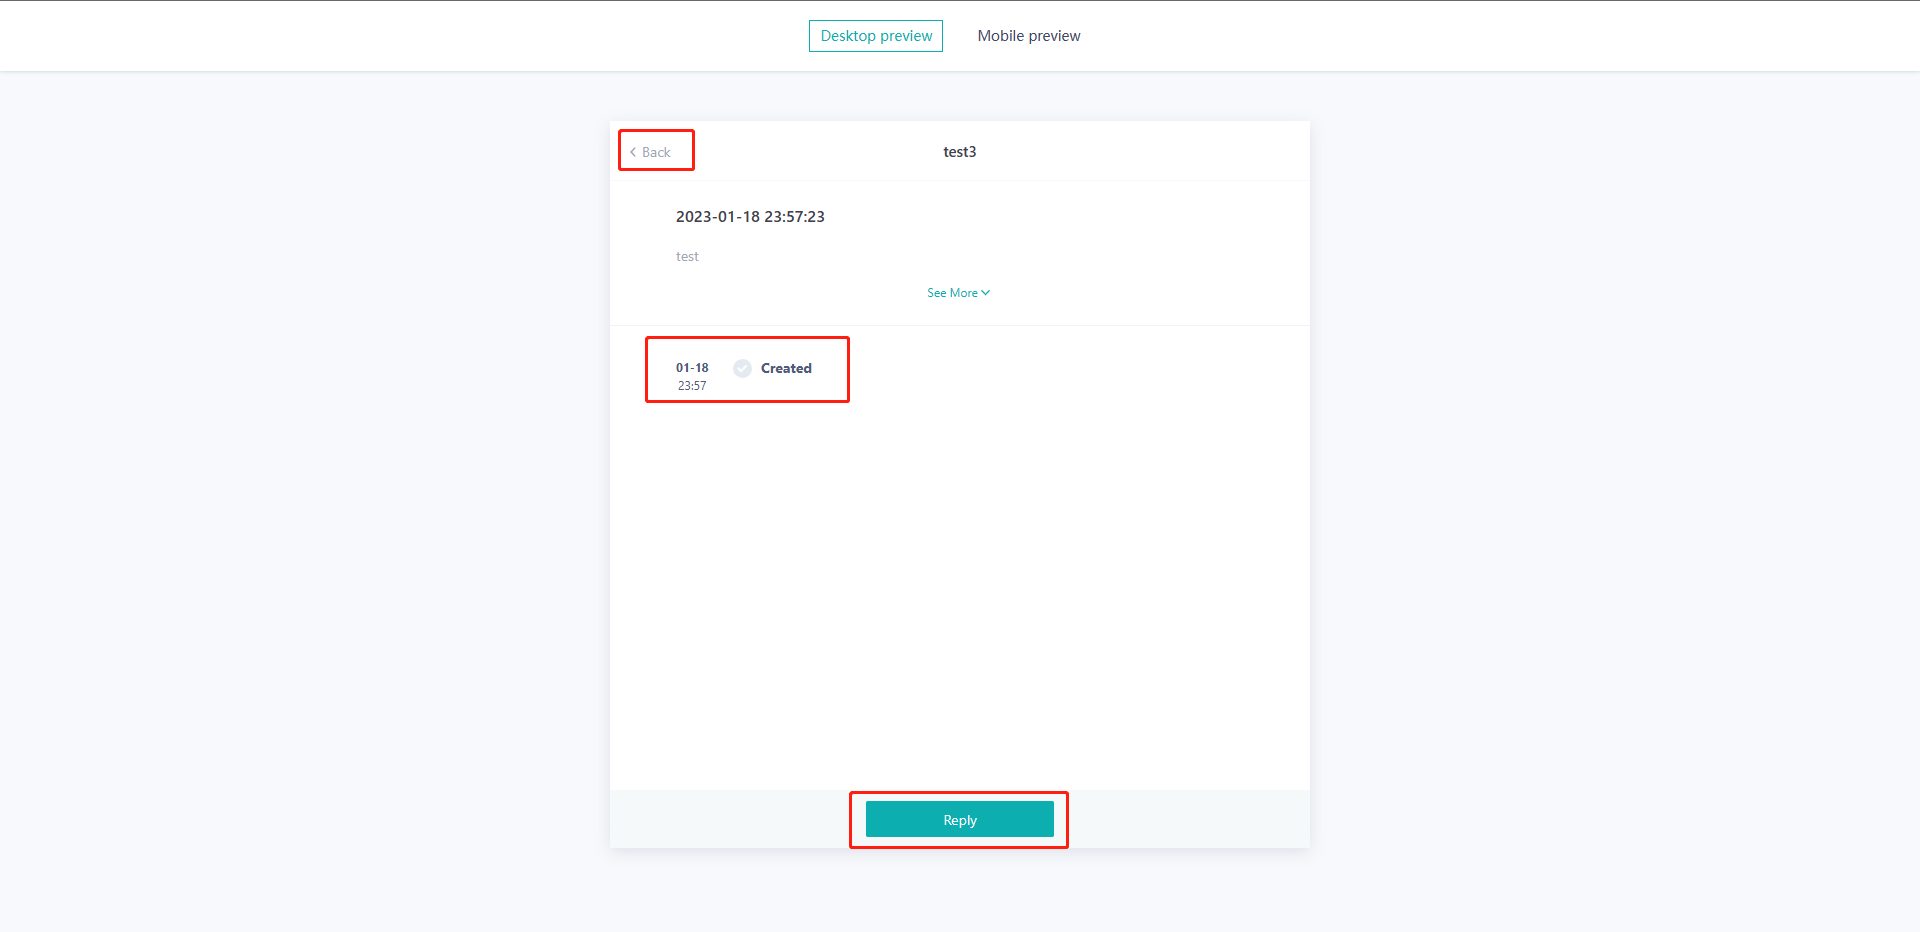
bmission list tab can be displayed or hidden when ticket plug-in page is accessed after View the Submission List is on or off; the display text on the list page can be customized by editing list page title.

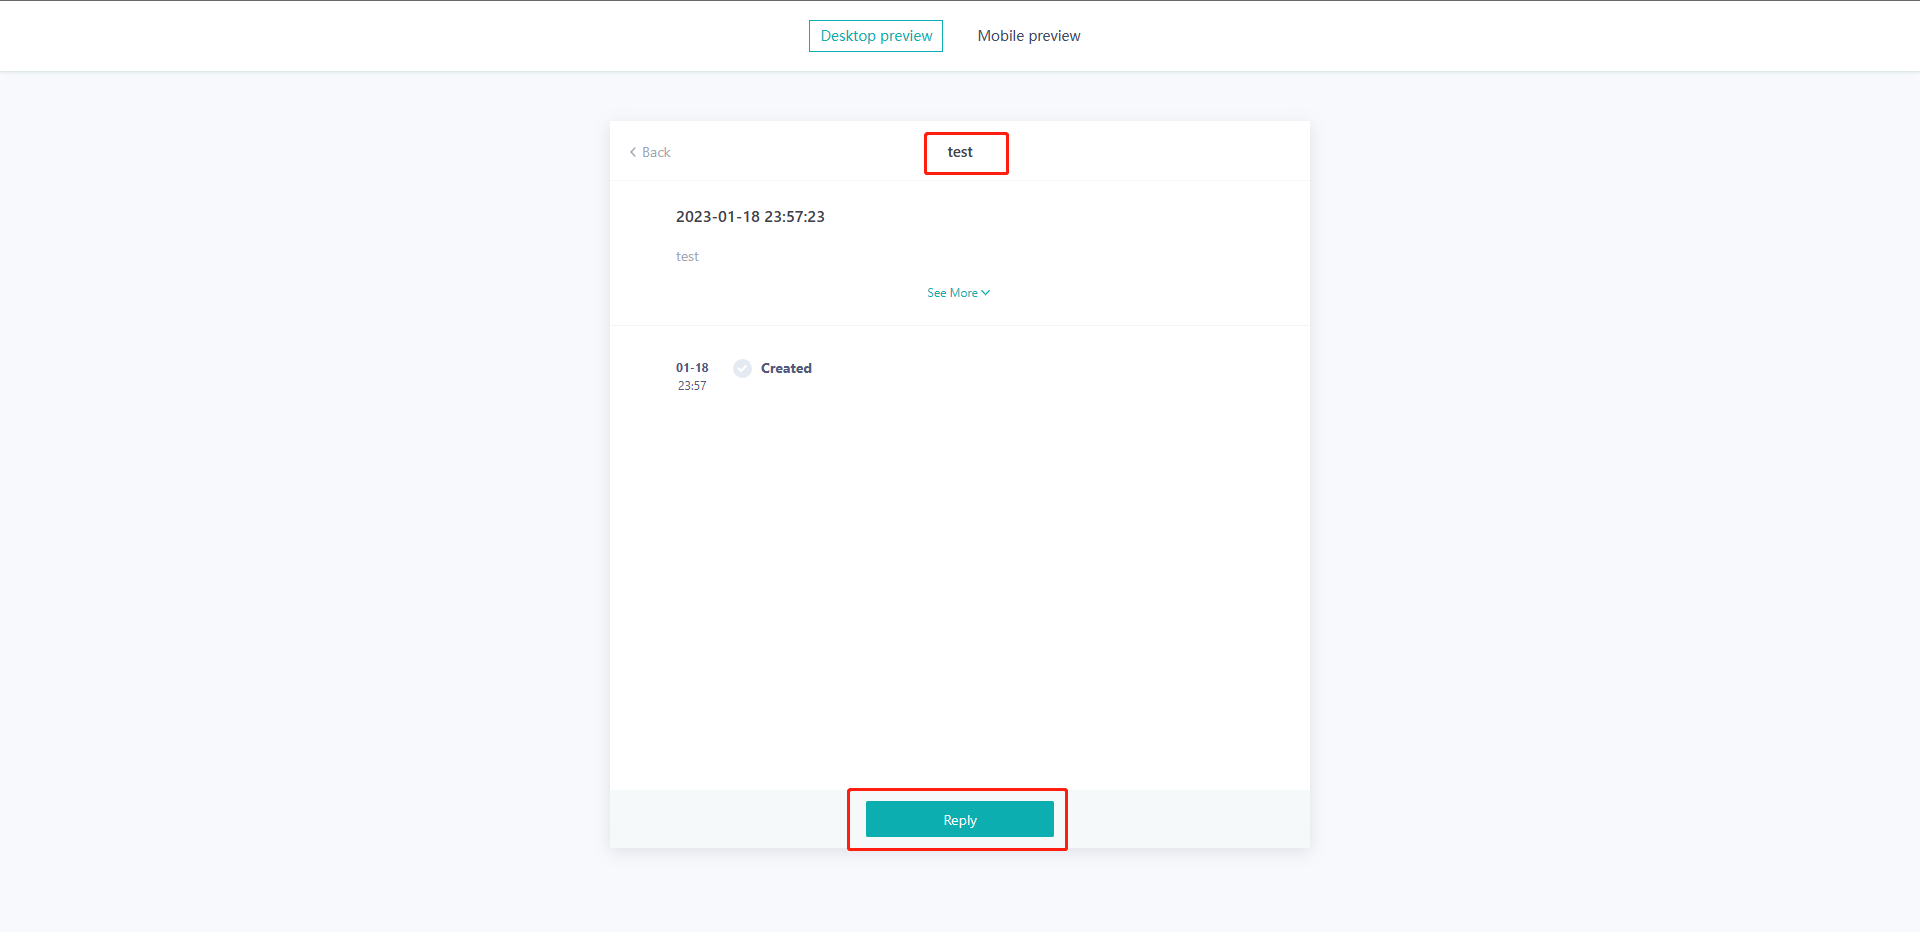
Edit details page title to customize the top title text displayed when entering the ticket details page; select ticket display range to control the number of submissions that visitors can view in the submission list.
If the customer reply function is off, the reply button will be hidden after the customer enters the ticket details page, or the reply entry will be hidden when you check the ticket status as "Completed".
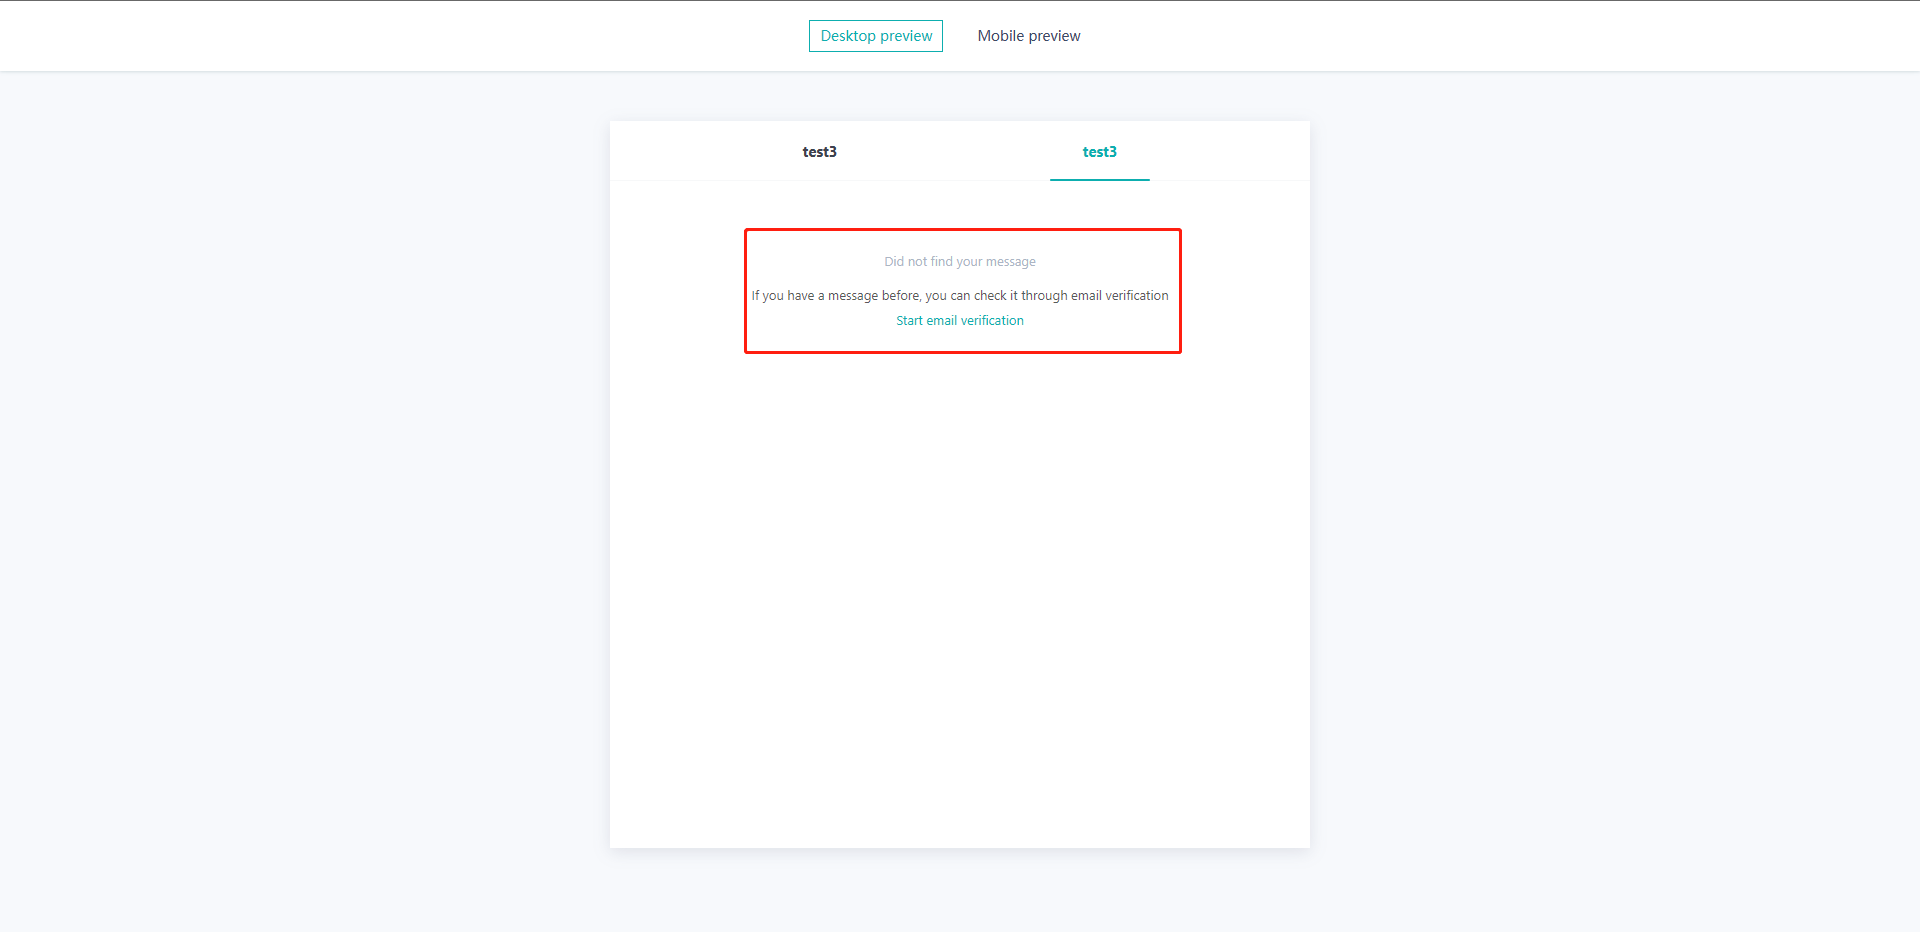
If access failure verification is on, when the customer's identity cannot be obtained, it can be verified through the mailbox verification code and the submission content of the customer will be displayed.
- Other settings
You can switch the language type of the system prompt on the ticket plug-in page via the ticket plug-in language setting.
You can also change the font and background color of the ticket plug-in by modifying the theme color.
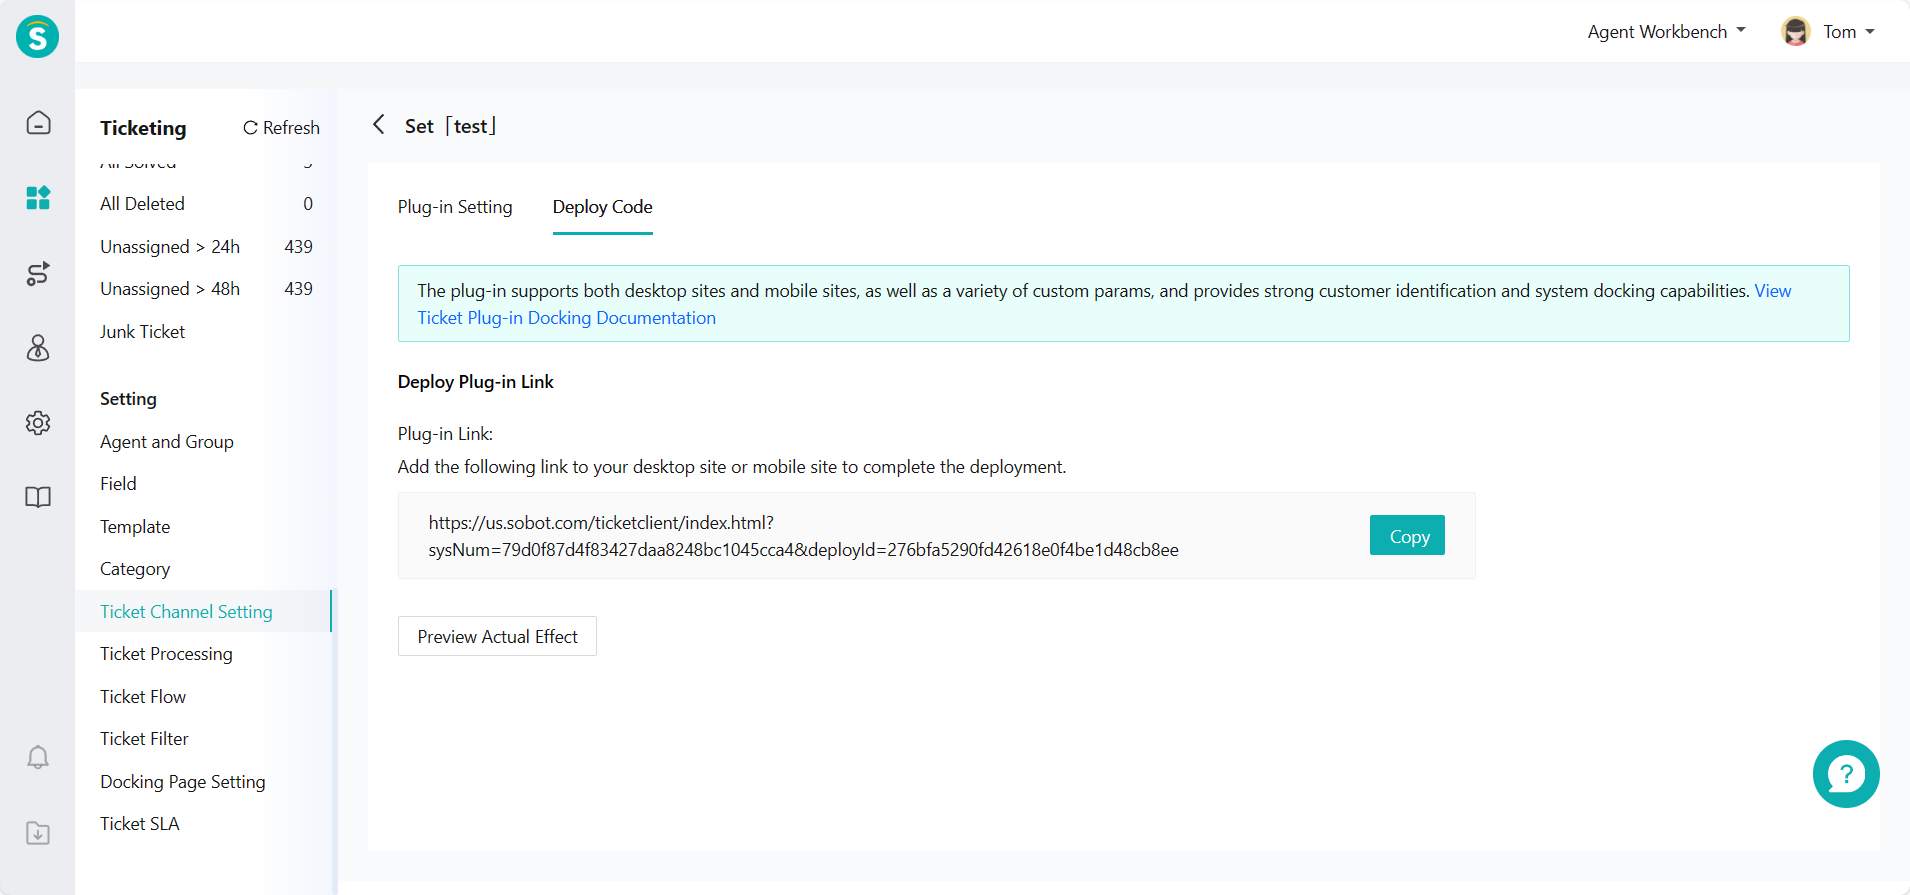
# ● Deploy Code
You can deploy ticket plug-in in your website by inserting a link, or log in to the customer's identity and data through API docking. You can transfer a variety of custom parameters according to your specific scenario. For more access details, please refer to
# Add and Manage Submission Template
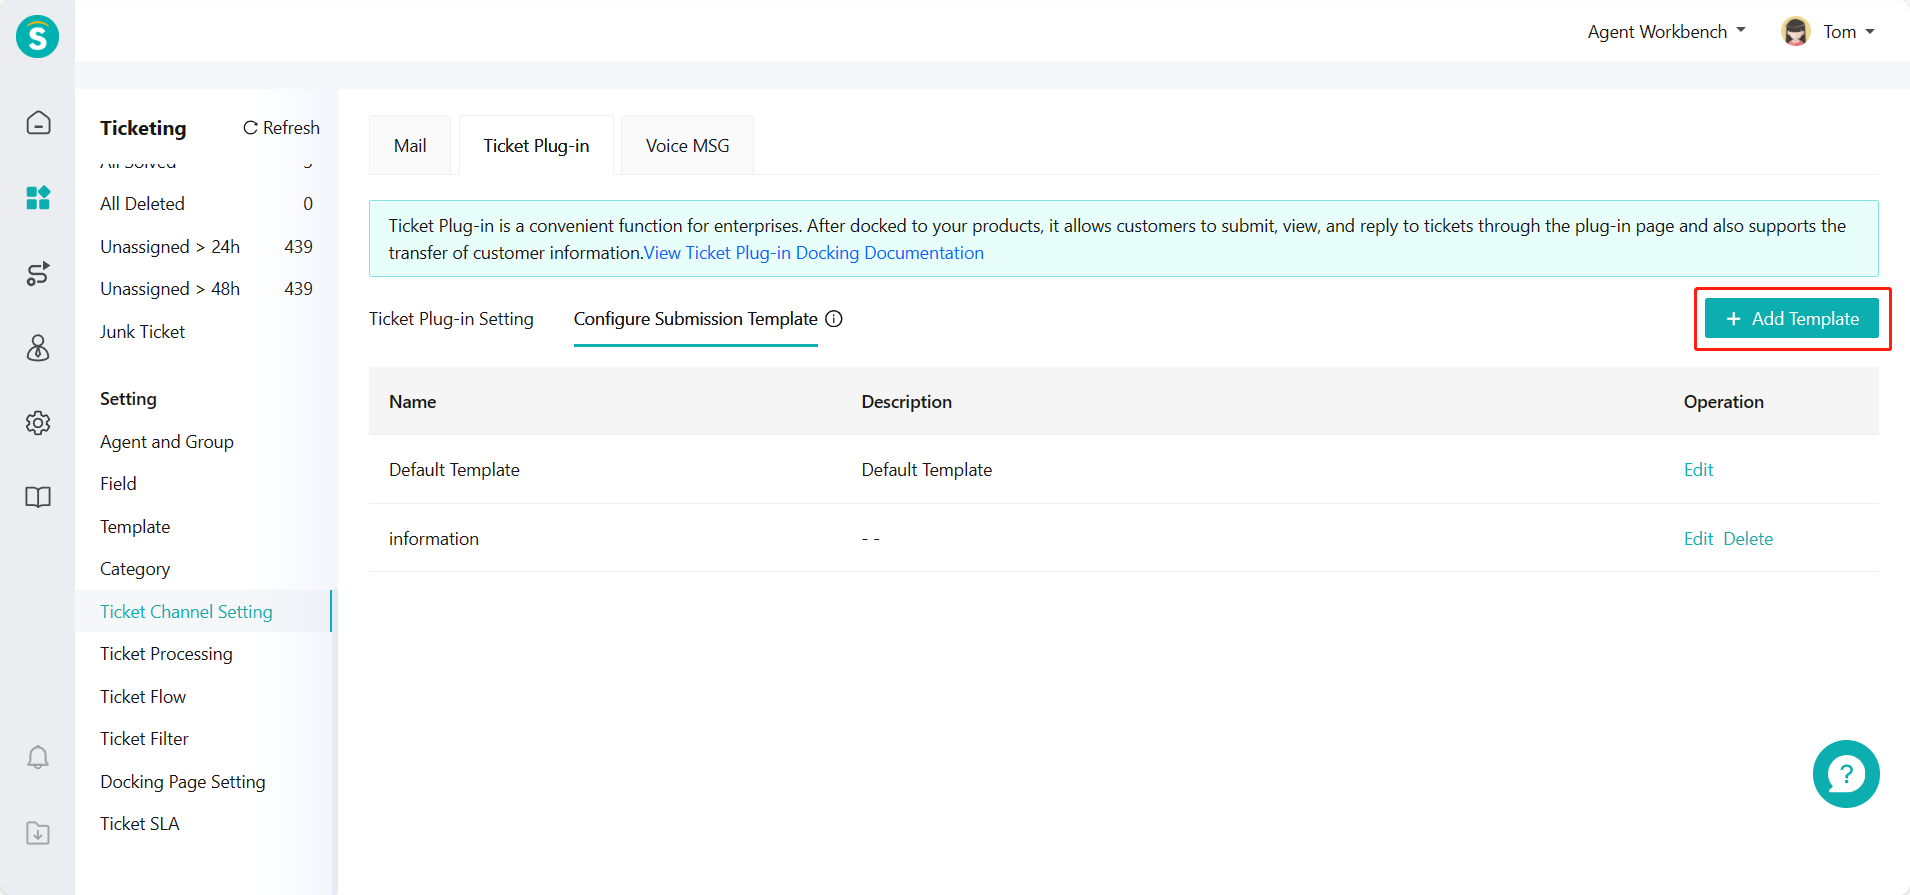
# ● Add Template
On the Ticket Center > Setting > Ticket Source Setting > Ticket Plug-in > Configure Submission Template page, click 【Add Template】 to add submission template, and you can customize submission template name and page guidance text.
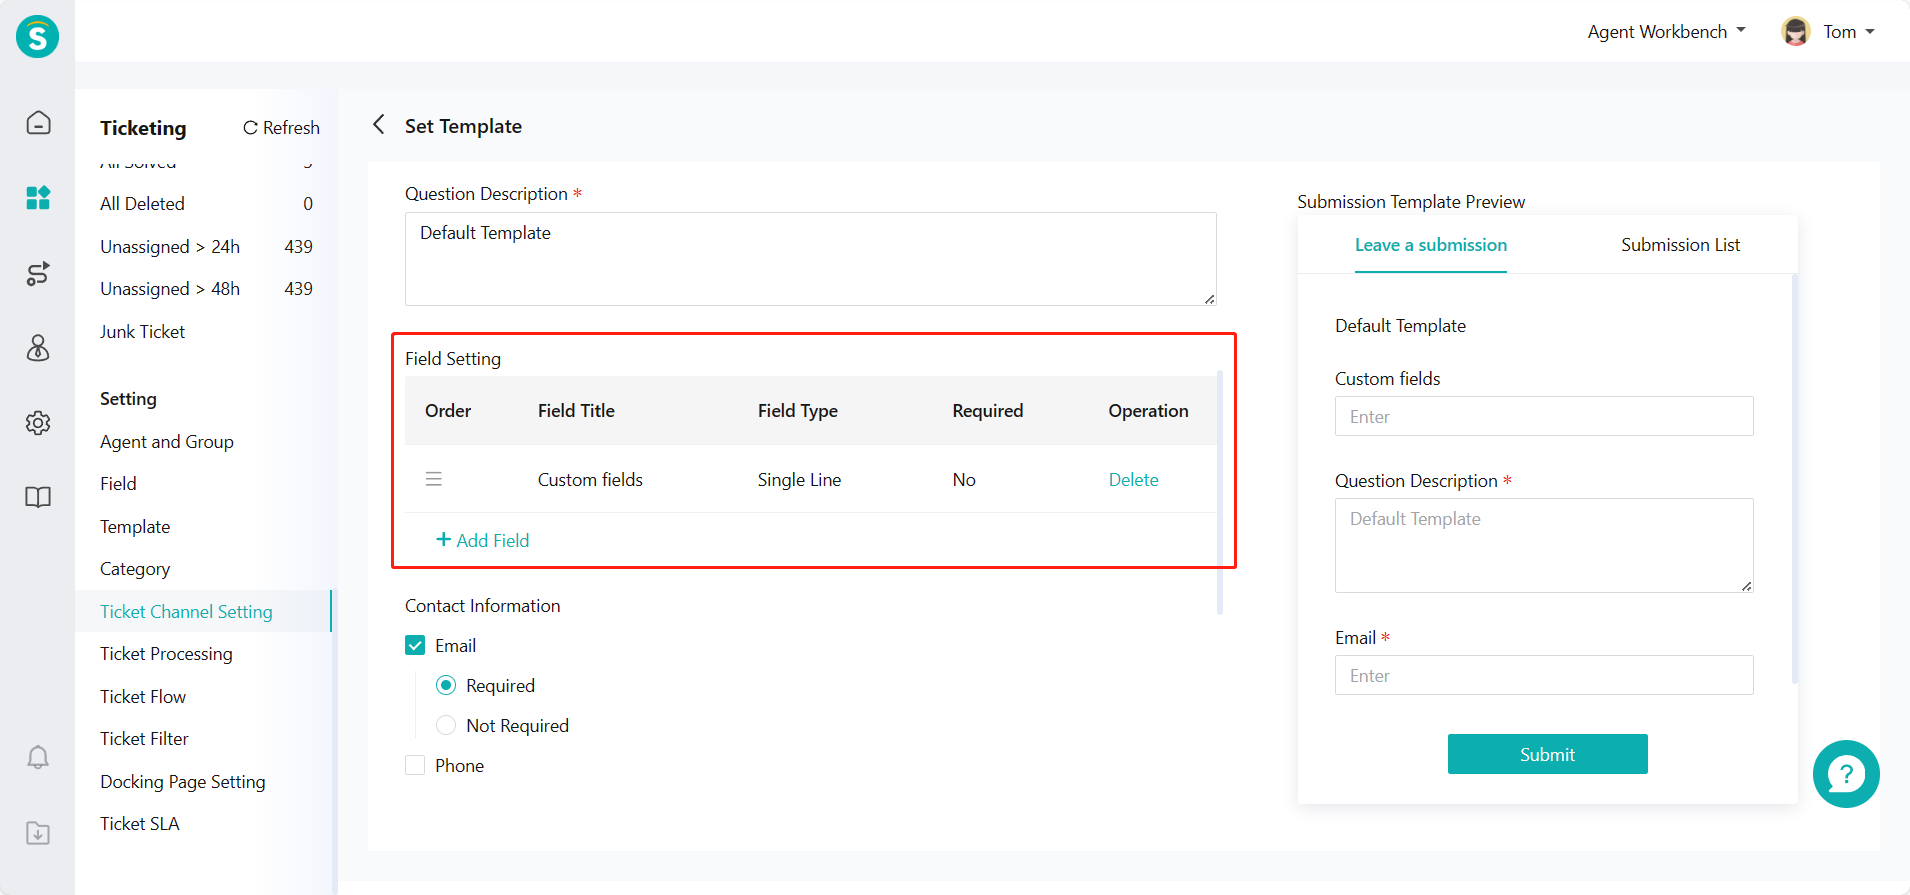
# ● Add Custom Field
You can manage custom fields in the template by adding or editing submission template, including adding field, setting field sorting, deleting field, etc.
# ● Set Required Info
To distinguish the customer's identity, you can set the required email or phone number information for customers to make submission. After the customer fills in, the agent system will combine the tickets to the corresponding customer according to the information filled in.
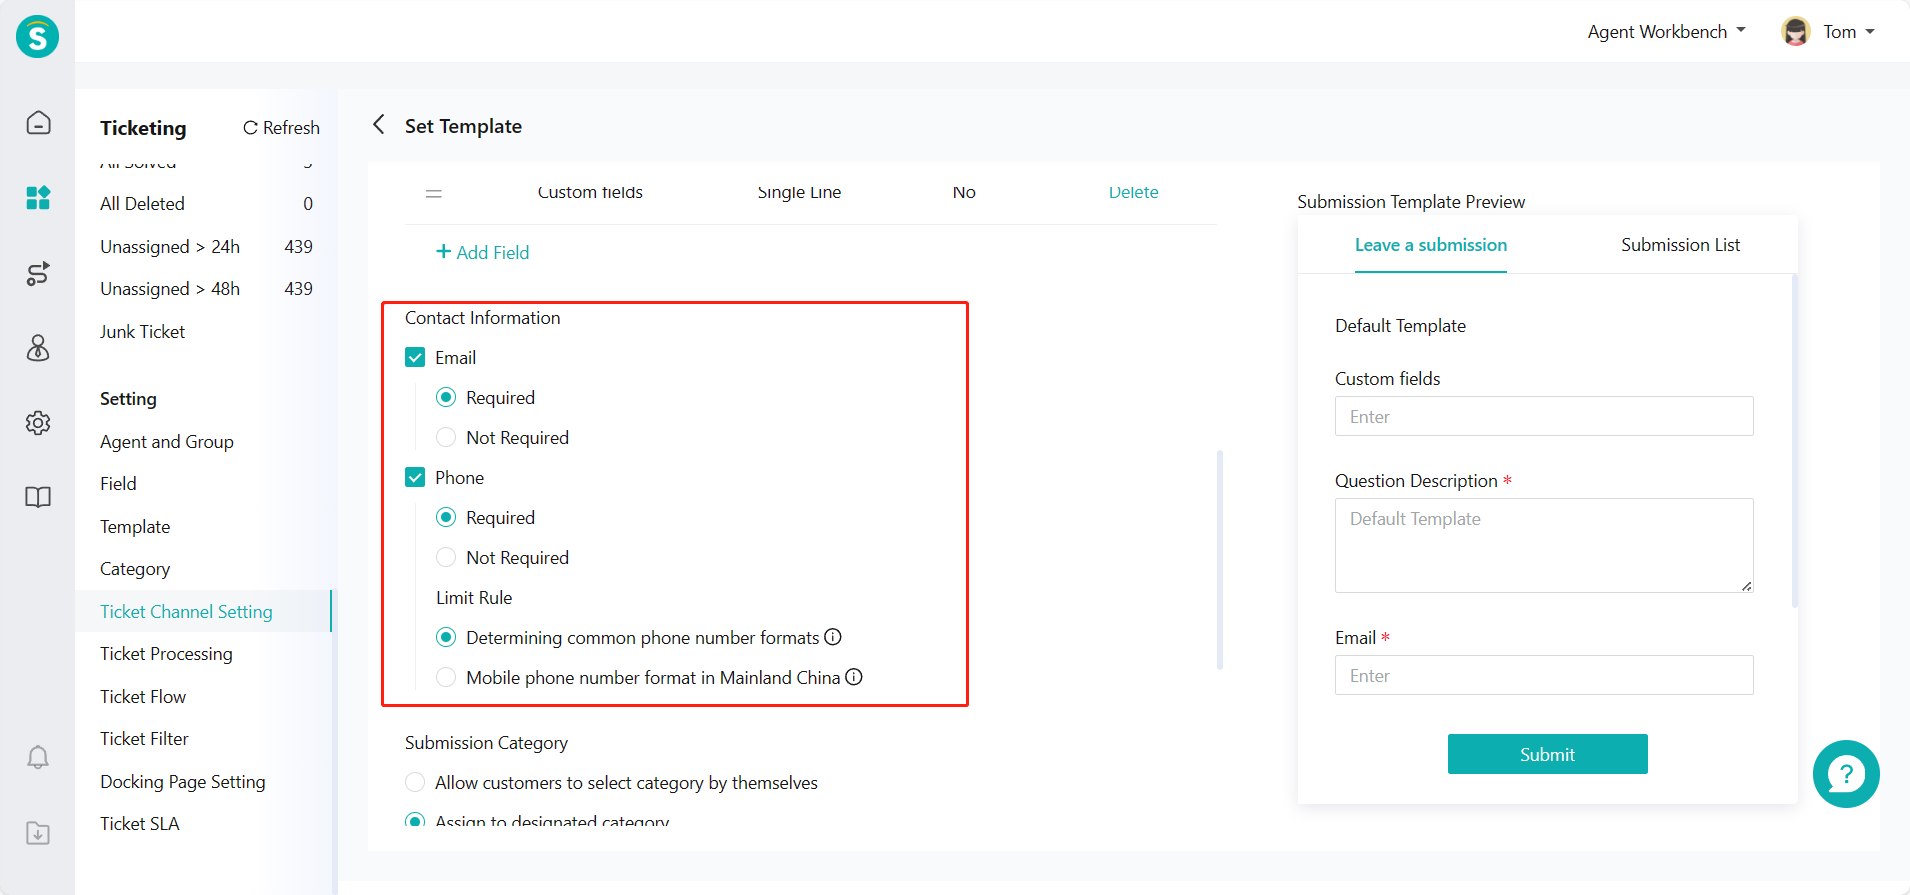
# ● Set Submission Category
Through modifying the submission category of the template, you can make customers choose the category when they fill in the submission or assign the submission of this template to a ticket category by default.
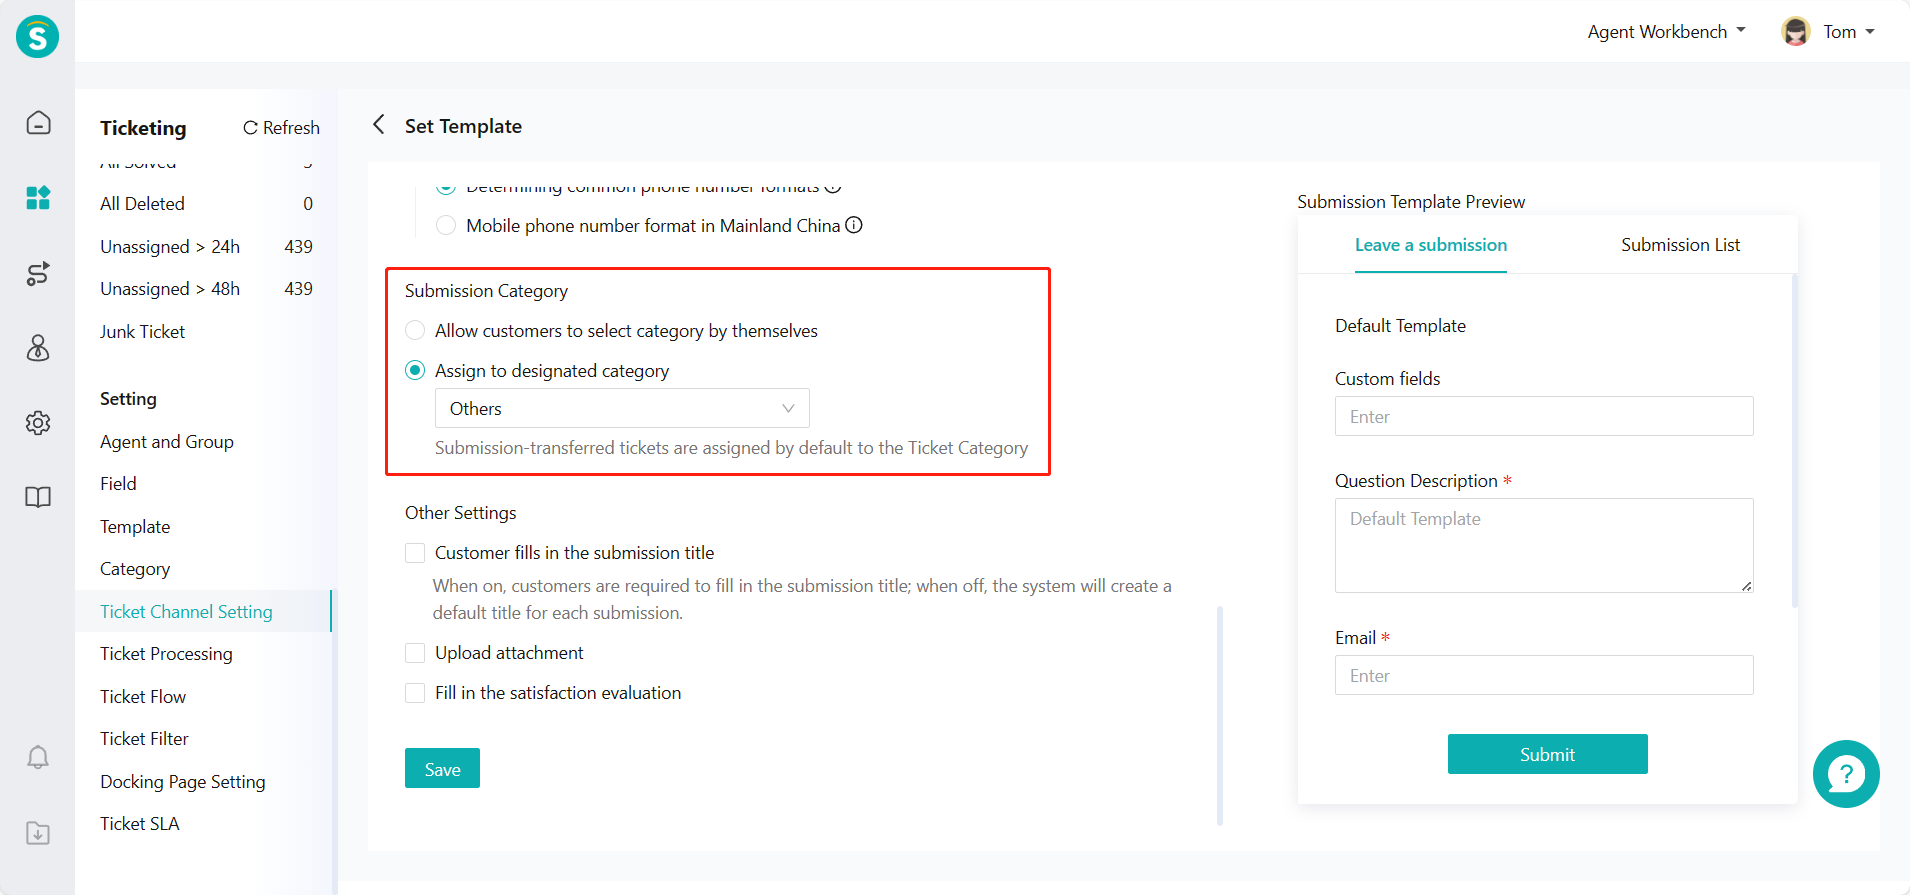
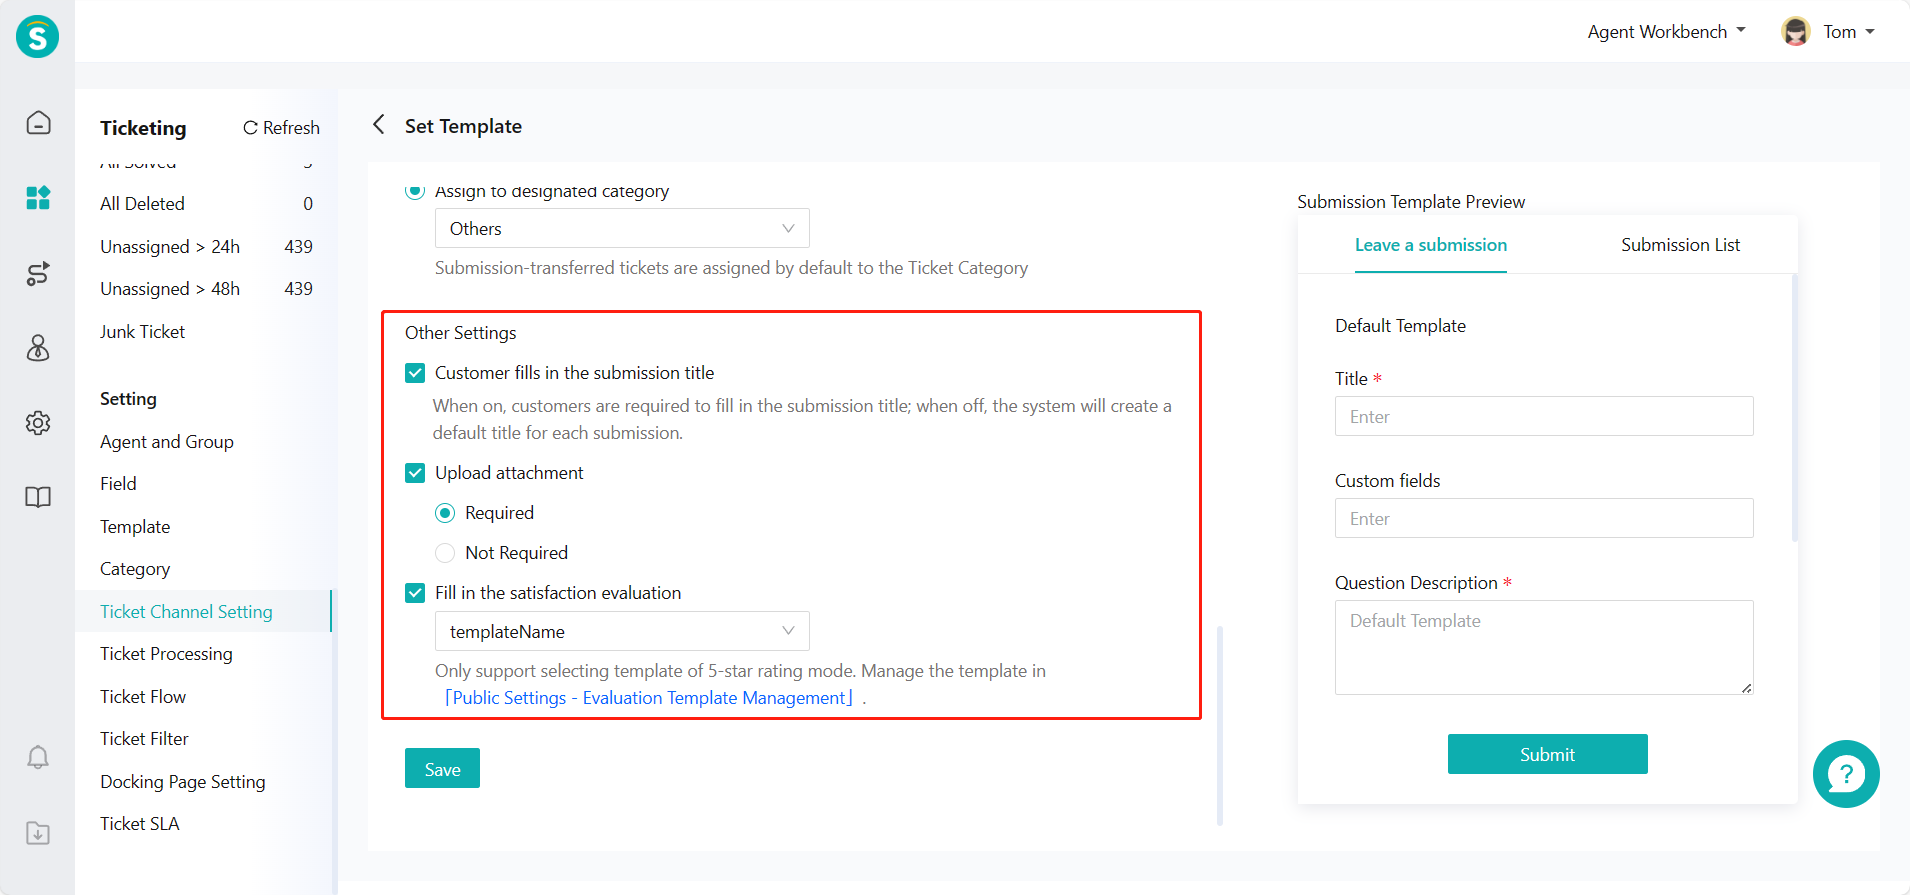
# ● Other Settings
Through other settings, you can make customers fill in the title or automatically generate a title when they make submission; select whether attachments can be uploaded and must be uploaded; choose a satisfaction evaluation template for association, so that the customer can make the satisfaction evaluation when the ticket is solved.